



This tip was sent to Tip of the Week email subscribers on October 23, 2014.

Sign up now and every week you’ll get a new InDesign Tip of the Week and Keyboard Shortcut of the Week, along with roundups of new articles at InDesignSecrets and CreativePro, plus exclusive deals sent right to your Inbox!
Just scroll all the way down to the bottom of this page, enter your email address, and click Go! We’ll take care of the rest. Now, on with the tip!
Ever wish you could make a stroke only applied to the corners of an object? Here’s how.
Use the Stroke panel to create a new dashed stroke style. For now, just give it a name and click OK.

Next, apply your new stroke style to an object in your layout with the desired stroke width.
Reopen the Stroke Styles dialog box and double-click on your new stroke style to edit it.
In the dialog box, set the Pattern Length to a large value (larger than any frame you expect to apply the stroke style to). For the Corners option, choose Adjust Gaps.
Make sure Preview is selected, and then just the Length value until you see the desired effect.
By playing with the values, you can make strokes that appear only in the corners of objects, or even strokes that appear to bracket frames.

This article was last modified on July 8, 2021
This article was first published on October 29, 2014
Commenting is easier and faster when you're logged in!

Recommended for you

InDesign Tip: Making Custom Motion Paths for Animation
One of the coolest ways to customize animations in InDesign is to use any path i...

Illustrator Tip: Creating Custom Views
When you work in Adobe Illustrator, do you often find yourself zooming and scrol...
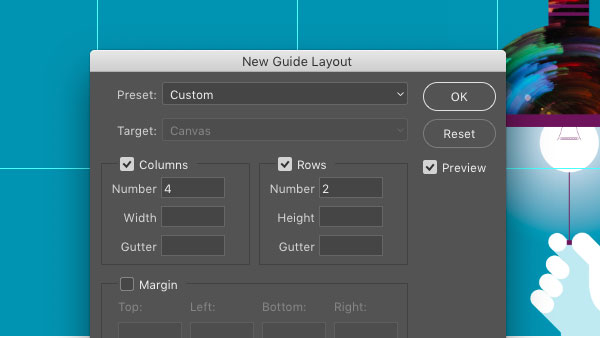
CreativePro Tip of the Week: Creating Guide Layouts in Photoshop
Ever need to create a set of regularly-spaced guides in a Photoshop document? Or...