



This tip was sent to Tip of the Week email subscribers on February 26, 2015.

Sign up now and every week you’ll get a new InDesign Tip of the Week and Keyboard Shortcut of the Week, along with roundups of new articles at InDesignSecrets and CreativePro, plus exclusive deals sent right to your Inbox!
Just scroll all the way down to the bottom of this page, enter your email address, and click Go! We’ll take care of the rest. Now, on with the tip!
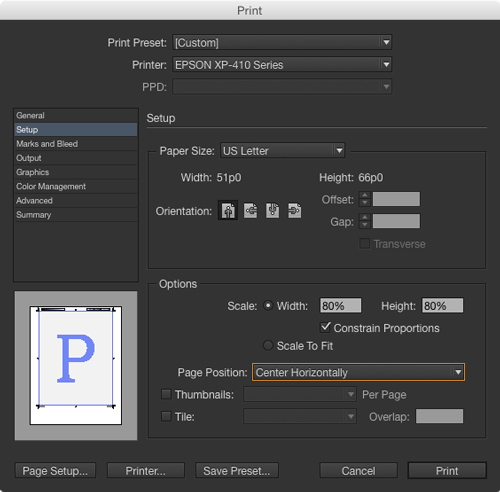
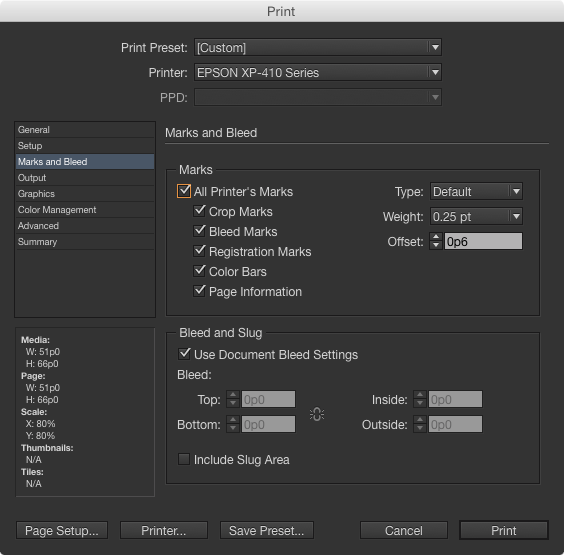
At one time or another, we’ve all sent a document to print, only to find out that we specified the wrong paper size, orientation, etc. And while recycling is great, it’s a lot better to not use the paper in the first place. So if you have to print a document, do yourself (and the trees) a favor, and check the print preview in the lower left of the Print dialog box.
It offers three views that you can toggle by clicking the preview area:
Standard, which shows the relationship of your document page to the chosen paper size, plus things like bleed, slug area, page marks, tiling, and thumbnails.
Text, which shows the specific numerical values of your page and paper size, scaling, etc.
Custom Page/Cut Sheet view, which shows effects of offset, gap, and transverse settings, plus the output mode using different color icons for Separations, Composite Grayscale, Composite CMYK, and Composite RGB.

This article was last modified on August 8, 2019
This article was first published on March 3, 2015
Commenting is easier and faster when you're logged in!

Recommended for you
Tip of the Week: Layer Shortcuts
Sign up for the InDesign tip of the week to get a new tip, roundups of new artic...

Using Math Symbols in InDesign
Use the InDesign Glyphs panel to populate your work with the correct math symbol...

Tip of the Week: Easy Type on a Curve
Sign up for the InDesign tip of the week to get a new tip, roundups of new artic...