

In my recent article about Graphic Styles, I showed how to save the appearance of artwork to reuse style attributes with ease. What if you need to re-use the artwork itself repeatedly all over your project, and not in a repeating pattern? This is a perfect job for Symbols.
Starting Point – the Symbols panel and controls
Show the Symbols panel by choosing Window > Symbols. Be sure that Illustrator’s Control bar is visible at the top of your workspace; choose Window > Control if necessary.
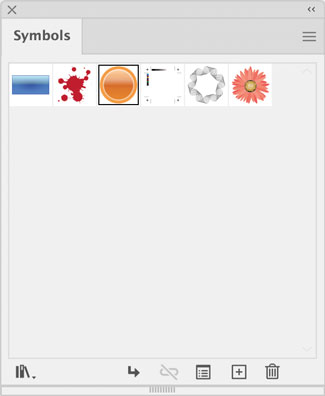
There are several default symbols. Drag one or more to your artboard or click the place button at the bottom of the panel to drop your selection in the center of the viewable area. With a symbol placed, the Control bar shows that a symbol instance is selected. You can rename a selected instance, edit the symbol, or break its link to the original “master” in the panel. You can also replace one symbol with another.
![]()
The icons on the bottom of the Symbols panel and in its flyout menu present similar options.
Many symbol libraries ship with Illustrator. Explore these from the Libraries button in the lower left corner of the panel or choose Open Symbol Library from the panel menu.
Let’s create our own symbols.
Creating a symbol
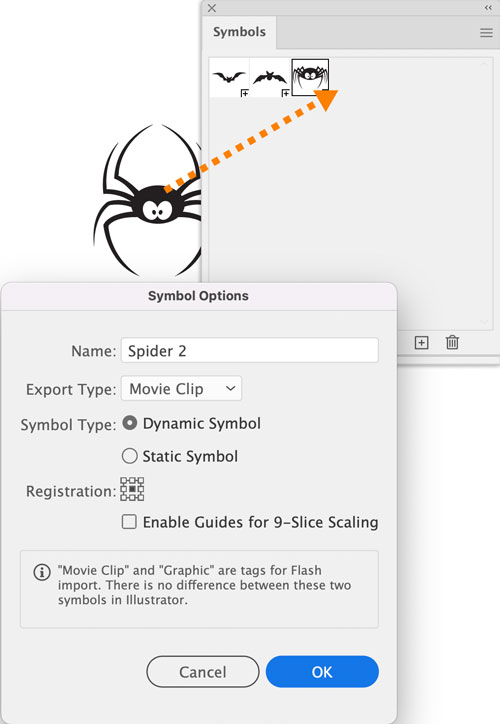
Drag artwork from your artboard to the Symbols panel or click the + button at the bottom to create a new symbol from the selected art. Name the symbol and click OK; You can leave the remaining options at their defaults. Your selected artwork now becomes a symbol instance.
Modifying placed symbols
Any symbol instance can be moved, rotated, resized, or sheared. You can also apply a graphic style or any live effect such as a warp. Copy and paste or Alt/Option drag symbols to create additional instances.
Dynamic symbols, the default type for newly created ones, can also be colorized without affecting the master symbol; Use the Direct Selection tool to select parts of a symbol and change colors. You cannot edit the component paths of a symbol instance. Such changes require editing the symbol itself, and we’ll get to that in a moment.
Replacing a symbol
One of my favorite tricks with symbols is replacing them. Select one or more symbol instances. Now click on the dropdown menu next to Replace in the Control bar. You can pick any symbol and instantly replace the selected art. Previous scale, rotation and appearance modifications are retained. The Replace option is also available in the Symbols panel menu.
Editing a symbol
Double-click a symbol instance on your artboard or a thumbnail in the panel. Alternatively, select Edit Symbol from the Control bar. A warning dialog notes that changes will affect all instances of the same symbol. Click OK to enter editing mode where you can modify the symbol with any of Illustrator’s tools and swatches. Press Escape or click the arrow on the left of the gray mode bar at the top of your window to exit editing and save your changes to the symbol.
Symbolism Tools
Add and edit multiple symbols in your artwork quickly using the symbolism tools in the toolbar. Type Shift+S to select the first of these, the Symbol Sprayer tool. Click and hold the tool to reveal the entire set. I like tearing these off to make a separate toolbar using the arrow strip along the right edge of the tool flyout.
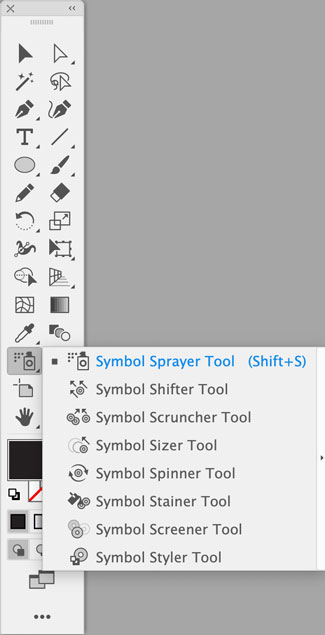
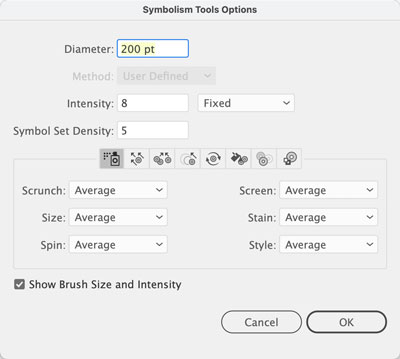
Start with the Symbol Sprayer: It places multiple instances of a symbol as you hold down the mouse button and draw. Double-click any Symbolism tool to modify its options.
Once you have sprayed a group of symbols onto the artboard, the Control bar shows them as a symbol set. Editing symbol instances in the set is done with the other Symbolism tools. Experiment with these on a symbol set or on selected instances. You can move symbols apart or bring them together with the Shifter and Scruncher tools. The Sizer and Spinner are for scaling and rotating. The Stainer enables you to apply different colors – click a swatch that’s not used in the symbol to try this out. The Screener adjusts opacity.
To use the Symbol Styler, first show the Graphic Styles panel by choosing Window > Graphic Styles and select a style to use. With the Styler tool selected, draw over your set to modify the appearance of the symbols.
As with selected instances, you can replace all symbols in a set using the Replace command from the panel’s menu.

The bats and spiders seen here are all symbols. The flock of bats on the right is a set modified with the Symbolism tools.
This article was last modified on October 25, 2021
This article was first published on October 25, 2021
Commenting is easier and faster when you're logged in!

Recommended for you

Interview with Ari Weinstein, Illustrator and Branding Expert
Q&A with illustrator, author, and branding expert Ari Weinstein

Work Week Projects: 5 Essential Illustrator Skills
Five quick exercises to do while you're at work to learn important skills in Ill...
Using Illustrator Artboards to Place Versioned Content in InDesign
A useful alternative to using Illustrator layers and layer overrides in InDesign...