
Graphic styles can preserve your creative hard work and save you time and effort. After painstakingly creating vector art with just the right fills, strokes, and effects, you can save its appearance as a graphic style, then apply that exact look to new artwork with one click. You can also explore and use styles in other Illustrator files and from the many presets bundled with the application. Let’s jump right in and learn how to use this great feature.

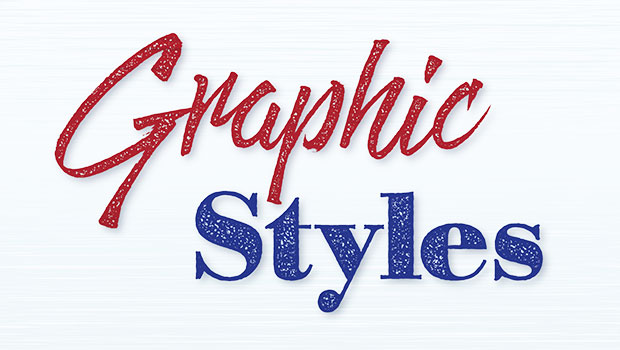
Figure 1. The stamped ink graphic style applied to this text features 10 different appearance attributes.
Starting Point – The Graphic Styles Panel
Choose Window > Graphic Styles or press Shift+F5 to show the panel. An icon for Graphic Styles is also available on the right side of the Essentials Classic workspace, grouped with the Appearance panel. I prefer to tear it off and make it a floating panel.
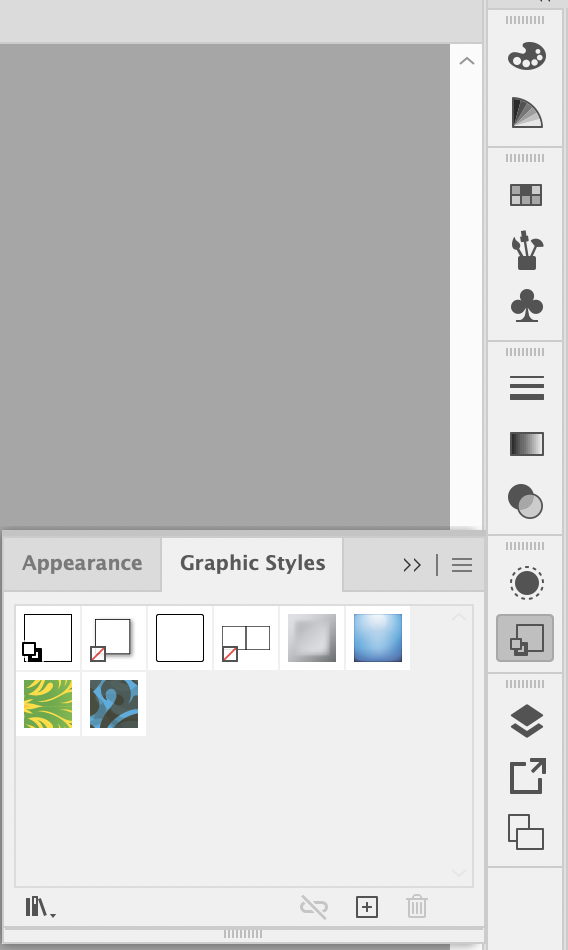
Figure 2. The Graphic Styles panel grouped with others in the Essentials Classic workspace
Now draw a shape and click on any of the style thumbnails in the panel: this instantly changes your shape’s appearance. But the real fun is creating your own graphic styles, so let’s do that next.
Create Artwork with Several Appearance Attributes
I often work with text that needs to be styled in a particular way to grab attention. To do this, type a word, choose a font, then select the text with the Direct Selection tool, and you can begin applying appearance attributes. Start by applying your choice of fill and stroke. Next, reveal the Appearance panel by choosing Window > Appearance or
press Shift+F6 on your keyboard. Notice how the Appearance and Graphic Styles keyboard shortcuts are adjacent? That’s no coincidence.
In the Appearance panel you can apply additional strokes (including brushstrokes), fills, and effects. You can learn more about using the Appearance panel this way from my previous article, How to Create Woodcut-Style Lettering in Illustrator.
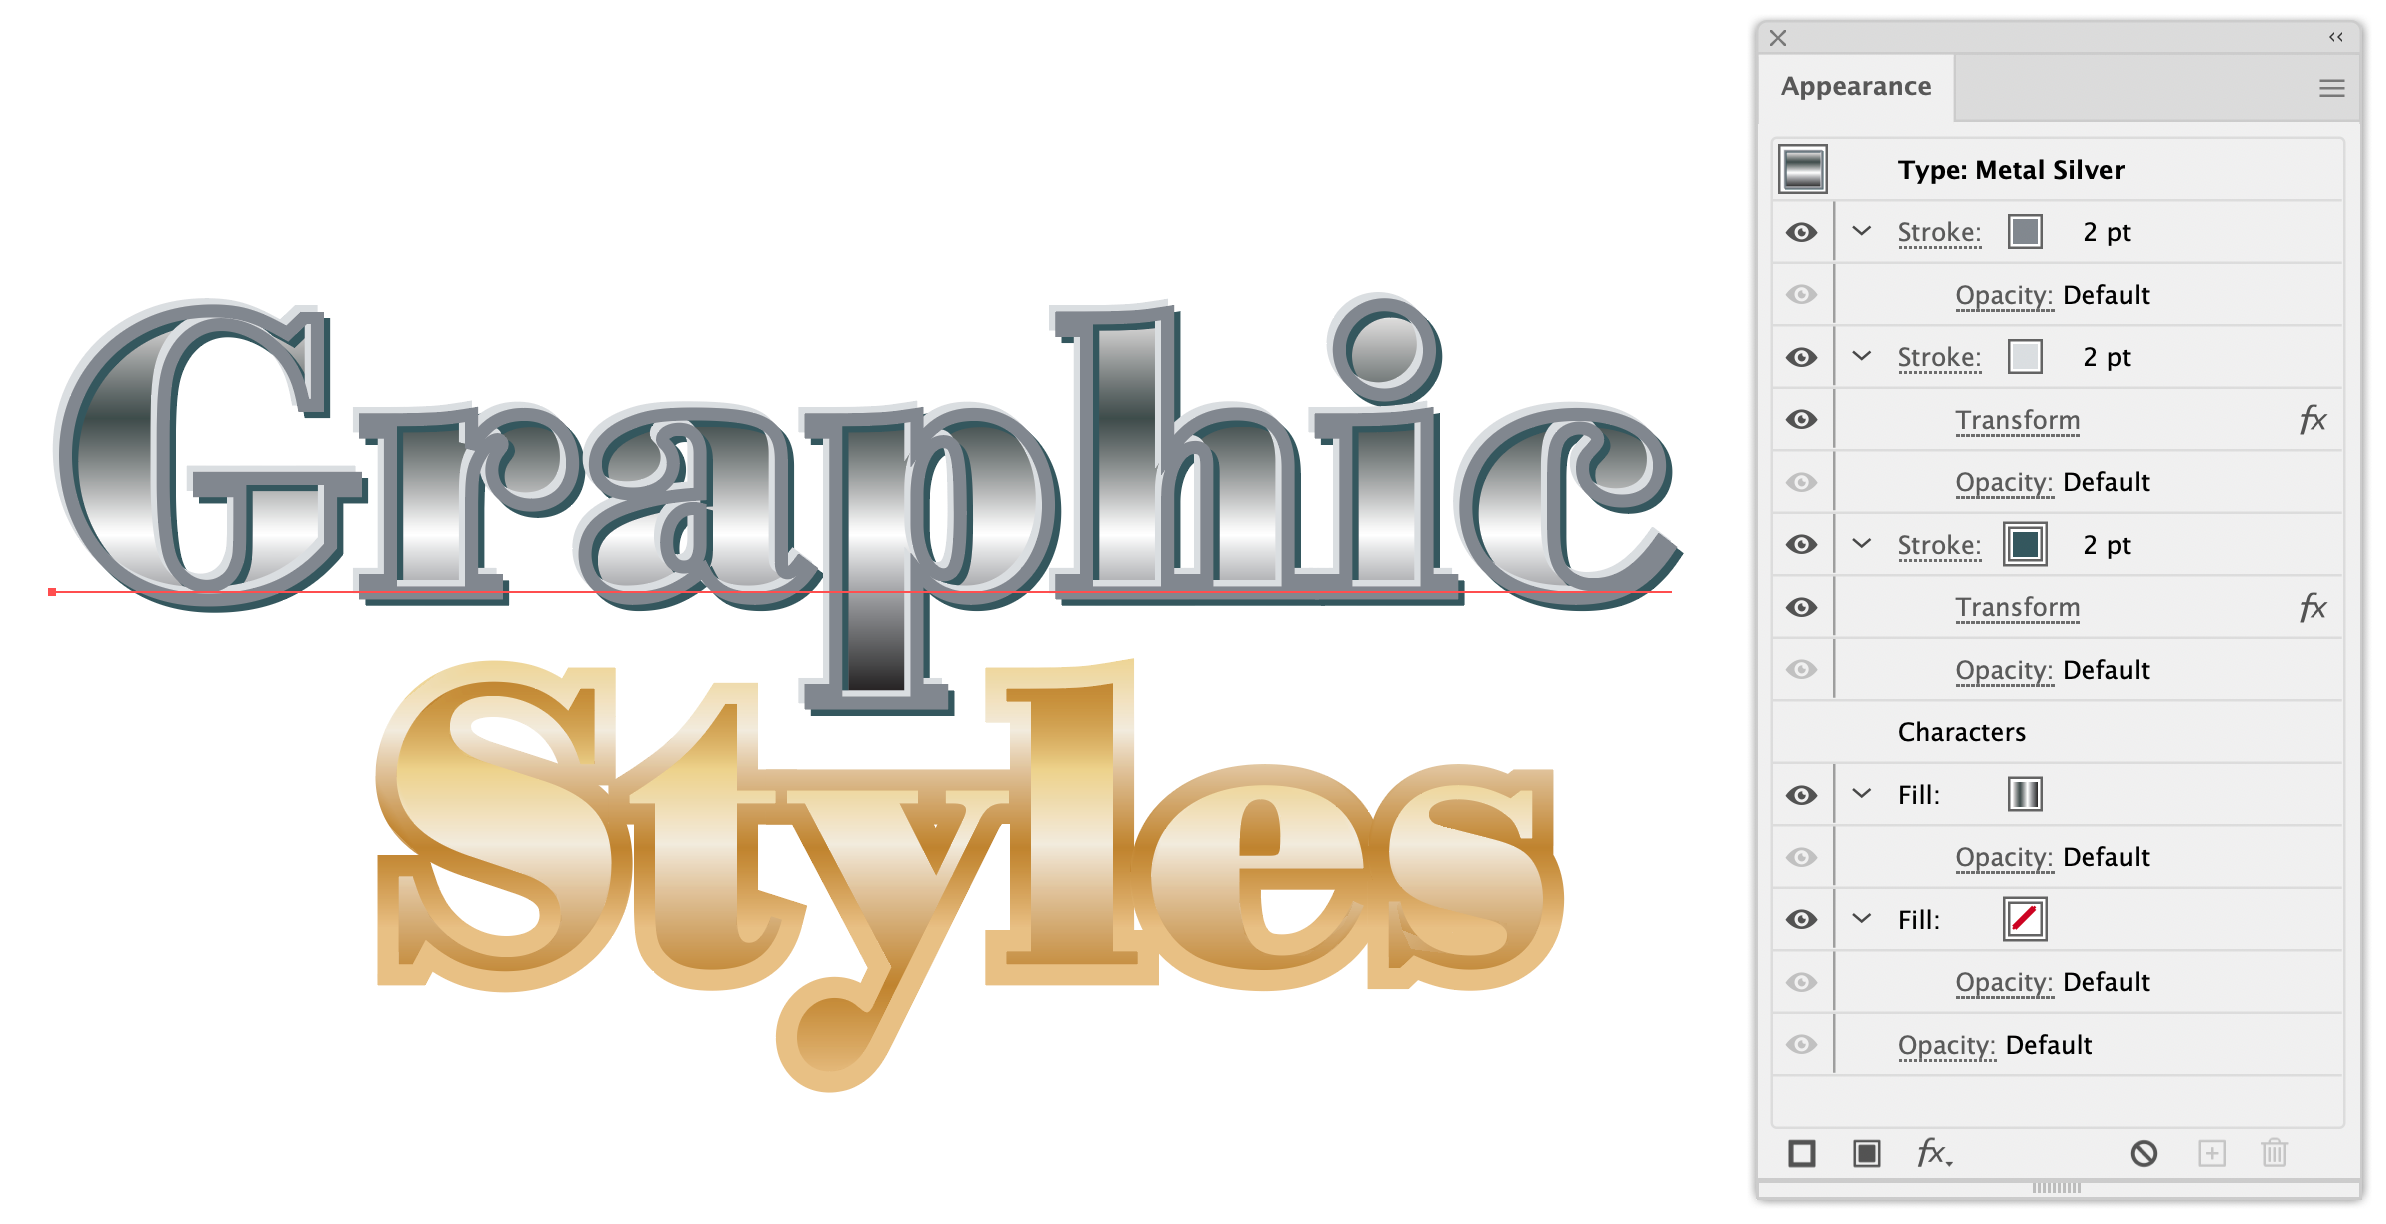
Figure 3. The appearance attributes of “Metal Silver” styled text
With your artwork completed, select it, drag it into the Graphic Styles panel, or click the + button at the bottom of the panel. You can also click the panel menu and choose New Graphic Style.
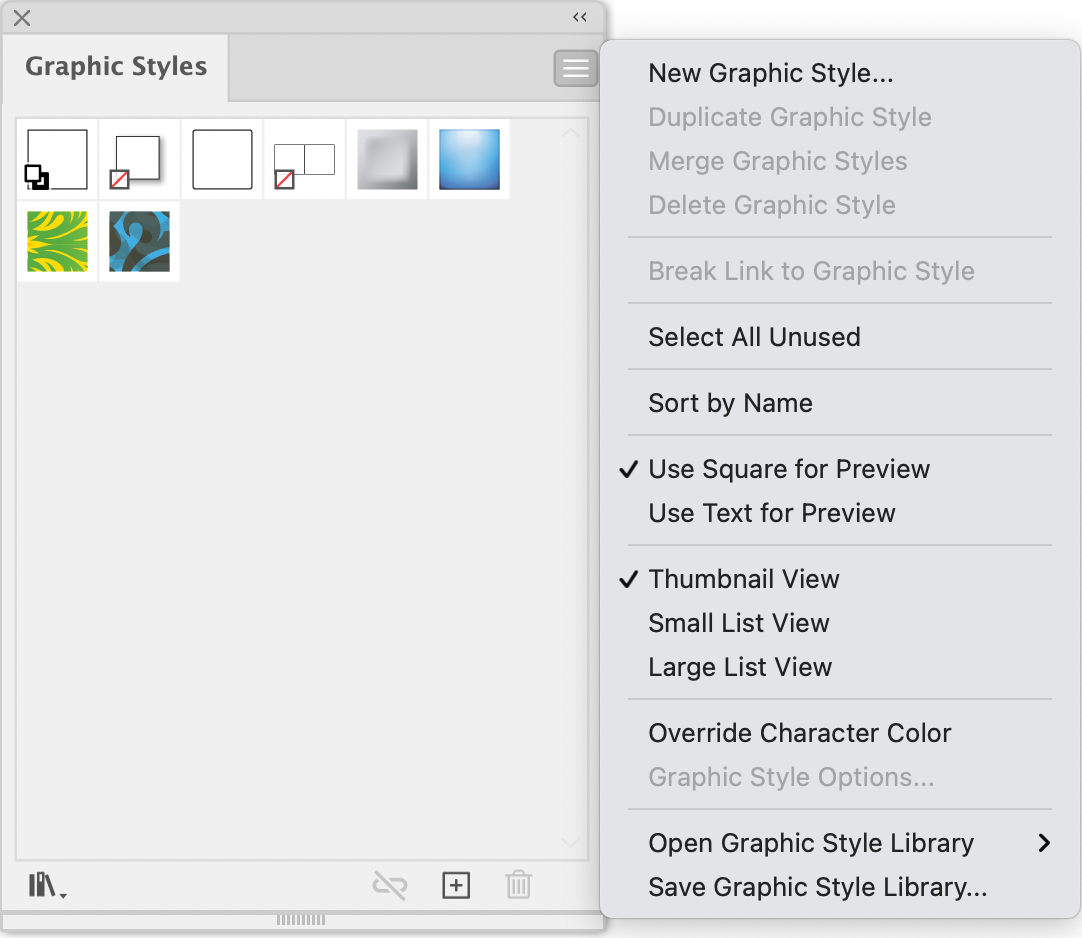
Figure 4. The Graphic Styles panel menu
This creates a thumbnail of your graphic style. When you drag artwork to the panel in Thumbnail view, Illustrator assigns it a default name. Choose Small List View or Large List View from the panel menu to display the style names and edit by double-clicking them.
Back on your artboard, deselect everything by choosing Select > Deselect (Shift+Command/Ctrl+A) then type D on your keyboard to revert to Illustrator’s default fill and stroke. Draw a new shape or type some new text and click the thumbnail of your new graphic style to instantly transform the artwork.
When applying a graphic style to editable text, the original font color is preserved by default. To override this with the main fill color of the style, select Override Character Color from the panel menu and re-apply the style.
Editing Graphic Styles
To edit graphic styles, start by applying a graphic style to an object. Edit one of the fills, strokes, or other appearance attributes of the artwork – you can do this easily in the Appearance Panel. Now hold down the Option/Alt key while dragging the art to the Graphic Styles panel, on top of the thumbnail of the style you want to edit. This updates that style with the new attributes. Any artwork that had the style already applied is instantly updated.
To prevent style overrides, you can select your art and choose Break Link to Graphic Style from the panel’s menu.
More Ways to Apply Styles
With no artwork selected, drag one of the graphic style thumbnails from the panel onto your artboard, and hover over an object until you see a green + appear alongside your cursor. The style is applied when you release the mouse.

Figure 5. Drag and drop graphic style
You can merge two styles, too. With styled artwork selected, press Option/Alt and click a different thumbnail to add the attributes of that graphic style to the existing one. The Appearance panel will now show all the attributes from both styles. To merge styles without affecting artwork, press Command/Ctrl, click two or more style thumbnails, and choose Merge Graphic Styles from the panel menu.
Loading and Saving Graphic Styles
Explore the many styles provided with Illustrator by choosing Open Graphic Style Library from the panel menu or use the library icon in the lower left. Discover styles in other files by choosing Open Graphic Style Library > Other Library and selecting any Illustrator document. Applying a style from a library to your artwork will load it into your document, and it will appear in the Graphic Styles panel from that point forward.
To save styles you created for easy reuse, choose Save Graphic Style Library, and you’ll be presented with a Save dialog box. Graphic Style Libraries are saved as regular—but blank—Illustrator files.
Commenting is easier and faster when you're logged in!

Recommended for you

Illustrator Downloadable: Sun & Sea Graphic Set
This downloadable package includes graphics, swatches, symbols, and patterns for...
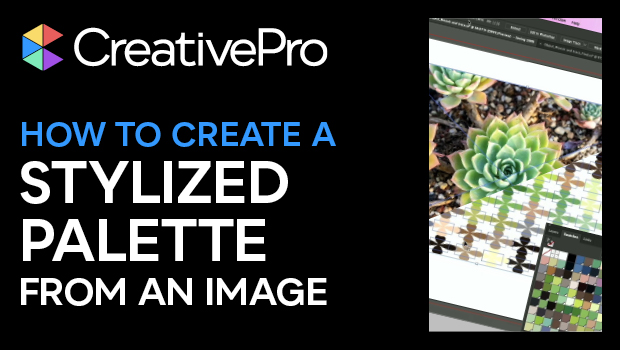
How to Create a Stylized Palette From an Image in Illustrator
Learn how to quickly create a color swatch palette from an image in Illustrator...
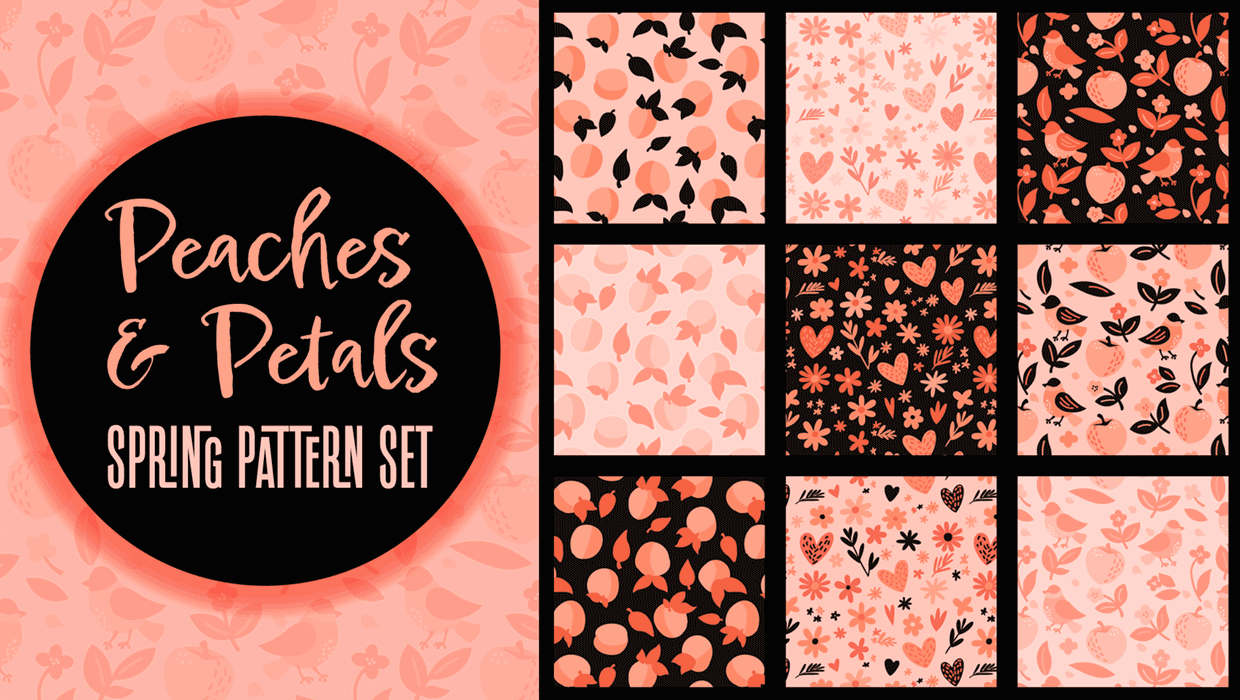
Illustrator Downloadable: Peaches and Petals Pattern Set
Add sweetness and impact to your designs with these Illustrator patterns