



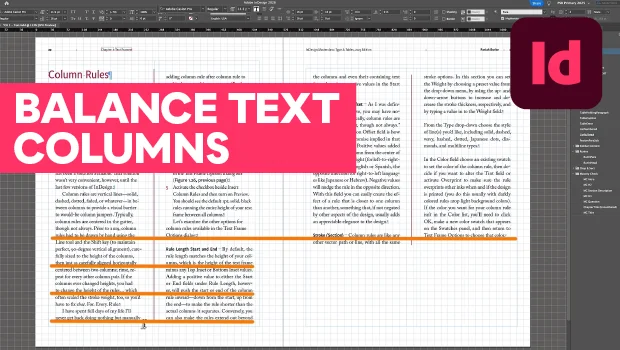
In this InDesign how-to video, Pariah Burke demonstrates how to fix uneven text frames for multi-column text. The trick is the Balance Columns check box in Object Text Frame Options. Then, Pariah shows how to clean up your columns by aligning the text to the document’s baseline grid.
Subscribe to the CreativePro YouTube channel for more helpful design tips!
Transcript
This is Pariah Burke for CreativePro. In this video I’d like to talk to you about out-of-balance text columns and how to balance them. Here I have the last two pages of a book chapter.
As you can see, the copy on the right doesn’t fully fill the page. That blank space after column two is a little awkward. It might look cleaner if both columns were the same length, leaving an equal amount of empty space at the bottom of the page.
Of course, I could resize the text frame to make the columns equal height, but that’s dangerous. A text reflow in the future could create a problem with a physically shortened text frame. Instead, I want to take advantage of InDesign’s Balance Columns feature.
With the text frame selected, I’ll go to Object, Text Frame Options, and then, right in the middle here, I’ll activate the Balance Columns checkbox. Voila! All the columns in the text frame, only two in this case, will be equal height. But wait, there’s more.
Using Balance Columns in that instance made the lines of the two columns line up, but it might not in other columns. Note the columns on the left page. The lines of type don’t line up horizontally, which makes them look messy and unintentional.
I am nothing if not intentional in my design. If you want every line of text to vertically align across columns and even pages, then you need to align to baseline grid. You’ve probably heard that term before.
If you’re cringing right now, don’t. I’m going to show you one simple method for easily setting up and using align to baseline grid. First, figure out the leading value of your type.
As you can see, my body text has a leading of 16 points. Make a note of that value. Now go to the InDesign menu on a Mac or the Edit menu on Windows.
Choose Preferences, Grids. Here in the top section, set the Increment Every value to the same value as your leading. 16 points.
Click OK. Now, just one more step. Edit your paragraph styles and tell InDesign to align their text to the baseline grid.
I’m editing para here, which is the base or parent style for all my text styles in the book and going to the Indents and Spacing pane. Set the last option, Align to Grid, to all lines. Now, all lines of your text, including headings if they’re based on the style you’re editing, will align to the baseline grid and therefore align across columns.
Magic? Almost. For extra control of alignment and spacing, just make sure your spaces before and after are increments or fractions of the main copy’s leading. The grid increments.
Combine that with balance columns and you’ll have clean, professional, horizontally aligned lines of text across columns and pages. Well, I hope you enjoyed this video. If you did, be sure to give it a like and subscribe to our channel.
And for thousands more how-to articles and tutorials, visit our website, creativepro.com and become a member today. Thanks for learning with us.
This article was last modified on September 8, 2026
This article was first published on August 25, 2026
Commenting is easier and faster when you're logged in!

Recommended for you

Scanning Around with Gene: You Too Can Be a Famous Artist
A recent thrift store stop netted the source for today’s column, a look back to...
Balancing Text Columns in InDesign
Did you ever resize a multi-column text frame to balance out the depth of the te...

The Text That Wouldn’t Move Contest Answer and Winners!
It’s time to reveal the solution—and the winner—for this month’s InD...