
Turning a photograph into a jigsaw needn’t be a puzzling operation. The hardest part is drawing the jigsaw design in Illustrator, but fortunately I’ve done this for you – and you can download the file here. All you need now is a starting image; you can choose one with a large main element, such as a face, or a landscape with a significant building or feature you can pick out.
Step 1: Choose an image
Just about any portrait will do for this exercise. I’ve used a photo of Leonardo di Caprio, courtesy of Thore Siebrands under Creative Commons.

Step 2: Place the jigsaw
Use File > Place to place the Illustrator file over your artwork. It doesn’t need to be exactly the same proportions – if you need to chop it, you can just cut out the lugs on that side when you make your selections.

Step 3: Dim the graphic
You’ll need to see the image beneath to work out how to select the jigsaw pieces, so reduce the opacity of the jigsaw layer to around 50%. The easiest way to do this is to use one of the Selection tools (or the Move tool) and press 5 on your keyboard.

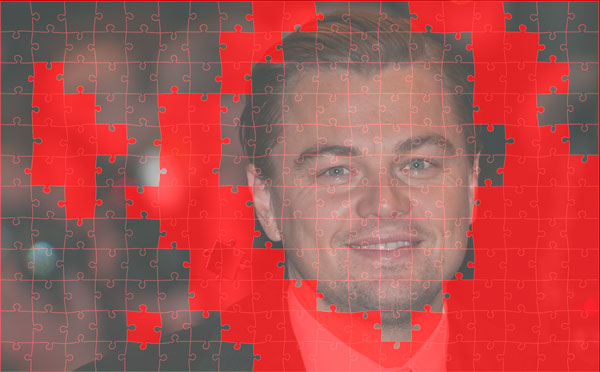
Step 4: Make your selection
Using the Magic Wand tool, click inside the first jigsaw piece you want to keep, then hold Shift and click on additional pieces. At any time, you can switch to QuickMask mode (shortcut: Q) to see how the selected area is shaping up.
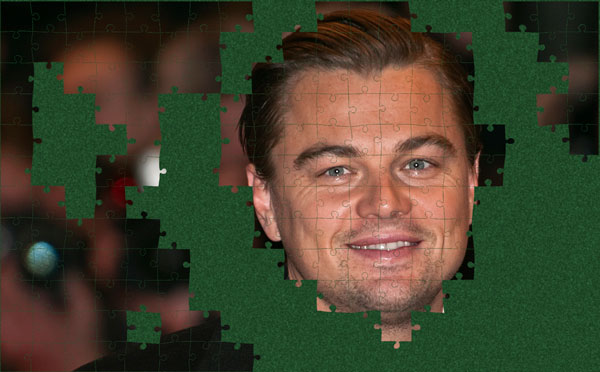
Step 5: Make a layer from the selection
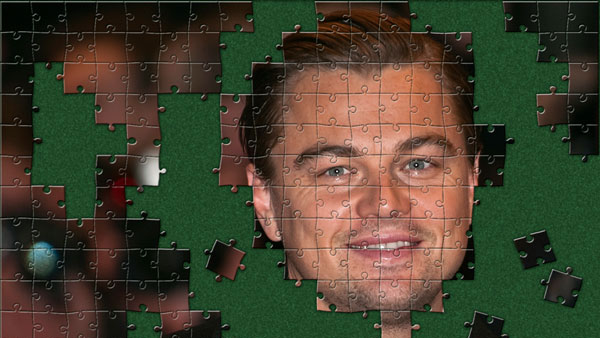
With the selection still active, switch to the image layer, and add a Layer Mask by choosing Layer > Layer Mask > Reveal Selection. You can now hide the original jigsaw layer, showing just the image. I’ve added a green baize background, made using Gaussian Noise and a small amount of Gaussian Blur.
Step 6: Add a bevel
Use the Layer Styles dialog to add an Inner Bevel, as well as a small drop shadow, to the new layer. This is what really makes the pieces look three-dimensional, accentuating the spaces between them.
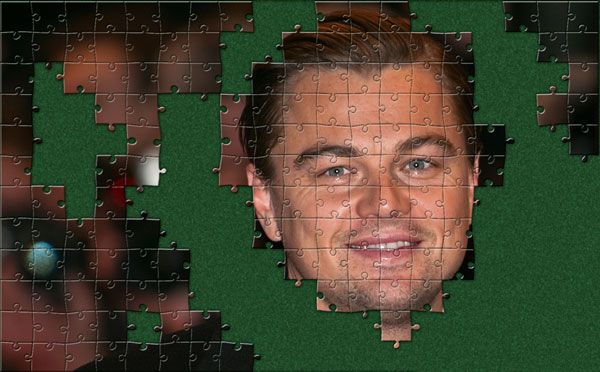
Step 7: Add some stray pieces
Reveal the jigsaw graphic again, and select a few more pieces. Switch to the image layer, and use Command+J / Ctrl+J to make a new layer from those pieces – and they’ll appear complete with the bevel and shadow you’ve already added. All you have to do now is to move and rotate those pieces individually so that they float in the space.

This article was last modified on October 28, 2020
This article was first published on March 26, 2018
Commenting is easier and faster when you're logged in!

Recommended for you
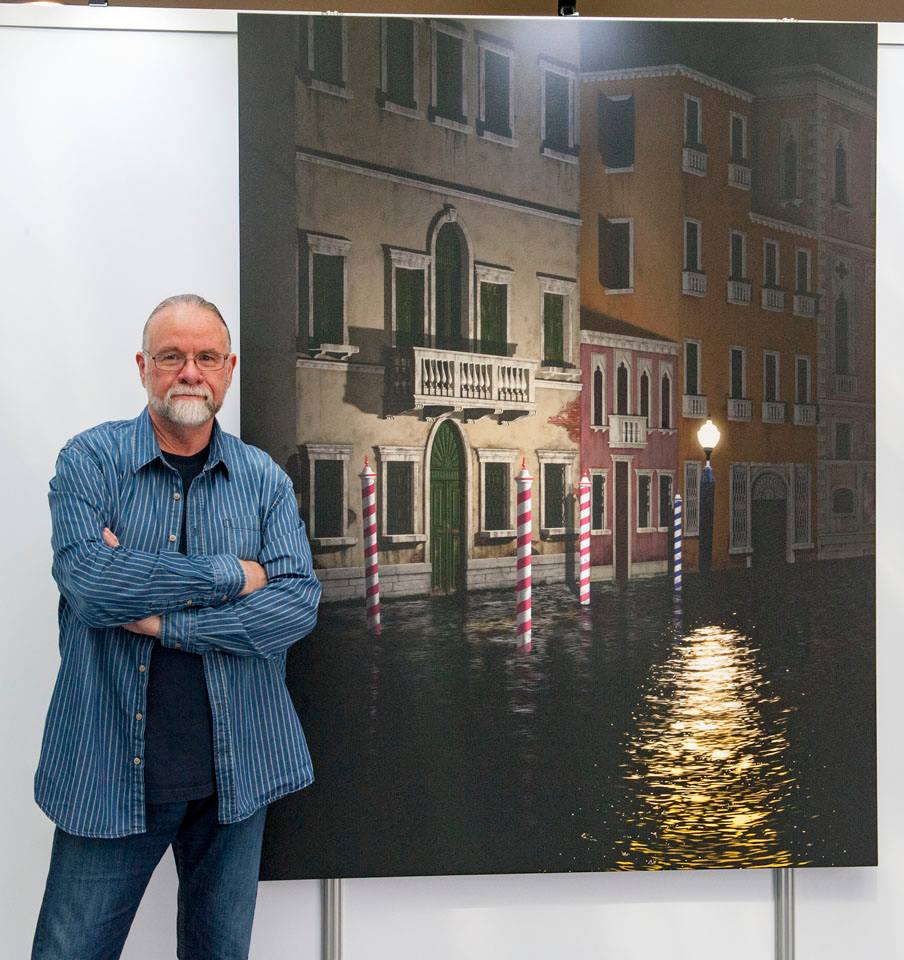
CreativePro Conference Speaker Spotlight: Bert Monroy, the Digital Art Pioneer
Welcome to our new series of posts called Speaker Spotlight, designed to highlig...
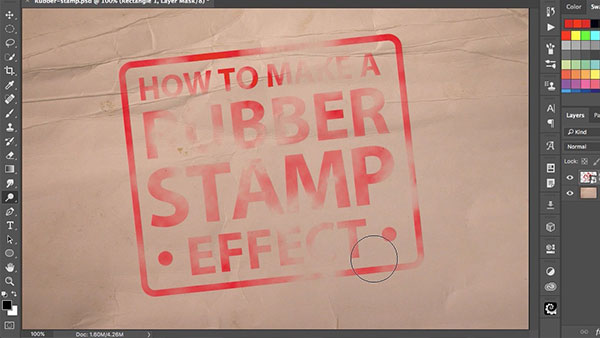
How to Make a Rubber Stamp Effect in Photoshop
You can turn just about any artwork, logo, or text into a rubber stamp by follow...

CreativePro Tip of the Week: Using the HUD (Heads-Up-Display) Color Picker in Photoshop
This CreativePro Tip of the Week on using the HUD (Heads Up Display) Color Picke...