

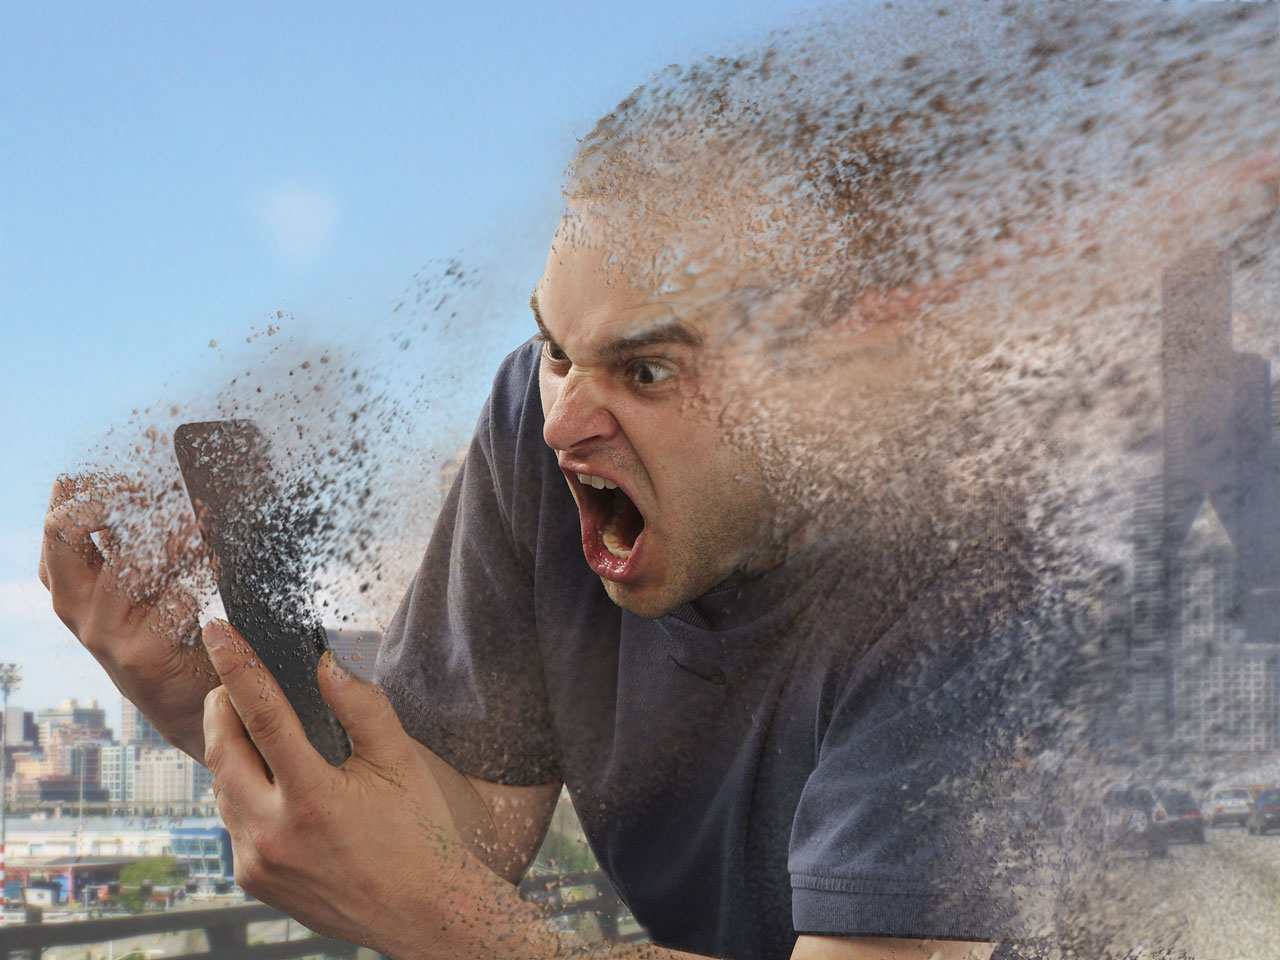
If you’ve seen Avengers: Infinity War, you’ll know that one of the standout special effects is the sudden disintegration of the film’s characters: they break apart into flying swirls of matter and dust. It’s an impressive effect, and while a single still image can never produce the same momentum as a moving image, we’ll see how we can reproduce this effect in Photoshop.
Step 1: The starting image
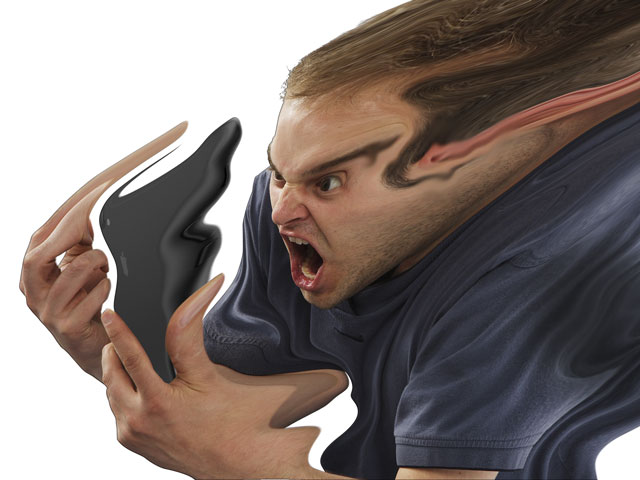
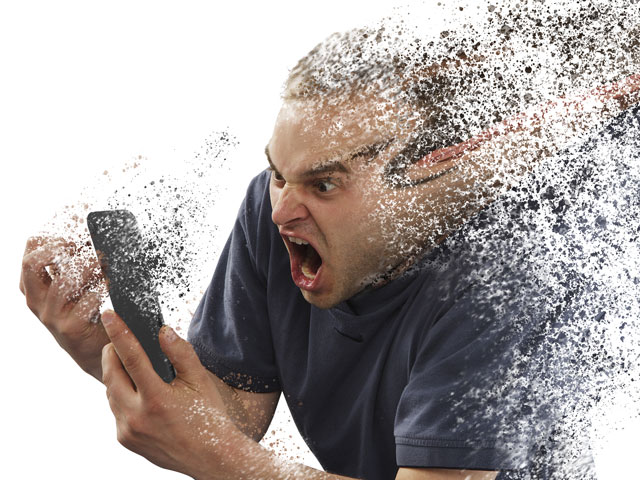
Rather than pick a futuristic sword and sorcery character, I’ve gone for the more contemporary image of a man screaming at his iPhone. Of course, you can start with any image you like – but a strong aghast expression will be more effective than your Uncle Bob grinning over his barbecue.

Step 2: Liquify that image
Duplicate the image and open the Liquify filter (at the top of the Filters menu). Use a large brush with the oddly-named Forward Warp Tool, and smear out the pixels so they’re all flowing towards the top right of the image. Don’t touch the left hand side of the image, to give the impression that the figure is disintegrating towards the right.
Step 3: Add a Layer Mask
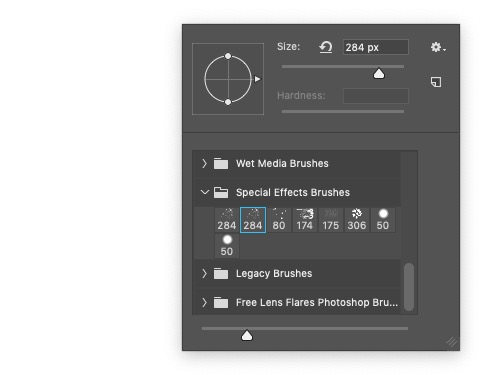
Return to the original image, hiding the smeared version, and choose Layer > Layer Mask > Reveal All, which will create a new, empty mask. With the Brush Tool, select one of these dotty brushes from the built-in Special Effects Brushes set.
Step 4: Paint on the Mask
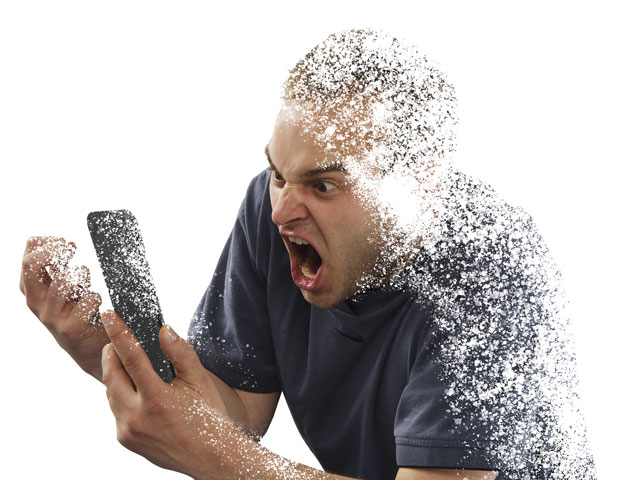
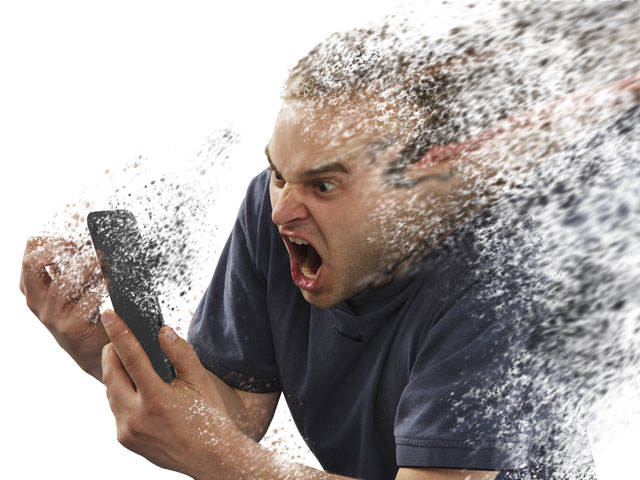
Paint in black on the Layer Mask to hide the layer selectively. You should paint out the right side of the figure, leaving the left side largely intact; vary the brush size for a more random effect.
Step 5: Smudge the Mask
Switch to the Smudge tool, and smear the mask up and to the right to create a sense of motion. Any stray hidden areas on the left side of the figure will look like spattered paint, so use a regular brush to paint these back in in white, which will reveal those areas again.
Step 6: Reveal the Liquified layer
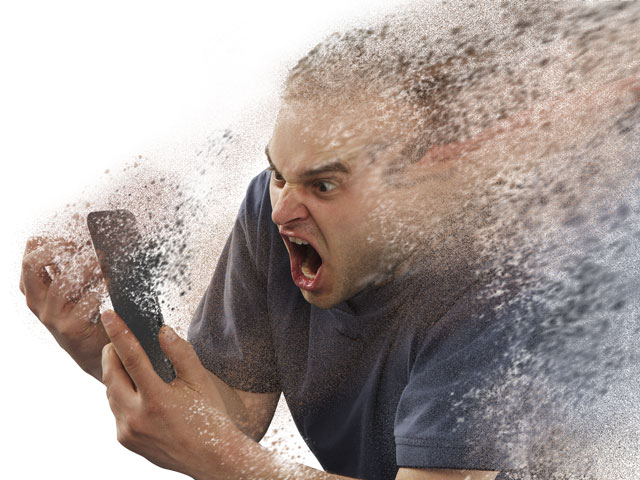
Show the layer you liquified in step 2, and add a Layer Mask using Layer > Layer Mask > Hide All. This will hide the entire layer. Use the Brush tool with the same Special Effect brush you used in step 3, and this time paint in white to reveal the layer.
Step 7: Smudge the Mask
Just as you did in step 5, use the Smudge Tool to smear the mask up and to the right, to give the particles a sense of motion. Smudge more the further away from the body the particles are, to accentuate that motion.
Step 8: Add some dust
Make a new layer, and set the Brush Tool to Dissolve (hold Ctrl on a Mac or the right mouse button to change the mode). Set the Brush opacity to just 10%, and paint arrays of fine dots on the layer, sampling colors from the image. Don’t forget to change the Brush mode to Normal afterwards, or you’ll get confused the next time you open Photoshop!
Step 9: Blur the dust
The dust will most likely look too perfect, so use the Smudge tool again very tentatively to give a small sense of movement to it. Don’t smudge too far or it will lose its integrity.

Step 10: Add a bevel
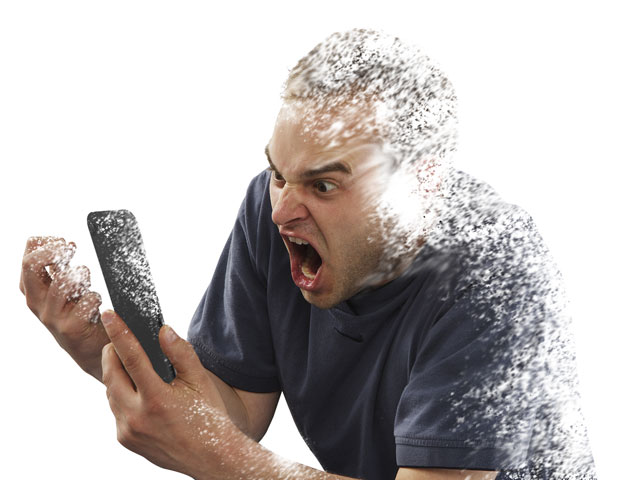
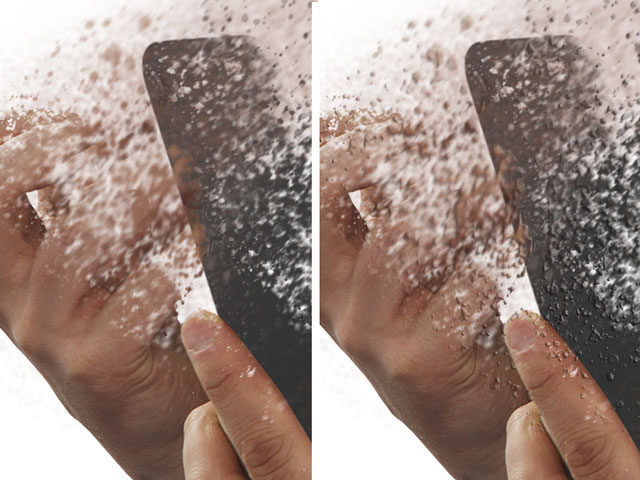
Switch to the Liquified layer, and use the Layer Styles dialog to add an Inner Bevel to the layer. This will give the particles a more 3D feel, making them stand out from the body. Set the lighting direction so it comes from the top right. You can see the original on the left, and the bevel version on the right.
Step 11: Add a bevel to the base layer
Switch to the original image, and add an Inner Bevel here as well. This time, set the direction to Down rather than Up, to reverse the lighting angle. This will produce a highlight on the bottom left edges, which you don’t want; so set the Highlight strength to zero to remove this.

Step 12: Add a background
Although the image looks OK on white, adding a background will place the figure in context. Positioning plain areas such as sky behind the main areas of interest will help them to stand out; blurring the background with Gaussian Blur will help the viewer to focus on the main figure.

You can see a high res version of the final image here:
This article was last modified on February 4, 2019
This article was first published on February 4, 2019
Commenting is easier and faster when you're logged in!

Recommended for you

Preview a Mix of Color and Grayscale Pages in Your InDesign Document
With some creative uses of layers and libraries, you can create a template that...

Photoshop Easter Eggs
Adobe’s creative apps have a long history of including little Easter Eggs...

Combining Custom Distortions with Image Warp in Photoshop
Photoshop’s Image Warp tool is great for bending layers into any shape. Of...