


They say seeing is believing, but when it comes to modern technology I think you can take it a step further and say touching is believing. Right now you can control anything from a car to a refrigerator with a touchscreen, so it’s no surprise that even InDesign is gaining more touch features, in addition to ones we’ve noted in the past.
In InDesign CC 2015 there is a workspace called Touch.

For the time being, you can only use it on Windows-based devices with touch capabilities, such as the VAIO Z Canvas, which I reviewed for CreativePro. Let’s take a look at how to use InDesign’s Touch workspace.
Getting to Know the Touch Workspace
To switch to the Touch workspace, tap the icon at the top of the InDesign window, or choose Touch from the Workspace menu.

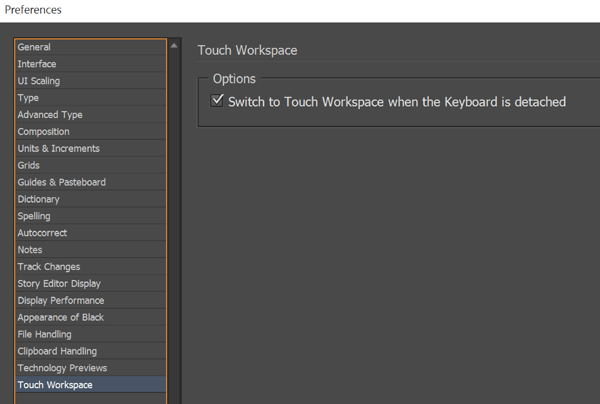
There’s also a preference you can set to switch to the Touch workspace automatically when you detach your keyboard from your device.
The first thing you’ll notice about the Touch workspace is that it seems pretty sparse. Yes kids, minimalism is in.
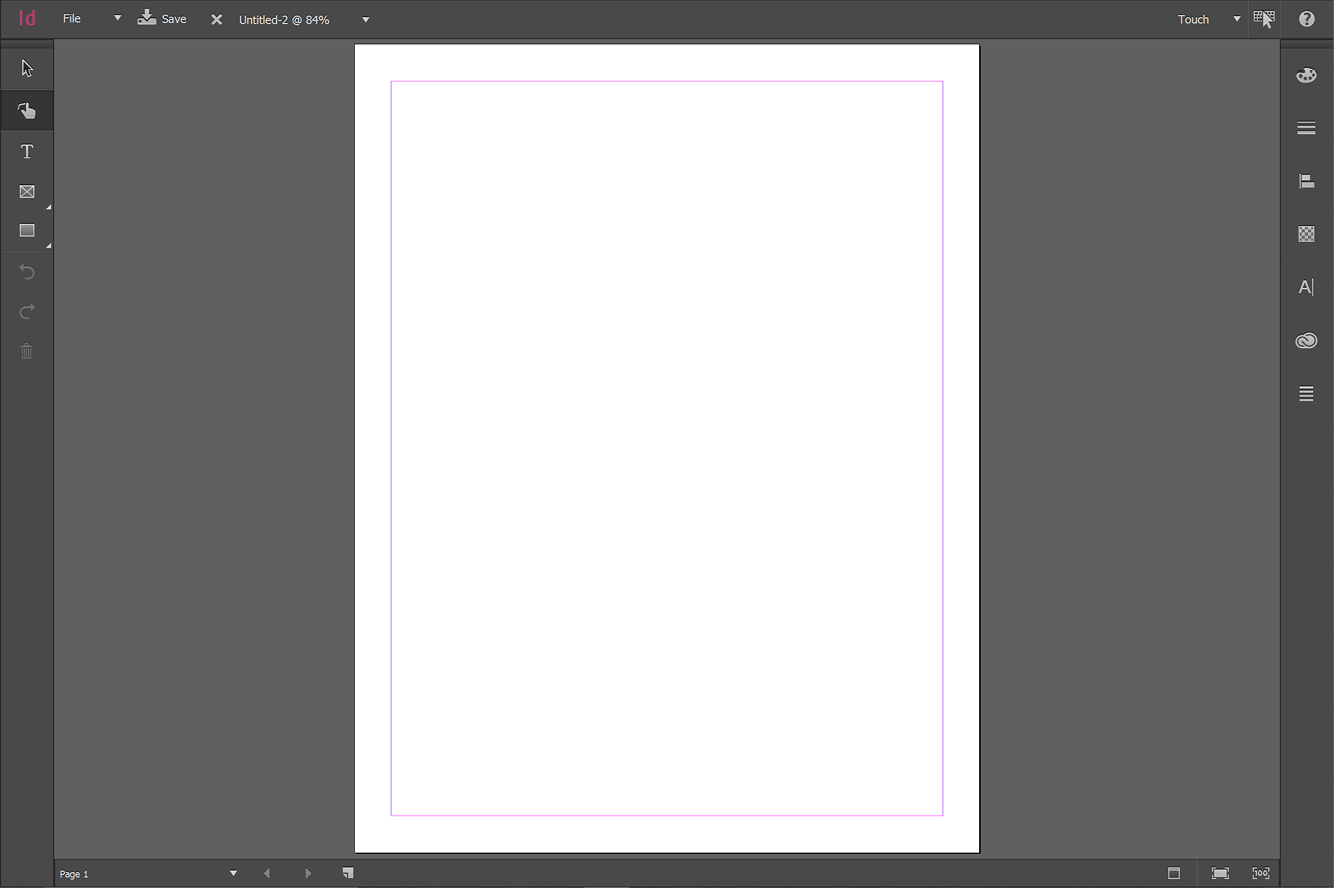
The Tools panel has only a few items: a Selection tool, a Drawing tool (which only appears in the Touch workspace), a Type tool, and tools for drawing various shapes, plus a pair of undo/redo buttons.
For panels, you get a combination Color Picker and Swatches, Strokes, Align and Distribute, Opacity, Text (which combines features of the Character and Paragraph panels), CC Libraries, and a context menu whose content changes depending on what you have selected.
There’s also just one menu, File, with commands like New Document, Open, Place, Close, Save, and Share on Behance.

The simplicity of the Touch workspace is fitting since it is mainly geared for quickly sketching out layouts, similar to what you can do with the Adobe Comp CC mobile app.
When you want to switch back to one of your usual workspaces, just tap the button at the top of the screen again.

I love how this allows you to toggle back and forth between your most recently used workspace and Touch so quickly and easily. Little things like this make the Touch workspace feel like a pure bonus, and a natural extension of my normal way of working.
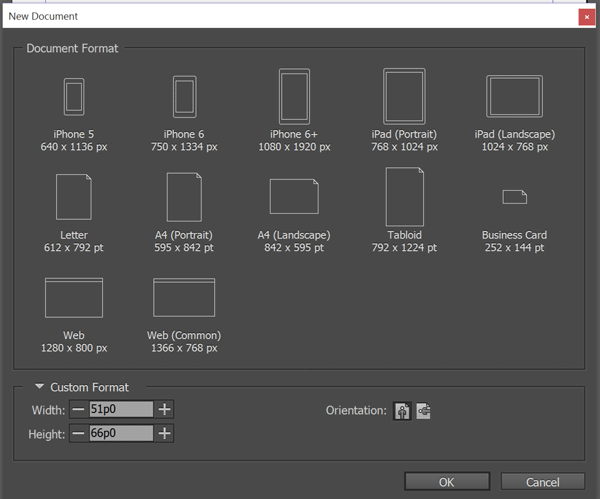
When you’re ready to create a new document, tap the File menu > New Document, and then tap the size you want in the dialog box that appears.
For adjusting the document display there are three handy buttons in the bottom right corner of the window that you can tap to toggle the Preview mode, Fit the Spread in the Window, or zoom to Actual Size.

Drawing Objects in the Touch Workspace
In the Touch workspace, you can still use your mouse or trackpad to control your cursor and create new objects. But it’s way more fun to take advantage of the gestures that InDesign recognizes. There are 16 gestures in all for creating and deleting objects.
Tap the Help symbol in the top right corner to reveal the guide to drawing gestures.
Then tap a gesture to watch an animated version showing how it works.

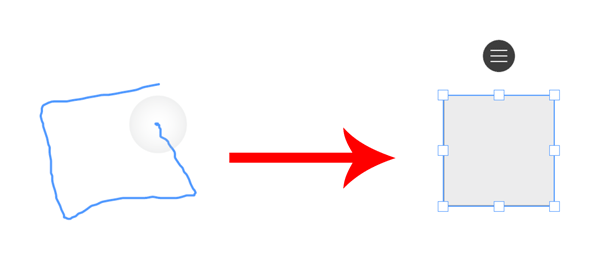
If you’ve never used Adobe Comp CC or other touch-based apps, there might be a little learning curve as you get the hang of things. On one hand, you don’t have to worry about being perfect. For example, to create a square you don’t have to draw anything close to a perfect square, or even a closed shape. You needn’t give up caffeine to draw beautifully in the Touch workspace.
On the other hand, if you’re trying to draw something like an oval, you might have a few unsuccessful attempts as InDesign thinks you want a rectangle or triangle. You also can’t dawdle since you only have about two seconds to complete a gesture before InDesign passes judgment on what you drew. Practice makes perfect, especially with more complex gestures like the ones for polygons and rounded and chamfered rectangles. If sketching a layout with your fingers seems too clumsy, try using a stylus.
If you totally mess up and draw something that InDesign doesn’t recognize, it simply gets ignored and disappears, and you have a clean slate to try again. If only everything in life worked that way!
I find that once I’m in the drawing mode, I want to do just about everything with gestures, so one feature request I’d make would be for a new gesture to resize rounded or chamfered corners. Right now you have to switch from the Drawing tool to the Selection tool before you can tweak your corners.
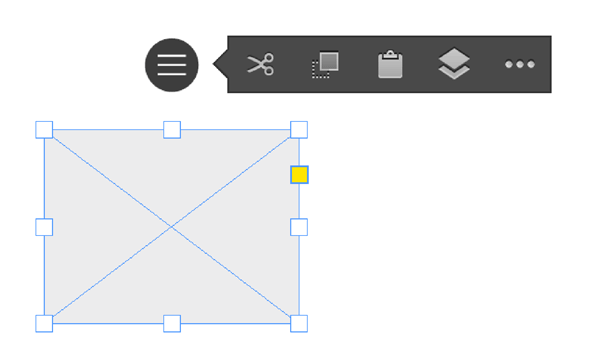
Editing Objects with Touch
Once you’ve created an object, you can modify it with gestures too. For example, you can twist two fingers to rotate selected objects. Tip: when you rotate an object, it’s very easy for your fingers to get in the way so you can’t read the angle. To solve this problem, start your rotation gesture with your fingers spread apart so they’re outside the bounds of the object, or even use both forefingers so you can spread them really far apart.
Tap on an object to select it, then drag to move it, or tap the round button that appears above the object for a small context menu.
Maybe my favorite gesture of all is the one to erase objects. Just use your finger or stylus to scribble over the object a few times and it disappears.
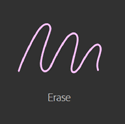
You don’t have to select anything first. Better yet: this works with multiple objects. You can just keep going with a single long, squiggly gesture, and one by one objects will disappear.
And I absolutely love the slider to move objects up and down in the stacking order.

It’s all so natural it makes me think that keyboard shortcuts are an endangered species. No one will devote brain cells to remembering Ctrl+[ or Ctrl+] when all they have to do is tap and drag a slider. How will we explain all those keyboard shortcut posters to our grandkids?
Working with Text in Touch
Of course you can create and edit text frames in the Touch workspace. There are three gestures to make text frames filled with placeholder text.

You can also drag with the Type tool. A really nice touch (no pun intended!) is that as you resize the text frame, the amount of placeholder text automatically changes to fit the frame. So cool! I wish this was a feature in all workspaces.
In the Touch workspace, each text frame is adorned with a round menu button and a slider for adjusting the type size.


Tap once on a text frame with the Type tool to select all the text. To grab a range of text, double-tap on a word to select it, and then drag to extend the text selection. To edit text, use either your regular keyboard or an onscreen one. To adjust the formatting of text, use the Text menu.

Document Navigation with Touch
Not only can you create and edit objects, you can (and should) navigate through your document using gestures for maximum speed. Pinch and spread your fingers to zoom in and out (keeping an eye on the zoom percentage at the top of the window if you like). Drag two fingers to scroll through the pages of a document.
At the bottom left of the window are buttons you can tap to jump to a specific page, go forward or backward a page at a time, and create or delete pages.

Quibbles
Like just about everything in the Universe, the Touch workspace could be improved. I have a few minor beefs like the fact that you can’t draw a diagonal line. You have to draw a vertical or horizontal line and then rotate it to the angle you want. Also, when you’ve locked an object, there’s no good way to unlock it. You have to go to the context menu on the right side of the screen and choose Unlock All. And I’m still working through my feelings about a right triangle being called a “corner”—somewhere, a geometry teacher weeps. But I’ve yet to encounter anything truly annoying or dysfunctional. I think Adobe got all the key elements right, and I’m sure we’ll see enhancements in the future.
Keep InTouch
Overall, I’ve been amazed at how quickly I’ve gravitated towards using the Touch workspace. I had been a bit skeptical of using a touch interface for production work (not including things where touch has an obvious advantage like drawing/painting, photo retouching, etc). But once I had the basic gestures down, and gained some confidence I smoothly started working a few modifier keys in like Alt-dragging a frame to duplicate it. Or adding Ctrl+Shift when dragging a corner of a frame to scale the content within it. If you know InDesign, your hands already know what to do and the Touch workspace becomes just another tool for getting your work done.
In fact, for me it got to be so natural that when I switched back to my normal workspaces, I started to tap objects expecting to get context menus, and was disappointed when they didn’t pop up. How quickly our minds adapt to cool new things!
Have you used the Touch workspace yet? Or Adobe Comp CC? Let us know what you thought in the comments! We’d love to hear your experience and if you have any cool uses or tips.
This article was last modified on April 23, 2021
This article was first published on January 6, 2016
Commenting is easier and faster when you're logged in!

Recommended for you

The Mystery Of The Reappearing Sample Button Library
How library panels can act like Tribbles and cause confusion if you're not watch...
How to Customize InDesign’s Preferences, Panels, and More
Learn how to customize InDesign preferences, panels, defaults, and workspaces to...

InDesign How-to Video: Create a Custom Workspace
In this week’s InDesignSecrets video, Anne-Marie Concepción shows us how to keep...