



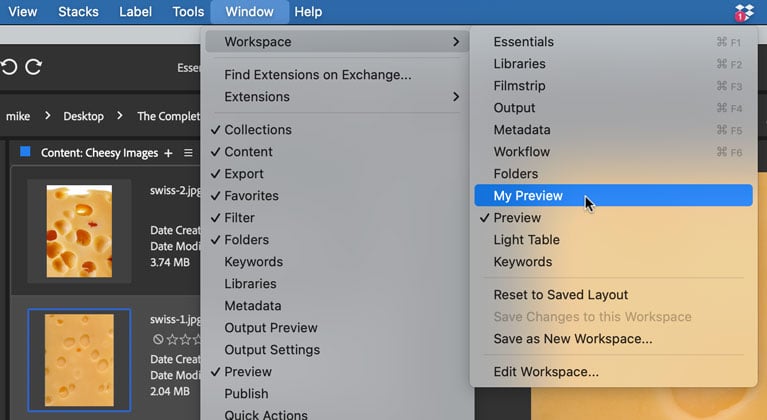
Adobe Bridge makes it easy to customize the interface to suit your needs and work habits. It comes with several built-in arrangements of panels, called workspaces. You can switch between workspaces by choosing one from the Window menu, or the Tools area at the top of the main window.

If you customize any of the workspaces by resizing or rearranging panels, Bridge will remember and keep things as you left them, even if you switch between workspaces or quit and restart the program. If you want to reset a workspace to its default appearance, choose Window > Workspace > Reset to Saved Layout.
To create a custom workspace, rearrange the panels in one of the built-in workspaces to your liking, then choose Window > Workspace > Save as New Workspace.

Then, you can switch to it at any time by choosing it in the Window menu or Tools area.
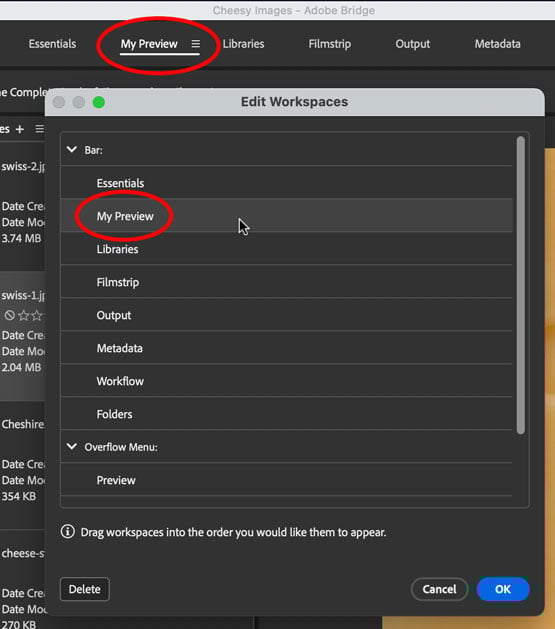
You can also control the order of listed workspaces in the Tools area by choosing Window > Workspace > Edit Workspace. In the dialog, drag the workspaces in the order you want them to appear.
Commenting is easier and faster when you're logged in!

Recommended for you

How to Batch Apply Settings to Images Using Bridge
Learn how to make adjustments to an image, then batch apply the same adjustments...
Saving Thumbnails of InDesign Pages
Keith does a "deep dive" into saving thumbnails for Bridge in InDesign.
Moving Control Panel to Bottom of Screen
There are good reasons why you'd want to move the Control panel