

This InDesign tip on using the Story Editor when designing with text was sent to Tip of the Week email subscribers on April 20, 2017.

Sign up now and every week you’ll get a new tip, keyboard shortcut, and roundups of new articles, plus exclusive deals sent right to your Inbox!
Just scroll down to the bottom of this page, enter your email address, and click Go! We’ll take care of the rest. Now, on with the tip!
If you’re familiar at all with InDesign’s Story Editor, I know what you’re thinking: this tip’s title makes no sense. The whole point of the Story Editor is to present text content in a way that’s free of formatting. So how could you use it to design text? The key is that the Story Editor resides in a separate window, and the text you select in the Story Editor does not appear to be selected in the layout.
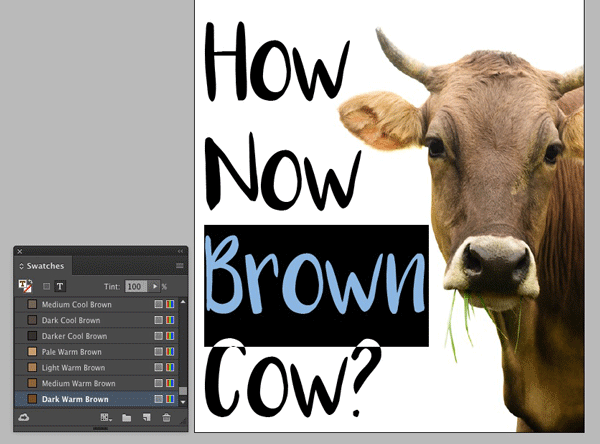
Normally, if you’re experimenting with different colors, you have to select the text (which makes it appear inverted), apply a color, then deselect to actually see if it’s the color you want.
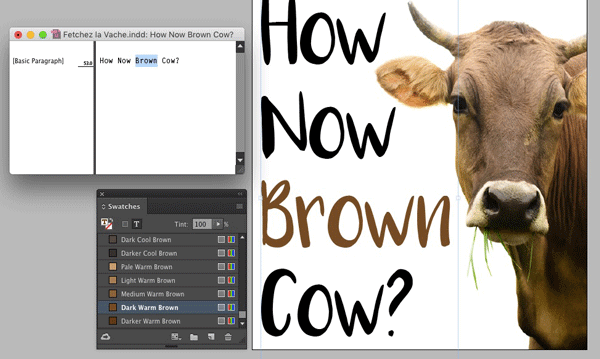
Instead, select the text frame with the Selection tool (or just park your cursor somewhere in the frame). Then open the Story Editor (Ctrl+Y/Command+Y). Now you can make your text selection in the Story Editor, and apply the color, change font, size, etc. and immediately judge the new look of the text.
This article was last modified on July 25, 2019
This article was first published on April 25, 2017
Commenting is easier and faster when you're logged in!

Recommended for you

Copy and Paste Text Formatting with the Eyedropper Tool
Here’s a quick tip for those times when you’re experimenting with different comb...
A Hyperlinks Mystery Solved
The InDesign team has done a lot to improve the hyperlinks features in recent mo...
Tip of the Week: Repeating Tabs
There are three new Links panel icons in InDesign CC that you'll see when workin...