
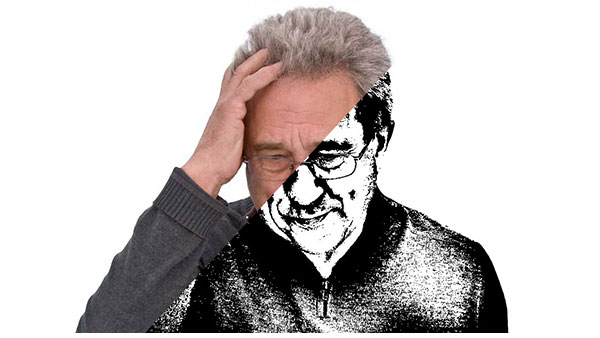
Turning images to black and white gives them a stark, urban feel that can look great in reports and magazines. It also has the advantage of unifying images drawn from a wide range of sources, so they all look as if they belong in the same publication. The standard method of achieving this is to use the Threshold adjustment. But this isn’t enough on its own; as we’ll see here, by using an Adjustment Layer instead, we’re able to customize the end result so as to bring everything perfectly into view.
Step 1: The starting image
You can use just about any image you like for this process. It should be a silhouette, so that the background remains pure white; otherwise, you’re likely to get stray bits of scenery looking odd as they poke out of your subject’s head. 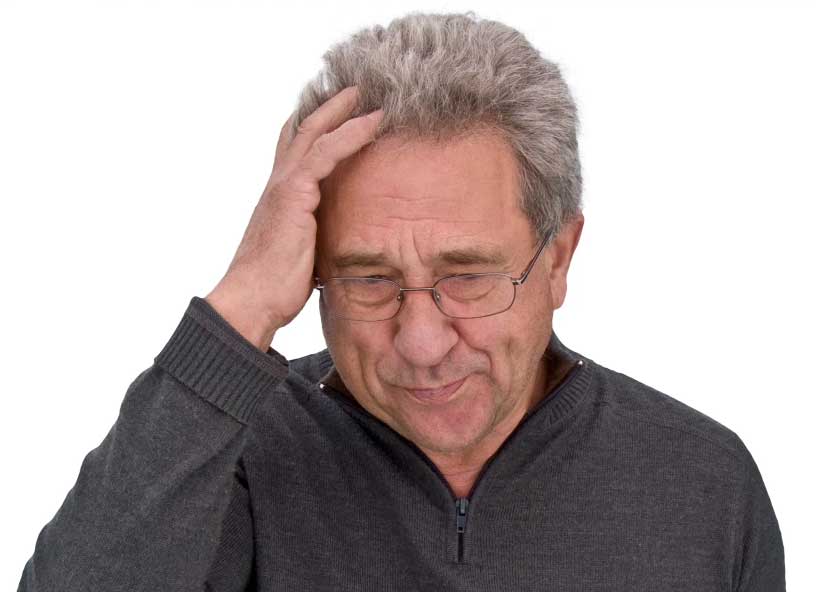
Step 2: The standard approach
The conventional way of stylizing an image of this kind is to use Image > Adjustments > Threshold, which produces this effect by default. The face is reasonably well converted to black and white, but all the information in the sweater has disappeared – and the side of the hand has vanished entirely. 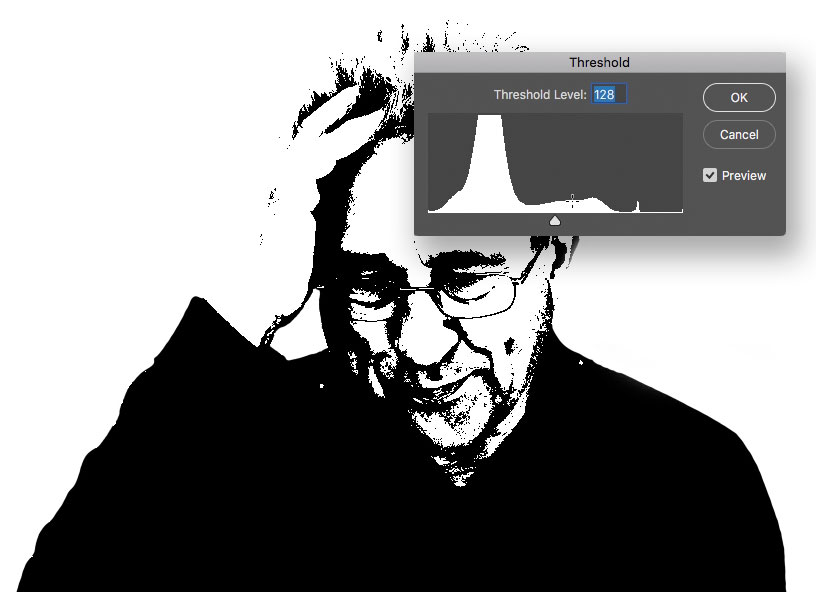
Step 3: Threshold adjustment
You can drag the Threshold slider to the left, which will brighten the image and turn a smaller range to pure black. But while this makes the sweater more defined, it completely loses the detail in the face. So Cancel this operation, and start again. 
Step 4: Make an Adjustment Layer
Go to Layer > New Adjustment Layer > Threshold, and you’ll see a very similar effect. The difference is that you’re
now looking at the layer through the Adjustment Layer, rather than applying the effect directly; this means you can modify the underlying layer while still seeing exactly the result you’re going to get. 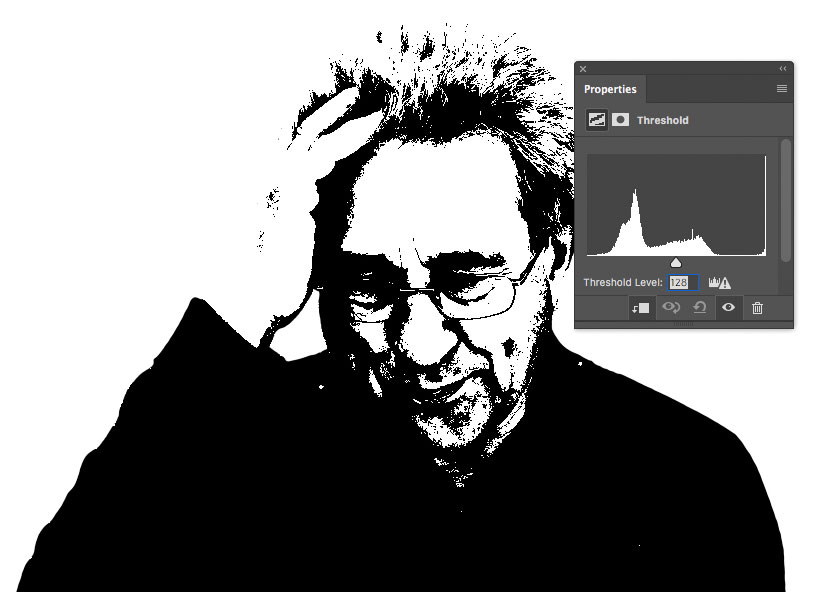
Step 5: Burn the highlights
Choose the Burn tool, set to Midtones, and set it at a very low Exposure – about 10%. Paint over the over-bright areas of the image, such as the side of the hand and the forehead, which were previously blown out. As you paint, you’ll see the image darkening. 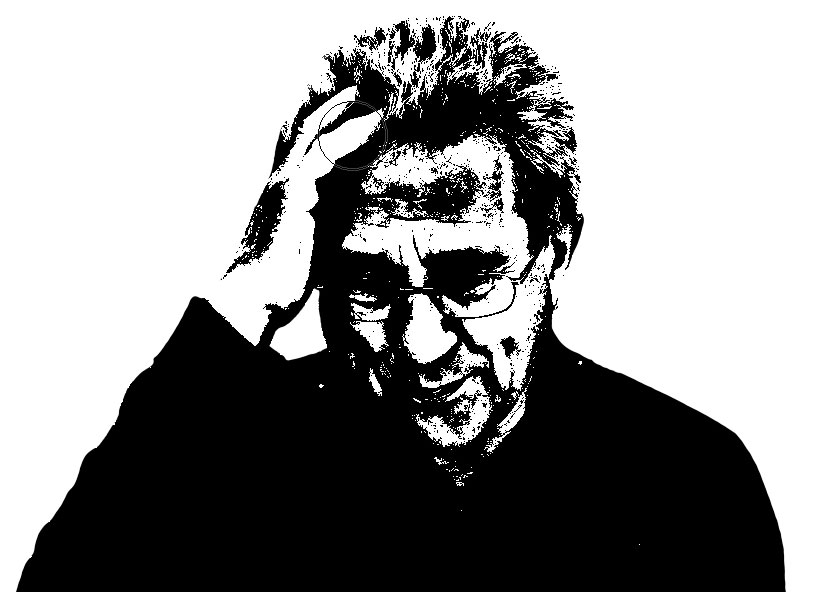
Step 6: Let some light in
You could now switch to the Dodge tool, but there’s a shortcut: holding Alt (Windows) or Option (Mac) allows you to access that tool temporarily. Now you can brighten the tricky areas, such as around the eyes, to let a little more light into that region – and you can reduce the darkness in the forehead at the same time. 
Step 7: The bigger picture
Make the brush size larger, and change the Exposure to about 60%. Now, when you brush with the Option/Alt key held, you’ll be able to brighten those dark areas of the sweater, bringing back much of the detail that had been lost. 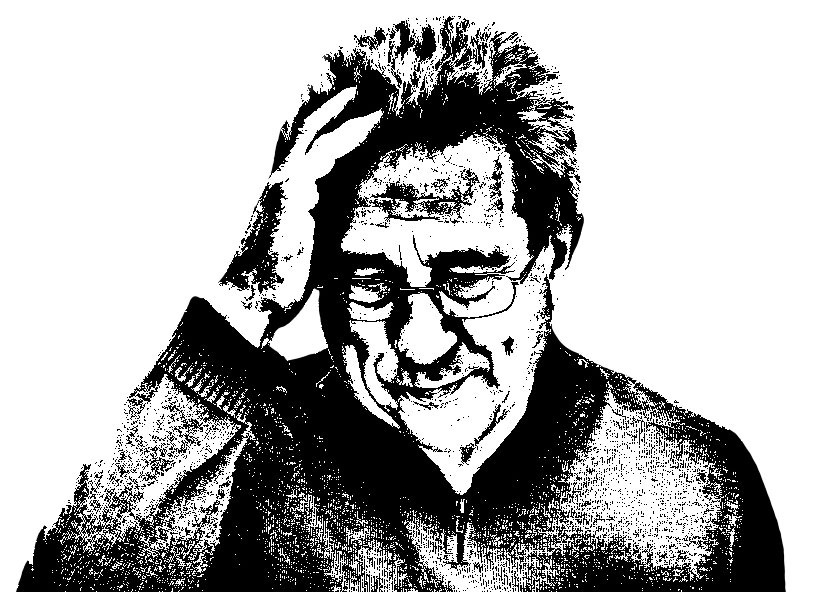 Performing this technique requires a bit of going back and forth between the Dodge and Burn tools, alternately brightening and darkening to get the result you want; but if you use Option/Alt rather than switching tools each time, you’ll find the process that much smoother. Check out the video version of this tutorial below, and get a link to download the original artwork at https://www.2minutephotoshop.com/how-to-create-perfect-threshold-images/
Commenting is easier and faster when you're logged in!

Recommended for you
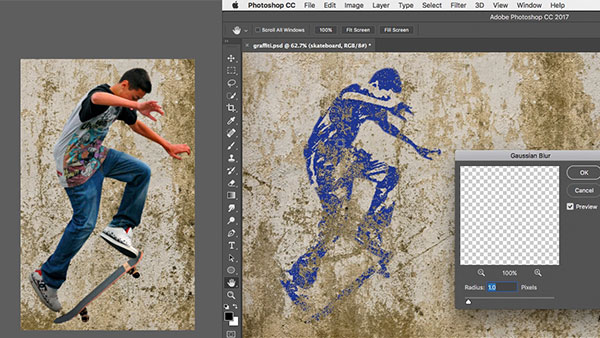
How to Turn a Photo into Graffiti with Photoshop
You can turn any photograph into a piece of graffiti artwork in Photoshop, witho...
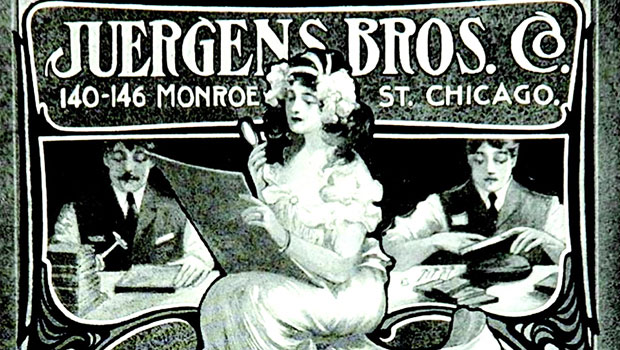
Scanning Around With Gene: When Chemicals Plus Electricity Equaled Beautiful Art
You could certainly argue that the graphic arts industry, even in its present co...

SOS San Francisco: A Case Study for Collective Visual Brainstorming
This article details the creative process used to develop the graphics for SOS S...