
Editing Scanned Images
Straight from the scanner with all the auto-correct features turned off, most images look pretty bad and need some work. But I’d rather determine those changes myself than let the software do it, especially since I often scan items that don’t fall into any sort of normal color zone (old newspapers, magazines, napkins, towels, etc.).
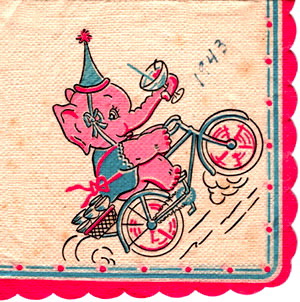
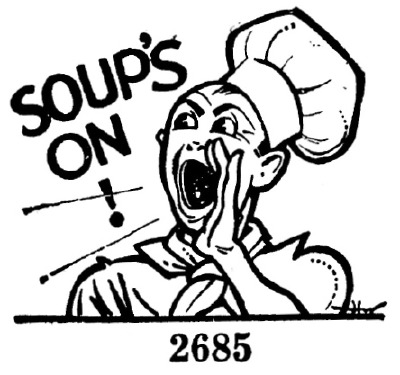
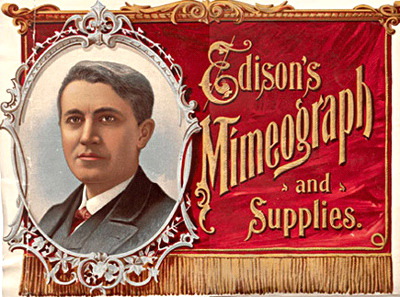
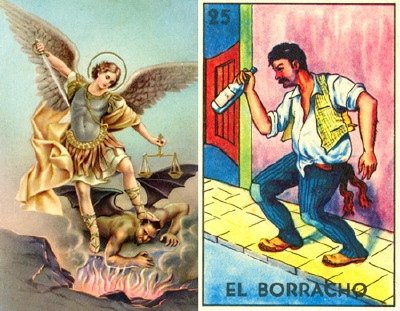
Click on this image to go to the article in which it originally appeared.
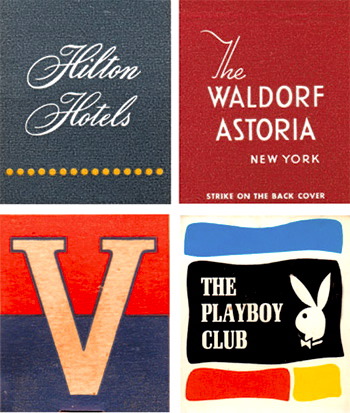
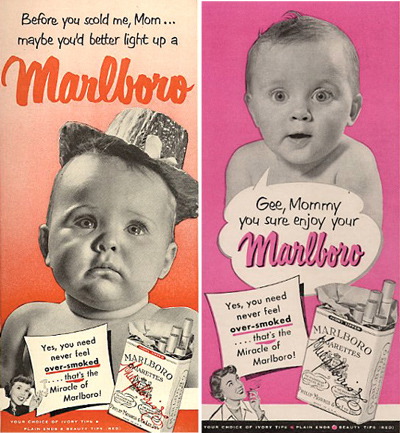
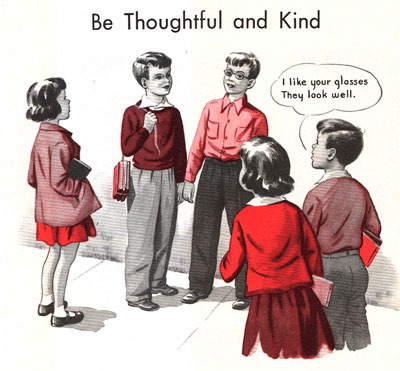
Click on this image to go to the article in which it originally appeared.
I’m a lazy and poorly trained image editor, I know, so some folks are going to dispute my methods. But I think I’m like a lot of designers — I learn just enough to get things done and often do things in an indirect way simply because nobody showed me the easy way.

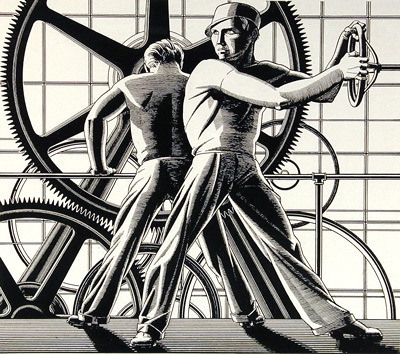
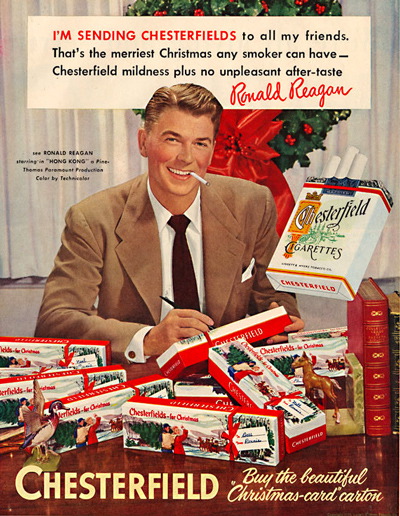
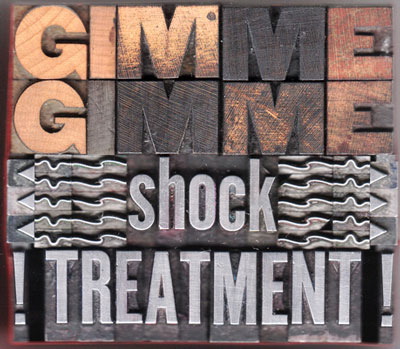
Click on this image to go to the article in which it originally appeared.
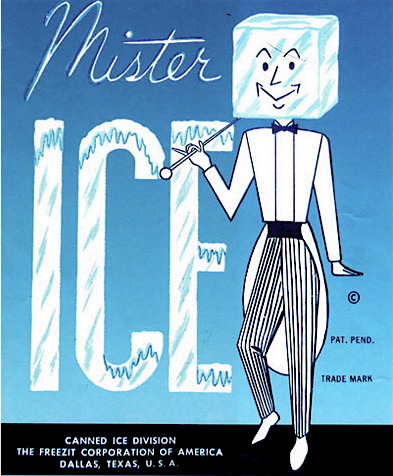
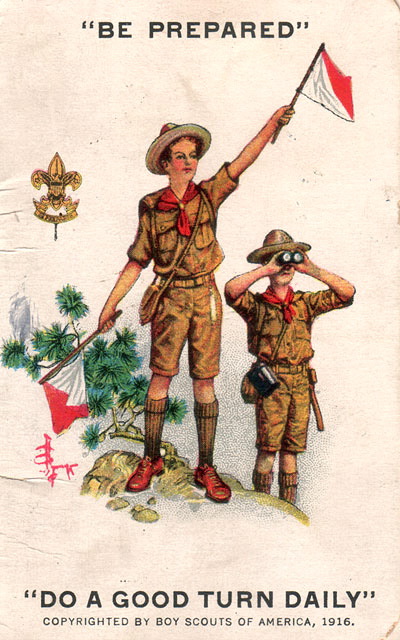
Click on this image to go to the article in which it originally appeared.
One good example is when I make composite images. For four of the last five years, the only way I knew to combine images was in the Photomerge feature of Photoshop. I would have to re-size each image to the correct dimensions, put them into a merged image, then save them and re-crop to the new size. Then someone explained layers to me and now I simply bring the images into a new file and use Edit > Transform > Scale, to size them appropriately and then save the final image. [Editor’s note: Apparently, Gene hasn’t explored this site’s Photoshop how-to articles. I may drive up to his house and show him a few more tricks!]
Here is my general process for fixing a scanned image:
- I adjust levels. This is a visual thing to me and I don’t pay much attention to the actual histogram. Fortunately, my goal is to make the image better, not necessarily to match a precise color palette or original. So I can just play around with the levels until I think the image looks good.
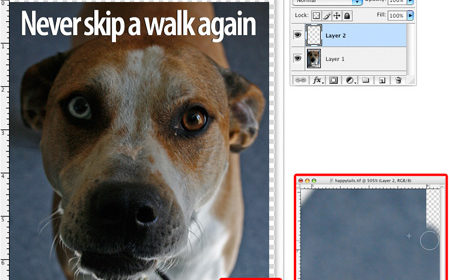
Click on this image to go to the article in which it originally appeared. - When I’m working with images scanned from yellowed paper (which is quite often), I may go into the contrast setting and make adjustments there, even though I’ve been told to stay away from contrast as an adjustment. Sometimes it takes a combination of things to remove a yellow background.

Click on this image to go to the article in which it originally appeared.
Click on this image to go to the article in which it originally appeared. - I adjust hue and saturation, which is where I make most of my color adjustments. I confess that I don’t understand the color curves thing. I much prefer a slider-bar metaphor, so that’s where I tweak my colors. I almost always turn saturation way up since my images appear on the Web, and I think more saturated colors look better onscreen.

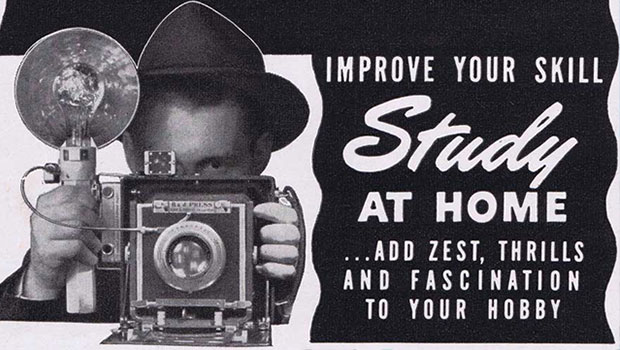
Click on this image to go to the article in which it originally appeared. - When the image looks pretty much the way I want it, I apply noise and other filters. My images are often from very crudely printed sources, so the Despeckle filter is one of my good friends. Again, I pretty much eyeball these filters until I get the result I think looks best.
Click on this image to go to the article in which it originally appeared.
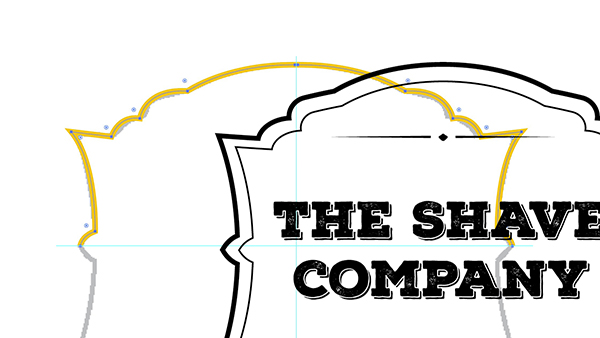
Click on this image to go to the article in which it originally appeared. - I add a sharpening filter. Whole books have been written about sharpening, and I know there’s a precise art to it, but I usually stick to Unsharp Mask and leave it at that. (I’ve tried the Smart Sharpen filter but don’t like it as much.) I adjust the variables and preview them until it looks about right. Many times I repeatedly re-apply the filter until I like the results. It drives some Photoshop gurus nuts, but again, my images are unusual, and I’m not doing the cover for Vanity Fair here. When I’m confronted with a lot of type in an image, I sometimes use Sharpen Edges.
- One of my most time-consuming and annoying tasks is re-sizing and optimizing images. I’ve tried simple freeware applications such as ImageWell to batch re-size and re-name photos, but nothing works quite as well as Photoshop’s Save for Web command. It creates the smallest and fastest-loading files, so I use it almost exclusively. I keep my JPEG quality set to at least 10, and then save to the maximum width allowed on this site.
Click on this image to go to the article in which it originally appeared.
Click on this image to go to the article in which it originally appeared.
So that’s the routine I’ve gone through for 75 columns and thousands of images. I usually end up with many more images than I use, so I spin my wheels quite a bit. But there is a certain Zen to scanning that I’ve come to enjoy. It’s fun to try to salvage an old, wrecked image. I’ve pulled off a few miracles in my five years, obviously not from deep knowledge of Photoshop or color retouching, but from a willingness to try different things and play around with various filters and tools.

Click on this image to go to the article in which it originally appeared.
Click on this image to go to the article in which it originally appeared.
Thanks again for hanging with me for all these columns and for giving me a forum to justify my obsessive collecting of junk. And at least now, after five years, I know the difference between a quail and a pheasant. But I’m still a liberal idiot.
Click on this image to go to the article in which it originally appeared.
Click on this image to go to the article in which it originally appeared.
Click on this image to go to the article in which it originally appeared.
This article was last modified on May 18, 2023
This article was first published on February 6, 2008
Commenting is easier and faster when you're logged in!

Recommended for you
Using Bleed for Print Design
Based on an article originally published in the DesignGeek e-zine. One of the fi...
Create a Vintage Logo in Illustrator
Those artisanal logos are all the rage, aren’t they? You know the ones: th...
Scanning Around With Gene: Stuff I Miss About Photography
Return to page 1. I miss buying film in bulk and rolling my own to save money, a...