
Recipes for Applying—and Ignoring—Text Wrap in InDesign
Learn when to apply and when to ignore Text Wrap in InDesign.

This article appears in Issue 1 of InDesign Magazine.
It doesn’t take long to discover the usefulness of InDesign’s Text Wrap feature. After all, text wrap is that lovely feature that, among other things, allows our text to have a relationship to adjacent graphics or even other text. Text Wrap is applied by simply selecting a frame or object around which you want text to wrap, then setting the desired wrap using controls in the Text Wrap panel by choosing Window > Text Wrap. Applying a text wrap creates an editable text wrap boundary around an object. The icons across the top of the panel indicate the basic text wrap shape (Figure 1). Once the basic shape is selected, you can set the inset values and, in the case of Wrap Around Object Shape (known as contour wrapping), you can also set the text wrap boundary to be the same as the image’s clipping path, alpha channel, bounding box, Photoshop path, or graphic frame, depending on the format of your graphic. As of InDesign 2021, you can choose Select Subject for Adobe’s AI technology to help you with creating your text wrap.
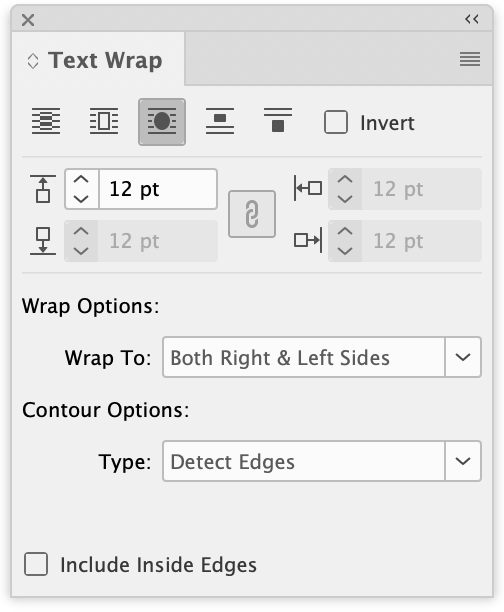
Figure 1: Text Wrap panel
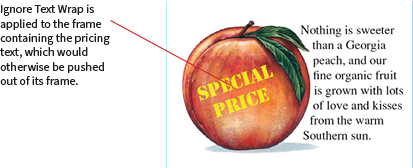
Text Wrap, you really can have it both ways. Use Ignore Text Wrap when you want to create interesting pull quotes, headlines with graphics slightly overlapping them, or even to put a price on your products!
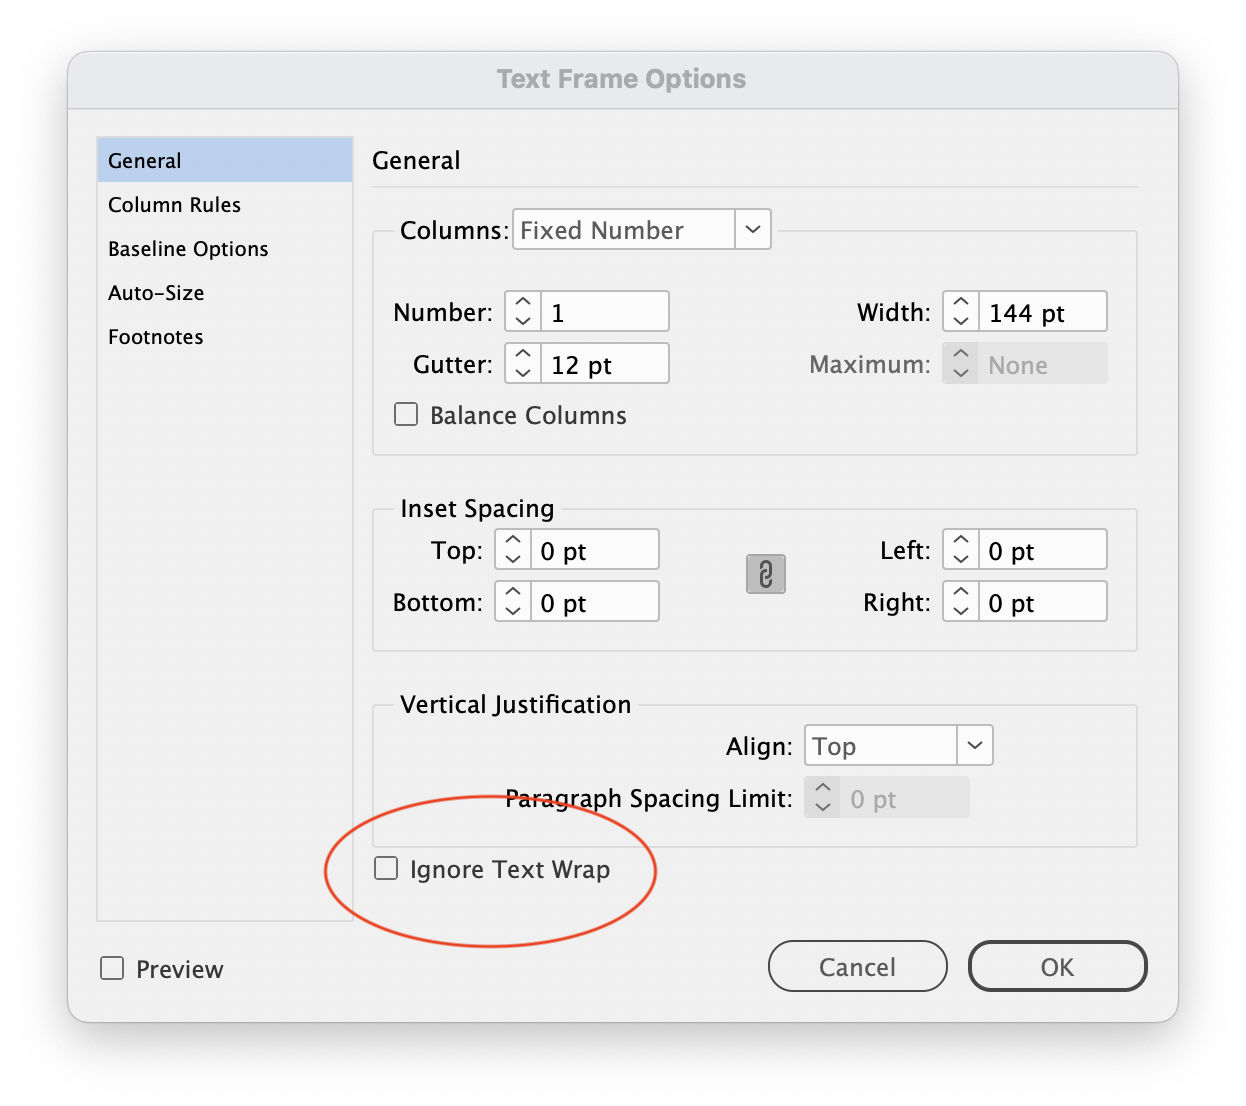 Figure 2: Text Frame Options dialog box
- 1 Headline
- 1 Graphic
- Body text to taste
- The Text Wrap panel
- The Text Frame Options dialog box
Directions: Take one headline and one two-column frame of body text; position on page. Place graphic. Apply text wrap to the graphic by clicking the icon in the Text Wrap panel. Position the graphic over the text frames. The headline text will momentarily be pushed out of its frame by the text wrap on the graphic; select the headline text frame, open the Object > Text Frame Options dialog box, and click Ignore Text Wrap. The headline will flow back into its frame, and the graphic can be positioned over it freely without displacing the text. Serve chilled with garnish. Perfect with margaritas on the rocks.
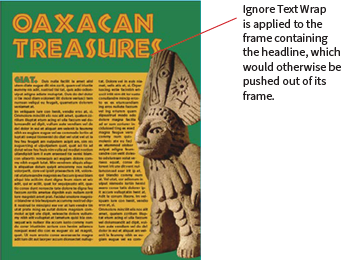
Text Wrap is applied to the graphic, causing the body text to wrap around it.
- 1 Capital letterform in your favorite font (e.g., Berthold City)
- The Create Outlines command (optional)
- The Text Wrap panel
- The Text Frame Options dialog box
Directions: Type a capital letter in a text frame. Increase size as desired. Optionally, you can convert the character to outlines to make easier to work with: Click on the frame with the Selection tool and covert to outlines using the Type > Create Outlines command. Create a separate text frame containing the pull quote text, and apply text wrap to the pull quote text frame by clicking the Wrap Around Bounding Box icon in the Text Wrap panel. Position the pull quote text within the main story, and set the desired insets for the wrap. Position the outlined capital within the pull quote and main story. Apply text wrap to the pull quote text frame. The pull quote text will momentarily be pushed out of its frame by the text wrap on the capital; select the frame, open the Object > Text Frame Options dialog box, and click Ignore Text Wrap. Serves thousands of readers every Sunday.
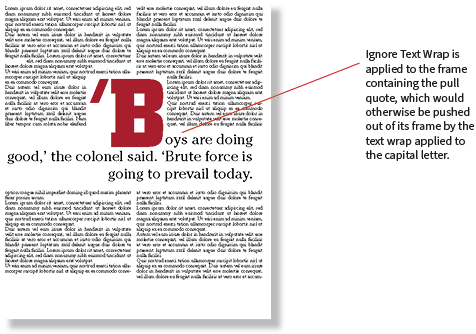
Text Wrap is applied to the capital letter, causing the body text to wrap around it.
Text Wrap is applied to the graphic, causing the body copy to wrap around it.
Commenting is easier and faster when you're logged in!

Recommended for you

The Amazing Master Page Ghost Text Wrap Bug
You can delete the objects, but the text wrap remains! A weird bug and what you...

How to Create a Single-Image Book Promotion eBlast
Here are step-by-step instructions so you can make a single-image graphic that c...
The Exquisite Stylings of deVicq Design
Roberto de Vicq is an award-winning designer who is known for his stylish, sophi...