

Placing items on an irregular surface, such as grass or sand, will only look natural if the object is partly concealed by that surface. Here, we’ll look at how to treat a snake placed on top of this grass so it looks as if it’s really in there, complete with shadows, both under the snake and on top of it.
Step 1
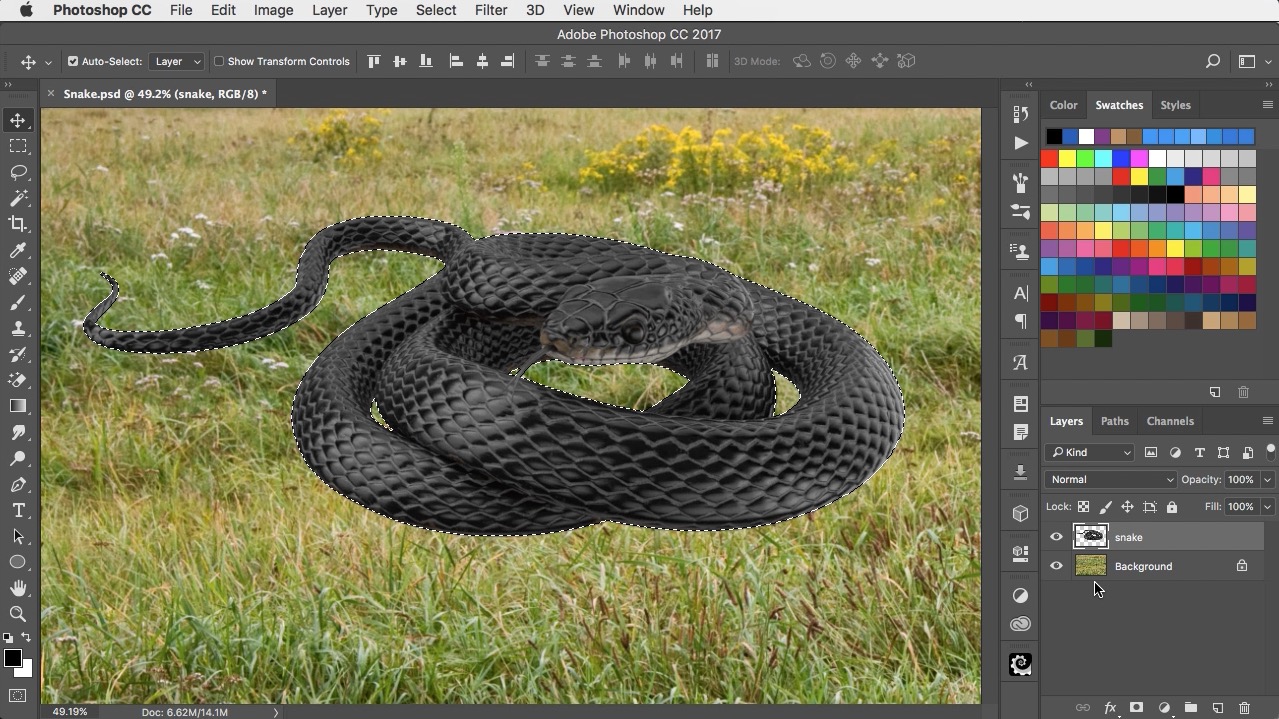
Here’s the original image, with the grass and the snake on two separate layers. The snake looks like it’s floating above the grass, rather than truly lying on it.

Step 2
Start by loading the snake layer as a selection. To do this, hold Command (Mac) Ctrl (Windows) and click on the snake’s thumbnail in the Layers Panel. You’ll see the marching ants selection boundary around the whole snake.
Step 3
Go to Layer > Layer Mask > Reveal Selection to make a new Layer Mask that hides the area outside the snake. You won’t see any difference, because there was nothing in this area to start with.

Step 4
Switch to the Smudge Tool, and hold Ctrl/Right mouse button to select your brush. Choose one of the spatter brushes that comes with Photoshop by default, and set the brush strength to around 80%.

Step 5
Smudge up from the grass into the snake, and each stroke will hide the snake where you brush by pushing the mask over it. This makes the snake look much more like it’s nestling in the grass.

Step 6
To make it more convincing, make a new layer beneath the snake. Choose a small, soft-edged brush, set the foreground color to black, and set the opacity of the brush to around 30%. Paint the shadow beneath the snake, building it up gradually for a more convincing appearance.

Step 7
To make the snake look like it’s really there, you need to add some shadow onto it cast by the grass. Make a new layer above the snake, and choose Layer > Create Clipping Mask so that this shadow is visible only where it overlaps the snake. Paint some shading on the front of the snake, and the image is complete.

Snake in the Grass Tutorial and Artwork
Check out the video version of this tutorial below, and get a link to download the original artwork at https://www.2minutephotoshop.com/how-to-adjust-shadows-on-portraits
This article was last modified on October 2, 2017
This article was first published on October 2, 2017
Commenting is easier and faster when you're logged in!

Recommended for you

Creating 3D Jigsaw Effects in Photoshop
Creating a fantasy scifi image such as this one takes a while, but it involves a...

How to Create Lithopanes in Photoshop
The introduction of 3D printing direct from Photoshop opened new gateways for ma...

Out of Gamut: Soft Proofing in Photoshop 6.0
By now, it’s pretty clear that Adobe Photoshop 6.0 is an impressive upgrad...