

The recent film Alita: Battle Angel stars Rosa Salazar as a cyborg, a human brain in a wholly artificial body. It’s based on the Manga comic strip drawn by Yukito Kishiro, hence the oversized eyes – a common feature in Manga comics.
In this tutorial we’ll look at how to take any portrait and turn it into a Manga cyborg. For this example I’ll use a photograph of Rosa Salazar herself, gleaned from Wikimedia Commons. You can download the image here.
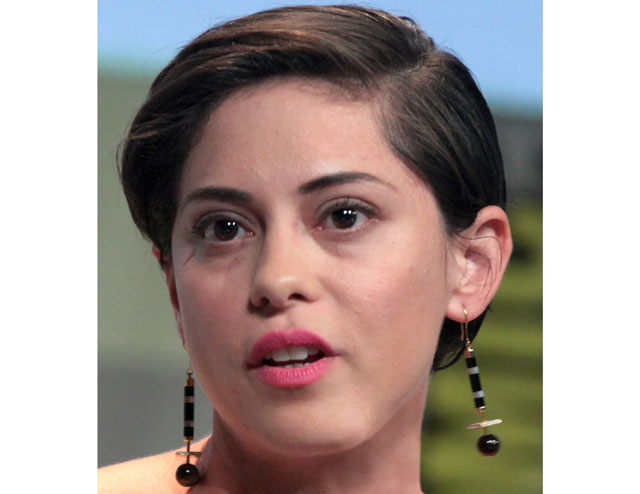
Step 1: The starting image
Gage Skidmore’s photograph is a good, clean close-up of Rosa Salazar’s face, with the unfortunate addition of a microphone obscuring her jaw. The next step will be to get rid of that.

Step 2: Lose the microphone
After selecting the microphone with the Lasso tool, choose Edit > Content-Aware Fill. If you have Photoshop CC 2019, you’ll find it does a reasonable job of taking out the offending object, with some additional work needed to remove it completely.
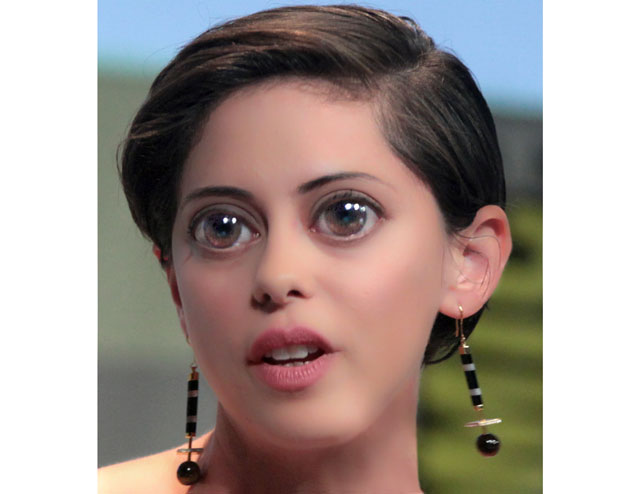
Step 3: Big up the eyes
Open the Liquify filter, and use the Bloat tool (the fifth one down in the toolbar) to make those eyes much bigger. Careful not to make her squint as you do this.

Step 4: Use the Face-Aware controls
You can use the Face-Aware Liquify controls within the Liquify filter to make the eyes even bigger, and more widely spaced. Then take a look at the rest of the face: let’s make the nose narrower and a little higher, the lips a little fuller, the mouth a little wider, with perhaps the hint of a smile. And to complete the Manga look, raise the height of the chin and make the jawline narrower.

Step 5: Smooth the skin
Duplicate the layer, and open Filter > Camera Raw Filter. The only change you need to make here is to select the Clarity slider, and drag it all the way to -100 to produce this extreme softening effect.

Step 6: Selective unmasking
Make a Layer Mask for the new, smoothed layer, using Layer > Layer Mask > Hide All. This will fill the mask with black, completely hiding the new layer. Choose a soft-edged brush and, with the foreground color set to white, paint on the mask to reveal the layer selectively. This is how to get impossibly smooth skin, exactly where you want it. Be careful to avoid the eyes, lips and hair.

Step 7: Eyes and lips
Select the eyes, then make a new Curves Adjustment Layer and brighten them up to make them more striking. With a small brush, and black as the foreground color, paint over the pupils on the Adjustment Layer’s mask to hide the effect, so that they stay dark. Make a new layer set to Color mode, and paint over the lips with color sampled from the skin to tone down that pink lipstick; reduce the opacity of this layer if the effect is too strong.
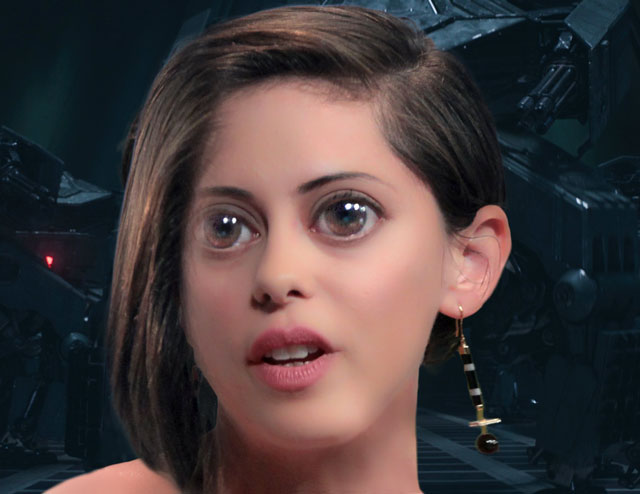
Step 8: Change the background
If you have Photoshop CC 2019, you can use the Select Subject feature to isolate Rosa from her background – otherwise, use the Quick Selection Tool. Then use the Refine Edge dialog to tidy up the result. The background I’ve added here is a still from the movie.

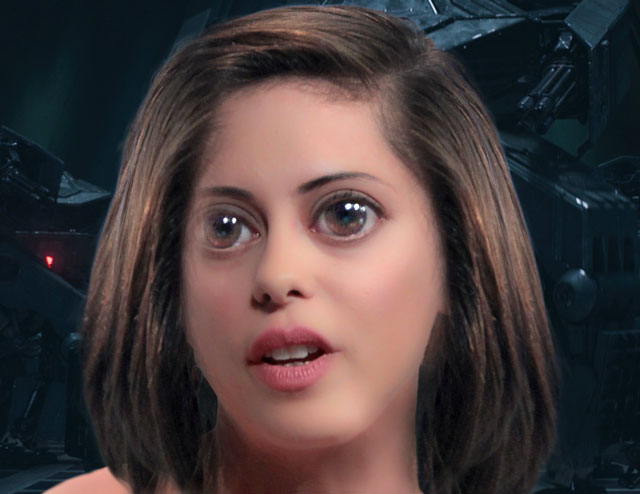
Step 9: Add a lock of hair
To make Rosa’s hair look more like Alita’s bob cut, use QuickMask to paint a selection of a piece of the hair from the top of her head. Make a new layer from this, and use Free Transform to scale and rotate it so it hangs down the side of her face.
Step 10: Build up the hair
Duplicate the lock of hair and move it behind the previous one, stretching it with Free Transform so it hangs over her shoulder. Then duplicate the hair twice more, moving the new copies to the other side of her head.
Step 11: Mask the hair
Make a new Group from all the new hair layers, and add a Layer Mask to that Group. Then painting black on the Mask to shape the hair so it clears her face, and ends in a bob cut at the bottom.

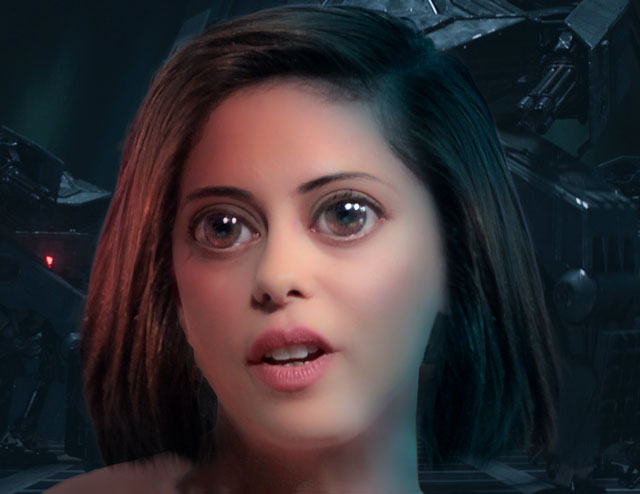
Step 12: Add some shading
To make Rosa look like she belongs in this environment, make a new layer set to Multiply mode. Paint in blue at a low opacity on the side of her face to tone it into the surroundings; and pick up on that red light behind her to add some red to that side of her face. And that’s it: an (almost) instant cyborg.
This article was last modified on February 25, 2019
This article was first published on February 25, 2019
Commenting is easier and faster when you're logged in!

Recommended for you

Photoshop 10 Essential Tips: Working with Layers
Photoshop users have been enjoying the ability to shuffle around layers since ve...

How to Mask Hair Using Today’s Techniques in Photoshop
Using Photoshop features like Generative Fill and Select and Mask makes the job...

Crafting Chromatically Rich and Luminous Images
“If all the world’s a stage, I want better lighting.” I couldn’t agree more with...