

To get started using Generative AI in Adobe Illustrator, create a new document in Illustrator and draw a shape on the artboard. By drawing a shape, this creates an area for the AI to build and size your vector graphic.
If you don’t create a shape to begin with, its not a big deal, your graphic result will just fill the artboard.
Generate Vectors
Once the shape is drawn, click the Generate (Beta) button in the Contextual Menu bar.

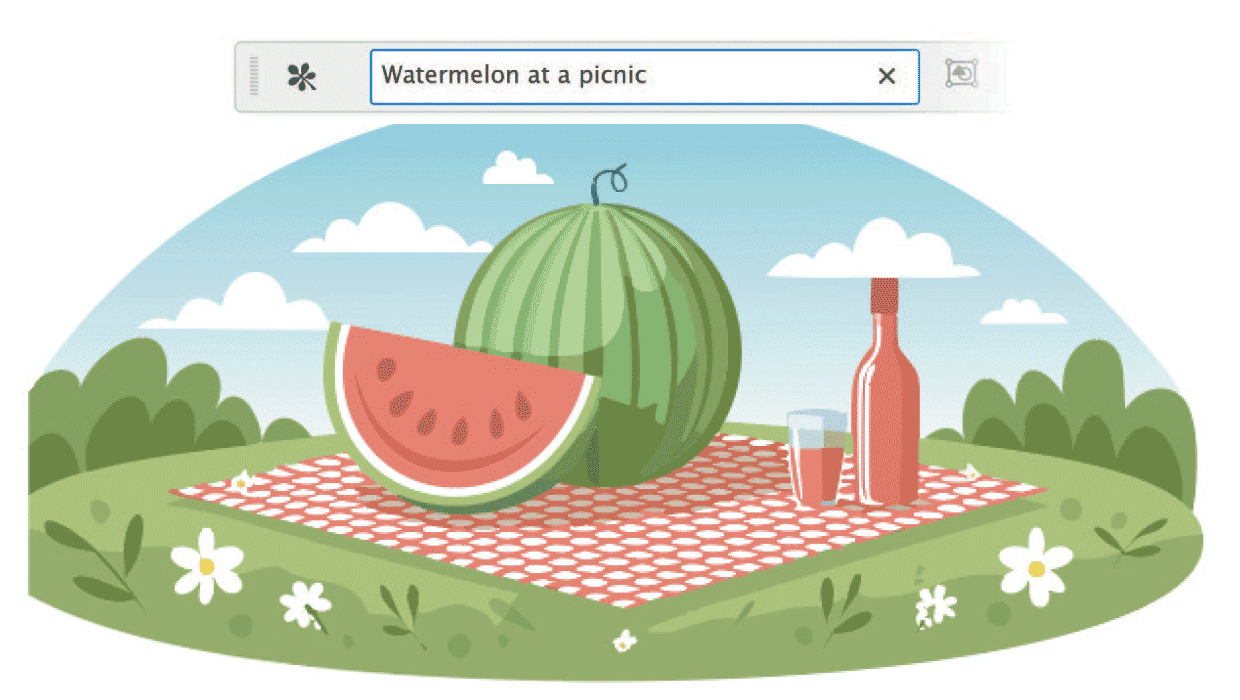
The Contextual Menu bar will then allow you input into the field to describe what you are looking for. The more detailed the description you input, the more detailed the results will be.

Click on the icon to the left of the input field to choose from Subject, Scene, Icon or Pattern options to generate. The default is Subject.

Subject: Generates a vector element that is high in detail without a background. Scene: Generates an entire vector scene.
Icon: Generates a vector element that is low in detail without a background for icon sets and logos.
Pattern: Generates a pattern that using a generated vector element. Patterns can be edited using the Pattern panel.

To edit setting further, open the Text to Vector Graphic Panel from the Window Menu.

Text to Vector Panel
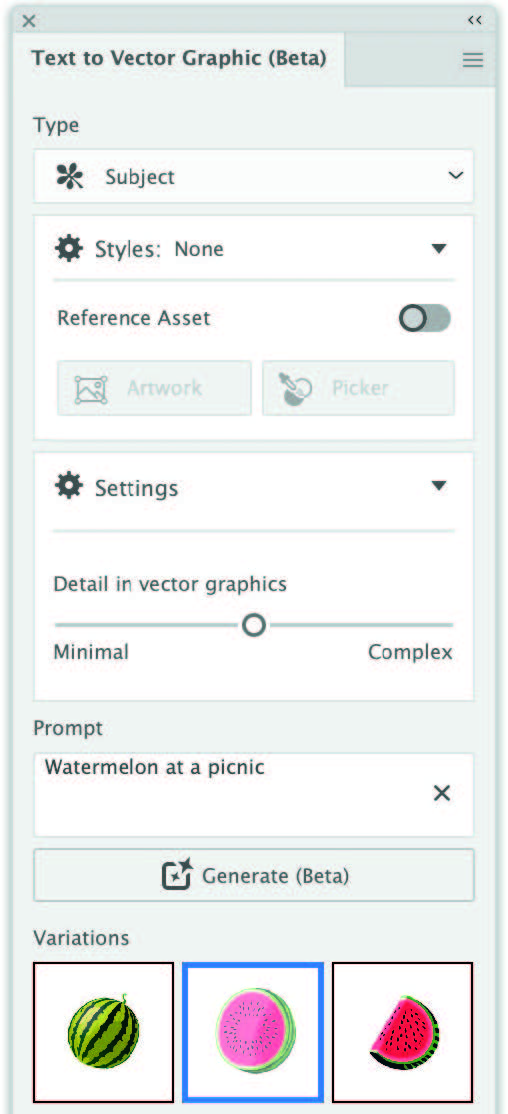
Once the vector is generated, the Text to Vector panel or the Properties Panel will show three results from the input and create the first one inside the shape you have drawn.
With your graphic selected, clicking on the generated thumbnails in the Panel, your graphic will switch to that graphic.
You can also drag and drop the graphic on the artboard and used the cursor, drag to create the size you want the graphic to appear.
Detail in vector graphics: controls how much or how little detail appears in the generated graphic. Minimal or Complex details can be dialed in and vectors generated.

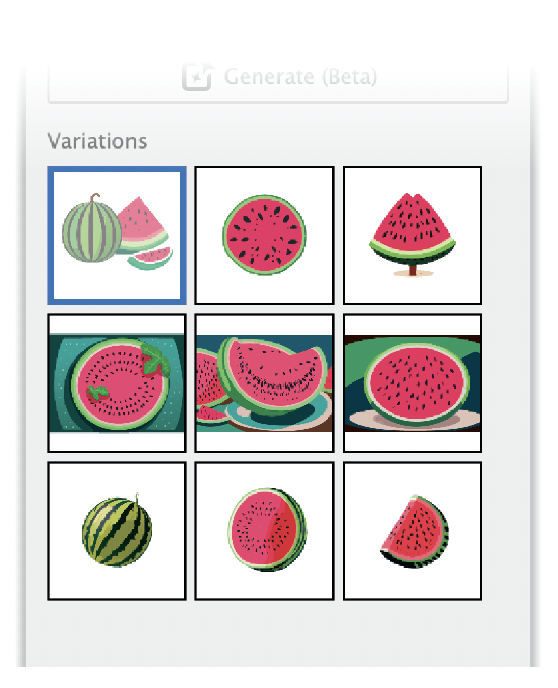
To regenerate other options from the input prompt, selected the generated vector on your artboard and click Generate. This will add more variations to the Panel thumbnails.
The Type of output can also be changed from subject to Scene, or Icon. The Pattern option will generate a separate set of variations.
Style Reference
Up until this point, Illustrator has been generating results based on its own defined style. However, you can change that style using the Style Reference option.

The default for the Style Reference is set to auto but you have a choice
Artwork: Select if you want the output style to match the style of the objects (vector or image) surrounding the selected artwork. Click Choose asset and select any asset on your artboard as a reference. Once chosen, you will see a check mark on the Style Reference icon.
This graphic was selected as the Style Reference:

Then click Generate, and this is one of three results based on the selected style reference.

Picker: Select to pick a style from any object in your artwork. You can either click or draw a lasso around the object.
The cursor will show an eye dropper to select a graphic or you can drag over a area (the cursor will turn into the Lasso tool) and select colors or styles.


Editing the results Hovering over one of the thumbnails, you will get the three dots to click on to bring up more options.
Generate Similar will create three more variations based on the selected graphic.
Rate the Result will give Adobe important feedback on the results.

Report variation will allow user input on inappropriate results.
This article was last modified on October 18, 2024
This article was first published on October 18, 2024
Commenting is easier and faster when you're logged in!

Recommended for you

CreativePro Video: Create a Segmented Ring Infographic in Illustrator
In this week’s CreativePro video, Laurie Ruhlin shows off a quick way to make a...

Using the Curvature Tool in Adobe Illustrator
In Adobe Illustrator, one of the more challenging tools for beginners (and even...

How to Use Variable Stroke Widths in Illustrator
Learn how to create strokes with non-uniform widths in Illustrator and how to sa...