Quick And Easy Flower Design Creation In Illustrator

This beginner-friendly tutorial teaches how to create gorgeous floral designs in Adobe Illustrator, using abstract shapes as foundation. And not only can it serve to make you more comfortable using Blob Brush, Warp/Twirl/etc Tool, it also opens the door to madly addictive exploration of floral shapes to users of all skill levels. So let’s get started!
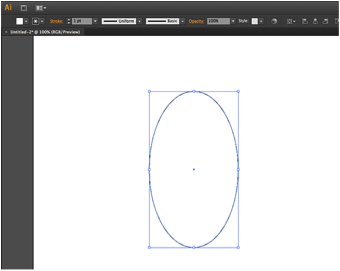
In the first example we will start by drawing an ellipse using the Ellipse Tool (shortcut L).
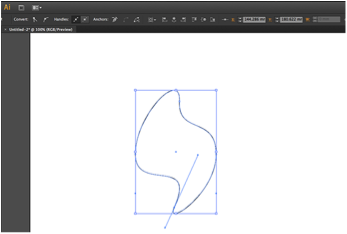
Using the Direct Selection Tool (shortcut A), select the top anchor point and move its handles to distort the ellipse a little bit. Do the same with the bottom anchor point to create a shape similar to the one in the screenshot. It doesn’t have to be exactly the same, as long as it’s asymmetrical and has both wide and narrow parts.
Fill the shape with the colour of your choice and select the Rotate Tool. While holding the Option/Alt key, click to the left bottom side of the shape. In the dialog box that appears, enter 30° as the Angle value and click on Copy.

In order to keep copying the shape under this angle hold Command/Ctrl and press D. This shortcut repeats the last action.
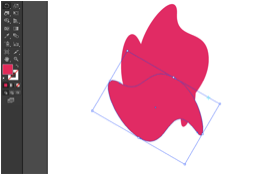
Keep repeating this step until your shape goes the full circle.
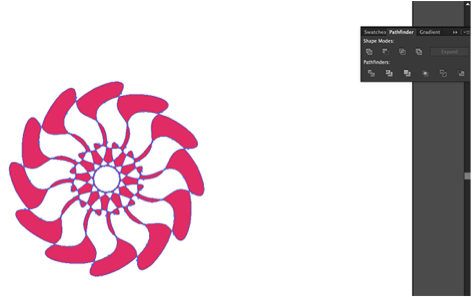
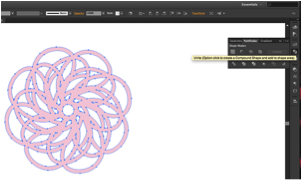
Open the Pathfinder window (Cmd+Shift+F9), select all the shapes and select the Exclude option from Shape Modes (the one on the far right). You should get an effect similar to the one in the screenshot below.
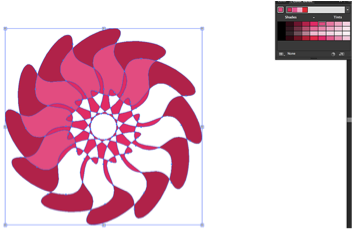
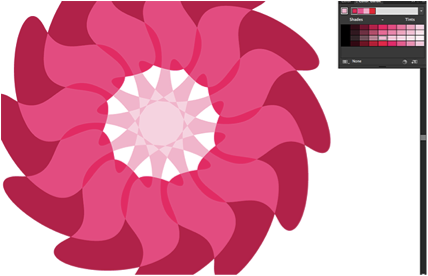
If you’re aiming for a simple two-color look, you can leave the flower at this stage and consider it done. However, if you’re after something with a bit more depth to it, you can easily add colour with Live Paint Bucket. This tool will treat each gap as a shape on its own when adding colour to it, so if you can use a colouring book, you can use this tool, too. Make sure you expand the flower first by selecting it and choosing Object > Expand. Open the Colour Guide window (Window > Colour Guide or Shift+F3) to help you with colour selection.
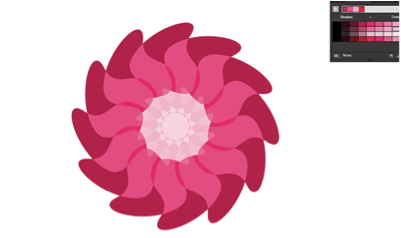
In this case, I focused on a monochrome palette, making the petals darker then the middle of the flower.
You can even give it a bit of a 3D look by making the fields that are next to each other differ in just a couple of shades.
Creating a Flower Shape With the Blob Brush
You don’t have to use Shape Tools to create the foundation of the flower. Try drawing a closed shape with the Blob Brush Tool that’s a bit more complex.
Using the Rotate Tool, click on the bottom right side of the shape while holding Option/Alt key, and this time make the Angle value 45°. We’re picking a larger angle so the design doesn’t get too messy when all of those paths intersect.
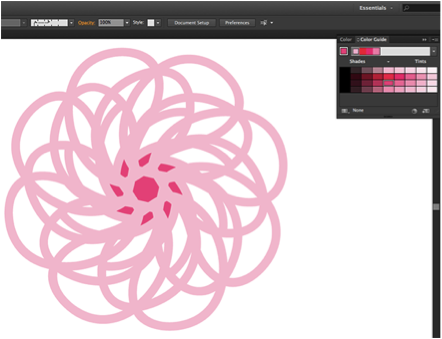
Repeat the Ctrl/Command+D step like when creating the first flower. Given that there are plenty of gaps in there already, you can use this to your advantage and select the Unite option from the Pathfinder window, which will merge all of the selected elements into a single shape.
Fill in the gaps with the Live Paint Tool like you did with the previous flower.
This article was last modified on February 11, 2015
This article was first published on February 11, 2015
Commenting is easier and faster when you're logged in!
Recommended for you

Pattern Making in Adobe Illustrator
Learn how to create a pattern or edit an existing one by adjusting repeats, vary...
How to Make a Custom-cut Greeting Card
From holidays to birthdays, greeting cards are special gifts when they are perso...

InDesign Magazine Issue 96: Type FX
We’re happy to announce that InDesign Magazine Issue 96 (April 2017) is now avai...


