
Editing Text Wrap With the Pen Tool

InDesign offers five kinds of Text Wrap: No Text Wrap, Wrap Around Bounding Box, Wrap Around Object Shape, Jump Object, and Jump to Next Column.
Most of the time, one of these will give you the right results for your layout. But once in a while, you might find that none of them gives you the exact look that you need.
Fortunately, the shape of text wrap is defined by a vector object that you can edit just as you would any other vector object in InDesign, with the Pen tool and the Direct Selection tool. Here’s how to manually edit a text wrap.
1. Apply a Text Wrap Option (something other than No Text Wrap).
2. Select the object with the Selection tool (you should see a thin line around the object).
3. Select the Pen tool (or press P).
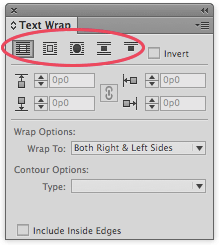
![]()
4. Now you can click on an anchor point to delete it, click between anchor points to add a new point, or hold Option/Alt to access the Convert Direction Point tool and click to convert smooth points to corner points or vice versa, and drag to adjust control handles. Press Command/Ctrl to temporarily switch to the Direct Selection tool to move anchor points and reshape path segments.
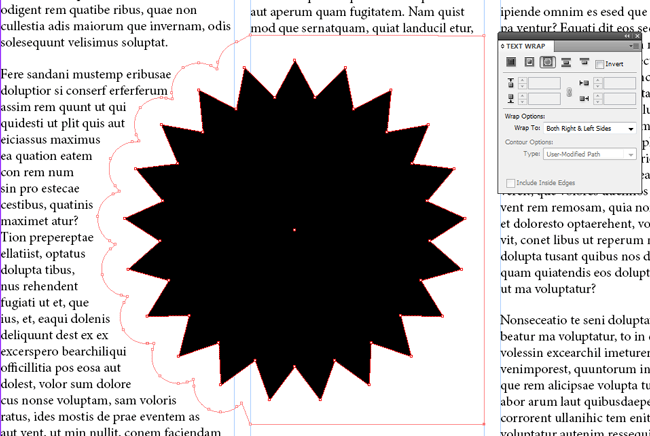
With this kind of control over text wrap you can easily create a custom wrap shape like the one shown below where the text follows the shape of an object on the left side, but not on the right.
Bonus tip: You can show/hide the Text Wrap panel with the keyboard shortcuts Ctrl+Alt+W on Windows or Command+Option+W on the Mac, and by choosing Window > Text Wrap. You can also invoke Text Wrap via Quick Apply, by pressing Ctrl+Enter/Command+Return, then typing “wrap”.
This article was last modified on May 12, 2021
This article was first published on September 25, 2014
Commenting is easier and faster when you're logged in!

Recommended for you

The Case of the Shifting Spot Contest Answer and Winner
The solution to our latest InDesign mystery revealed.
InDesign How-to Video: Use Ignore Text Wrap
In this week’s InDesignSecrets video, Mike Rankin explains InDesign’s Ignore Tex...

The Dual Text Wrap Dilemma
Although you cannot apply an inverted text wrap and a traditional text wrap to t...