
In my previous post, I wrote about the Page Tool in InDesign CS5. Not only can you use this tool to resize pages, you can also use it to reposition pages and their content. Anyone who designs artwork that is going to be wire-o bound for instance, would probably like to be able to a) design the document pages as spreads and b) be able to break-up these spreads when the time has come to deliver finished art PDFs to the printer.
Unfortunately you’ll need to work with a non-facing pages document layout for the trick I’m about to show to work…
The document set-up
- Start by creating a non-facing document ? clear the Facing Pages check-box in the New Document dialog ? and create at least two separate Master Pages. One for the right-page designs and one for the left-page designs.
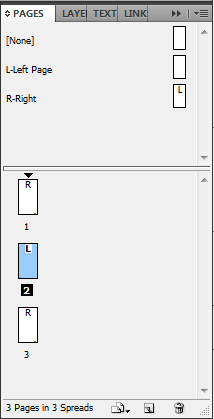
- Select Page 2 of the document and from the Pages panel menu deselect the Allow Selected Spread to Shuffle. Square brackets will appear around the page number in the Pages panel.
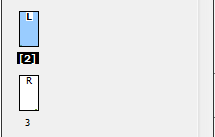
- To create a page spread, drag page 3 next to page 2.

Obviously this is a super tedious task, if you are creating a longer document. So my advice would be to set-up most L-R spreads in advance, before starting the actual layout work.
- Right-click the selected spread and choose Duplicate Spread, or alternatively choose Duplicate Spread from the Pages panel menu.
- Select the two page spreads in the panel and repeat the Duplicate Spread action. Continue to select larger page spread ranges and duplicate the spreads until you think you have enough pages for your layout.
You can now spend some time putting the layout together and submit PDF proofs in spread format (Select the Spreads check box in the Export Adobe PDF dialog to generate PDF spreads).
Time to break-up
When it is time to submit individual pages with bleed on 4-sides to the printer:
- Selecting the Page tool
 .
. - Next in the Pages panel, Ctrl/Cmd click on all the Right hand pages.You should see a blue overlay appearing on the right hand pages in the document.
It’s now time for the break-up … I know break-ups are never easy ;-) but remember… once they’re wire-o bound they will be together once again ;-)
- With the Page tool still selected. Click the Top Left Reference Point (or any reference point on the Left) in the Control panel.
- Clear the Enable Layout Adjustment check box.
- Select the Objects Move with Page check box.
This ensures that when the right hand pages are being moved away from the left hand pages, the content on those pages will move with the pages. Let’s assume I want to move the pages about 10mm apart from each other.
![]()
![]()
- In the X-field, add +10 behind the measurement (e.g. ‘120mm +10’), Press Enter/Return.

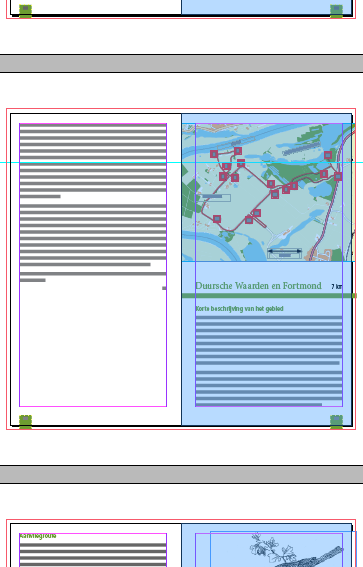
The result is that the page spreads still appear next to each other in your layout, but now have a 10mm gap between the pages. I think that’s kinda cool! ;-)
All that needs doing now is for you to go through the document and expand any artwork to the bleed guides in the spine area before creating the finished art PDF to your printer.
This article was last modified on December 20, 2021
This article was first published on November 2, 2010
Commenting is easier and faster when you're logged in!

Recommended for you

The Case of the Ever-present End of Story Markers Contest Answer and Winner
Solve this InDesign mystery for a chance at winning a great prize.
Top Tips From CreativePro Week 2019
Erica Gamet shares a dozen of the coolest tips and tricks she learned at Creativ...

When the Document Size Won’t Change
When a reader changes Document Setup, nothing happens! Here's one common reason...