

This CreativePro Tip of the Week on using the Oil Paint filter in Photoshop was sent to CreativeProse email subscribers on June 28, 2017.
Sign up now and every week you’ll get a new tip, plus roundups of new articles, and exclusive deals sent right to your Inbox!
Just scroll down to the bottom of this page, enter your email address, and click Submit! We’ll take care of the rest. Now, on with the tip!
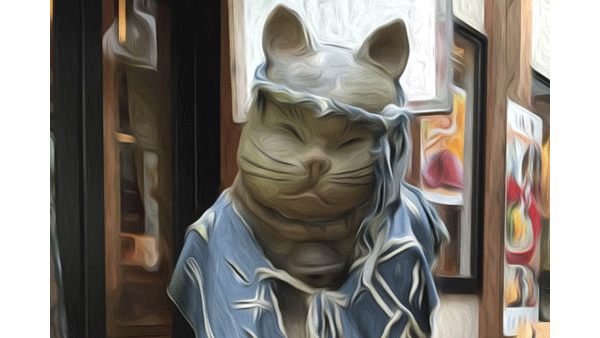
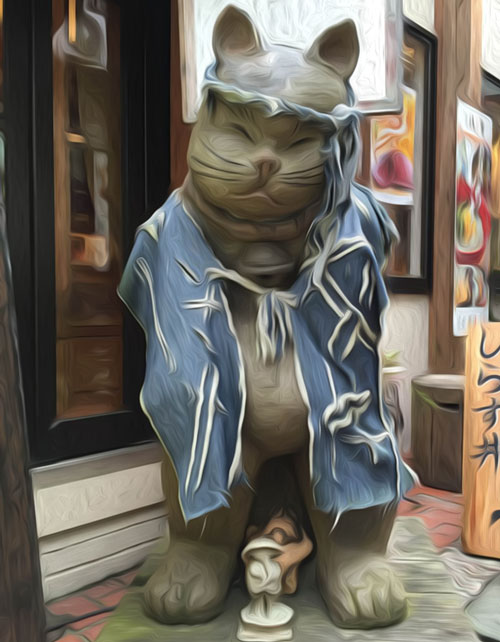
It’s true that there are several Photoshop filters that you’ll probably never use. But don’t just write off the whole bunch. One filter that’s worth playing around with is Oil Paint (Filter > Stylize > Oil Paint). It was introduced in CS6 and then completely revamped in CC 2015. So if you haven’t tried it lately, give it a shot.
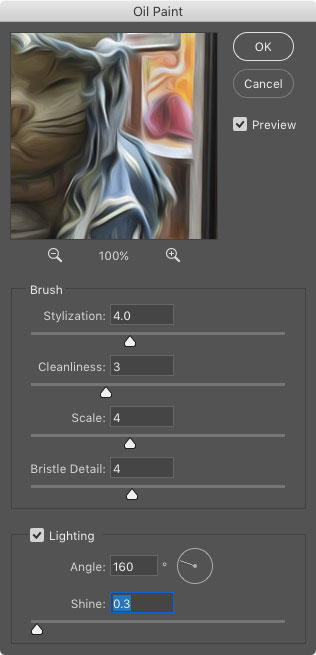
I could attempt to describe the functions of each of the sliders, but there’s really no point. You’re always going to be eyeballing it with this filter, so just drag each slider to the left and right to get a sense of what it does. When you see something you like, move on to the next slider. And have fun!
If you want the change to be non-destructive (i.e. to be able to turn it off or tweak it at any time), choose Filter > Convert for Smart Filters first. This converts the current layer into a Smart Object.

This article was last modified on July 3, 2017
This article was first published on July 3, 2017
Commenting is easier and faster when you're logged in!

Recommended for you

ClipDrop Review
ClipDrop offers a range of high-powered and occasionally unique solutions to eve...

Simultaneous Contrast: How Your Environment Affects Color Perception
This article originally appeared on chromaqueen.com. Republished with permission...

Simplify Your Photoshop Workflow With Layrs Control
The Adobe Exchange panel is a great resource for finding and installing free goo...