How to Adjust Colors Using Photoshop’s Contextual Task Bar
Learn how to use the Photoshop Adjust Colors feature to make quick, non-destructive color edits to your photo's most prominent colors.

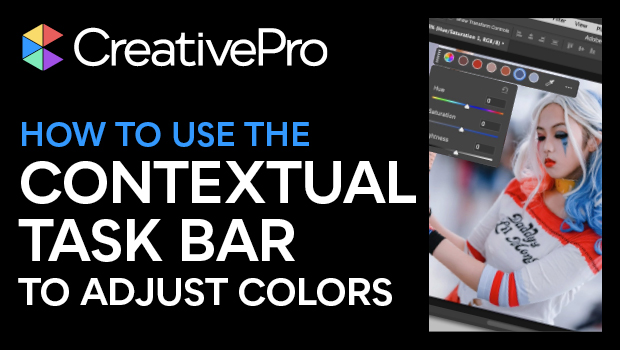
In this Photoshop how-to video, Steve Caplin shows off the new Adjust Colors feature, which can be found in the Contextual Task Bar. With Adjust Colors, he quickly changes the hue, saturation, and lightness of the six most prominent colors in an image. Since the Adjust Colors process automatically creates a new adjustment layer, it’s a breeze to add and remove your color edits.
Subscribe to the CreativePro YouTube channel for more helpful design tips!
This article was last modified on August 29, 2025
This article was first published on July 15, 2025
Commenting is easier and faster when you're logged in!
Recommended for you

How to Create Realistic Watercolor Effects in Photoshop
Learn how to use Photoshop to create hand-brushed watercolor effects that don’t...

Three Tips for Using Illustrator’s Pattern Brushes
If you haven’t delved into making custom pattern brushes in Illustrator, y...

Turning an Image to Pure Black and White in Photoshop
Turning images to black and white gives them a stark, urban feel that can look g...


