

Text Wrap has long been a feature of InDesign, allowing users to make cutout images push text out of the way automatically. Subject-Aware Text Wrap was introduced with InDesign 2021, and provides the ability to employ Adobe Sensei technology to determine the subject of a photograph without having to cut it out in Photoshop first. Here’s how it works.
1: Choose the Right Background
In this example, we’ll use the text of Lincoln’s Gettysburg Address, wrapping around the Statue of Liberty. This photograph of the iconic statue has a perfect pose for wrapping, but the background is problematic: white text, which reads well out of the blue sky, will be almost illegible against the bright clouds.

2: Stick to Uncluttered
If you want text to read easily over a photograph, then the background should be as plain as possible. Any fine detail is likely to interfere with legibility. This night shot is a far better option.

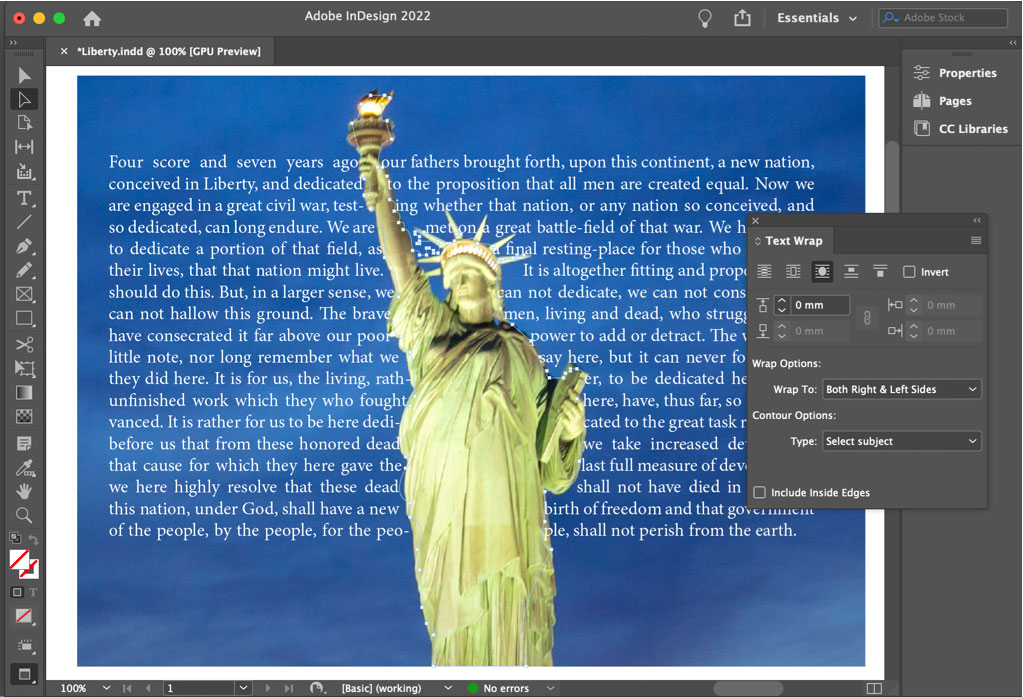
3: Open the Text Wrap panel
Select the photograph, and choose Window > Text Wrap to open the dialog box. Click the third button at the top of the panel (Wrap Around Object Shape), and the text will disappear. That’s because this button is usually used to make text wrap around a cutout object. From the Contour Options/Type pop-up menu, choose Select Subject instead.

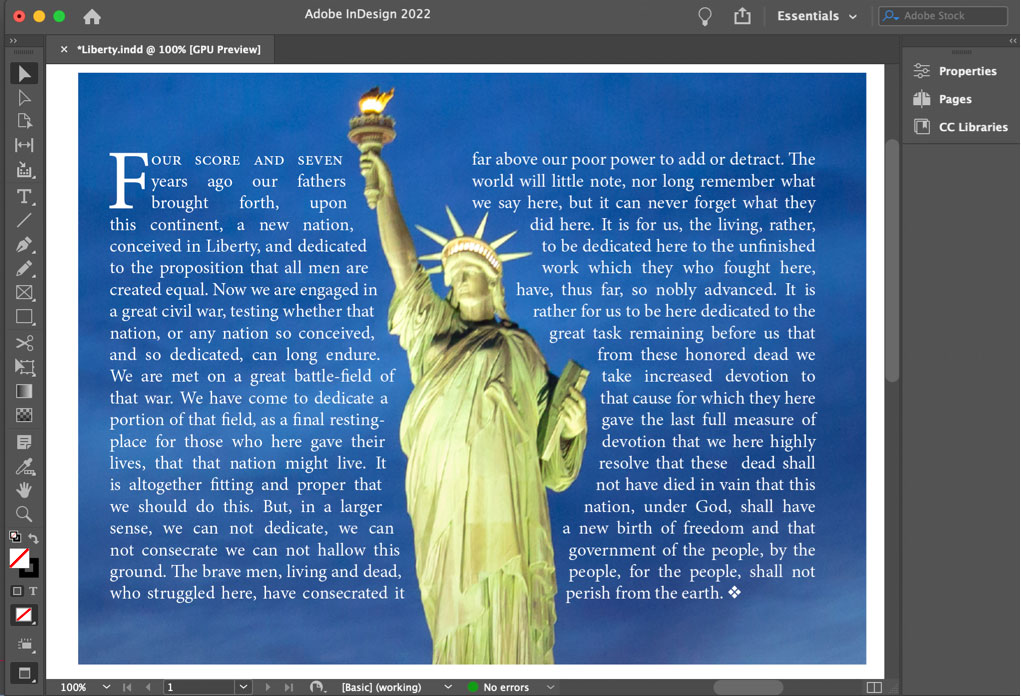
4: The Wrapped Text
With Select Subject active, the text now skips over the statue in the center of this image, and you’ll be able to see the wrapping path automatically drawn around the statue. At first, it’s much too tight.
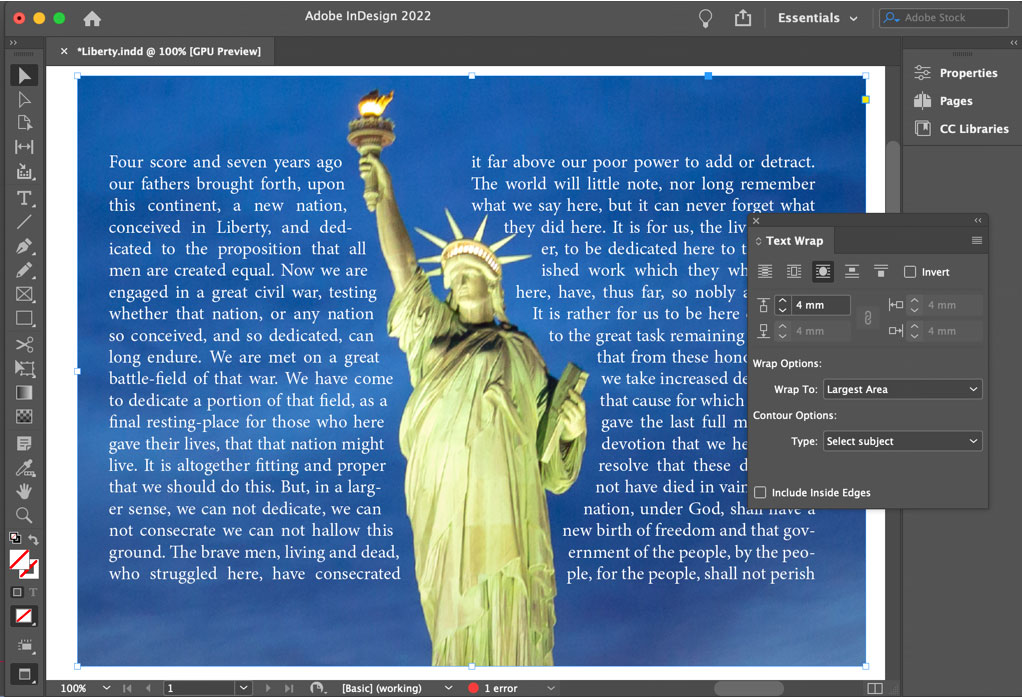
5. Increase the Wrap Distance
When wrapping text around rectangular objects, you can control the distance from the top, left, bottom, and right of the object. When the Wrap Around Object Shape option is active, as it is here, there’s only one distance control. Increasing this figure pushes the text away from the subject of the photograph. But the issue now is that a single block of text is hard to read, as the statue keeps disrupting the reading flow.

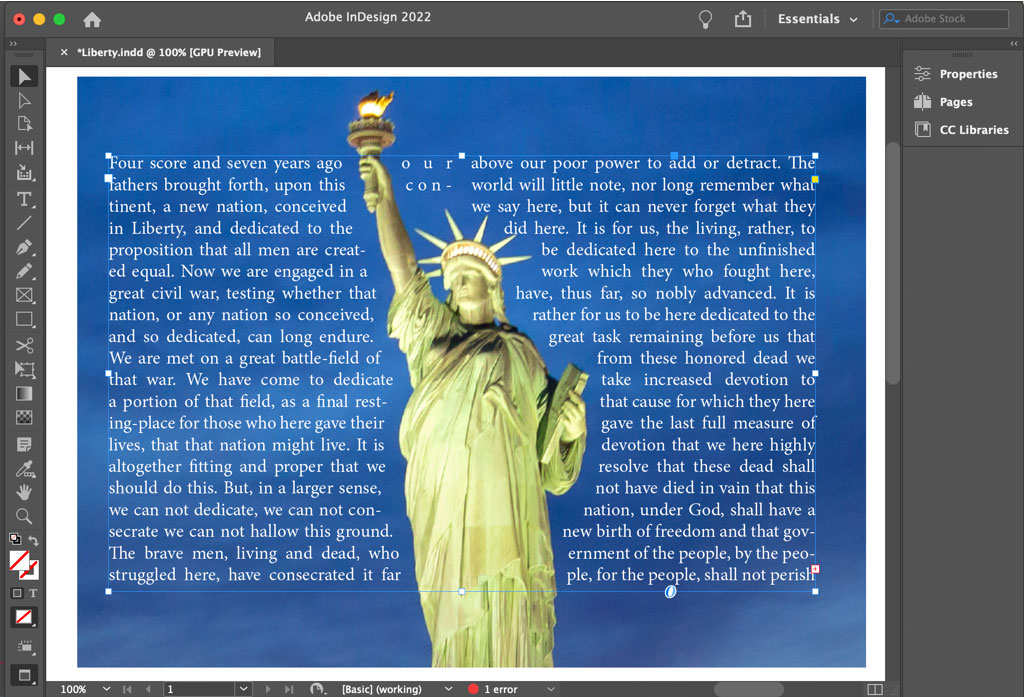
6. Increase the Column Count
Setting the text box to have two columns, rather than one, makes it much easier to read. Because the text wrap is set to Both Right & Left Sides, though, an awkward couple of words appear to the right of the arm – words that belong to the left hand column of text.
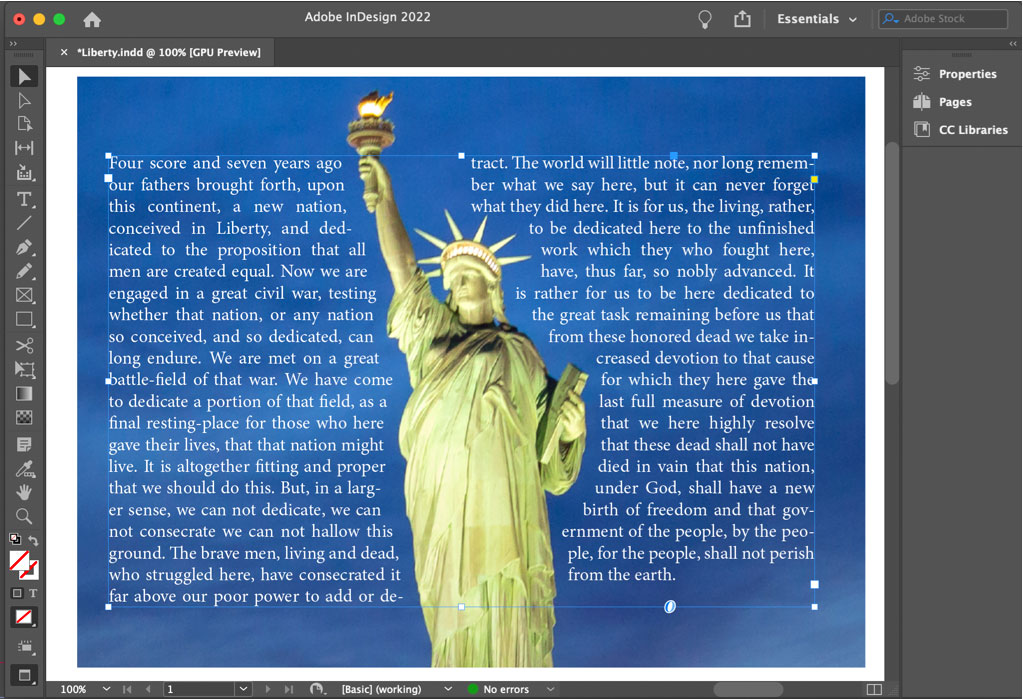
7. Change the Wrap Options
In the Wrap Options section of the Text Wrap panel, use the Wrap To pop-up menu to change the setting to Largest Area. Now half the text is to the left of the statue, and half to the right. The gap to the right of the arm at the top makes it clear to the reader that they’re supposed to read down the left column before moving onto the right.
8. Wrapping Errors
The Select Subject option does a good job of detecting the bounds of the object, but there are often anomalies: in this case, it’s the spikes round the statue’s head, which project into the text on the fourth line. Select the photograph with the Direct Selection tool (shortcut: A) to see the wrapping path. Although this was generated automatically it can be edited manually; you can grab any anchor points too close to the statue and pull them away to make the text wrap more successfully.

9. Balance Your Lines
A text block like this will always look best if the two columns of text are the same height. While you could vertically justify the container, this will throw the leading out of sync; it’s better to modify the text itself.
10. Finishing off
Removing the hyphenation from the text makes it easier to read and looks more appealing. Adding a drop cap at the beginning draws the reader’s eye to the start of the passage, and setting the first few words in small caps follows the drop cap nicely. Adding a final dingbat after the last full stop signifies that this is the end of the story.
This article was last modified on November 5, 2021
This article was first published on November 5, 2021
Commenting is easier and faster when you're logged in!

Recommended for you

How to Use Text Wrap Within a Table
Trying to get text to wrap around a graphic inside a table can be quite annoying...
Auto-Reflowing Images in a Grid
How can you make a grid of images reflow automatically around a page when you ad...

The Case of the Shifting Spot Contest Answer and Winner
The solution to our latest InDesign mystery revealed.