


Here’s a quick tip for how to quickly select, sample, and apply colors in Illustrator, with the Color Picker tool and dialog box in Illustrator.
Using the Color Picker Dialog Box
You can open the Color Picker dialog box by double-clicking on the Fill or Stroke controls in the Tools panel.
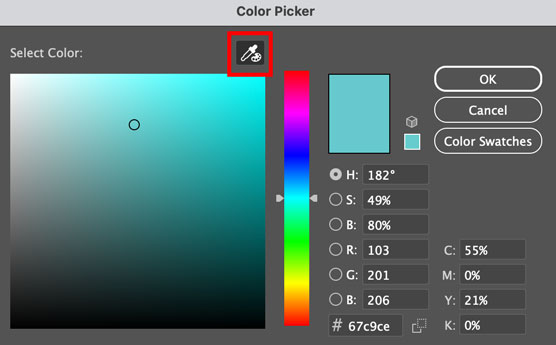
Then, to choose a specific color, drag within the Select Color column or color spectrum bar, or enter specific values in the HSB, RGB, or CMYK fields. If you had selected an object before opening the Picker, you’ll see a preview of the new color applied to that selection.

Click OK, or press Return/Enter to apply the color to the selection and close the dialog.
Using the Color Picker Tool
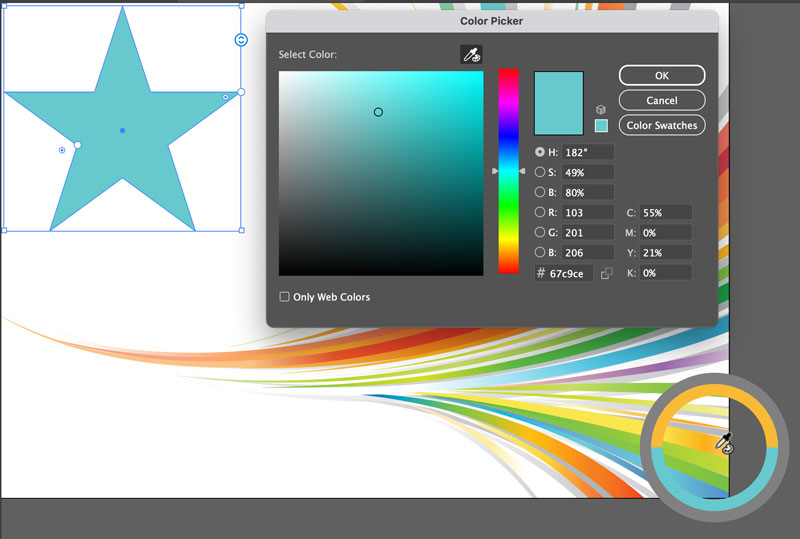
You can also use the Color Picker tool to sample colors from your artwork. Click the tool at the top of the Color Picker dialog.
Then, as you move your pointer over your artwork, you’ll see a color ring with the newly sampled color in the top half of the ring and the old Fill/Stroke color in the bottom half.
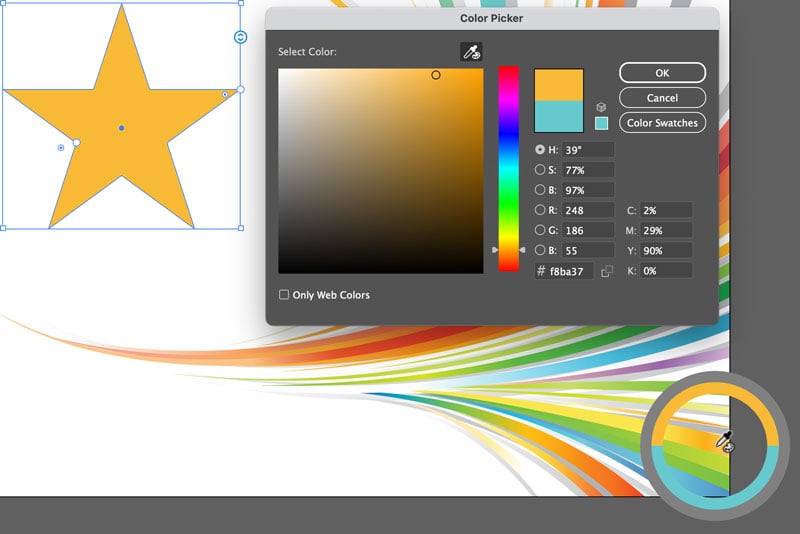
Click to see a preview of the color applied to anything you had selected. You can also drag to continuously sample colors, but the color ring will disappear. Click OK, or press Return/Enter to apply the color to the selection and close the dialog.
Tip: Starting with Illustrator 2026, you can also access the Color Picker tool by taking the Eyedropper tool (keyboard shortcut: I) and holding Shift. The color ring will appear and you can sample and apply colors as described above.
Commenting is easier and faster when you're logged in!

Recommended for you

Work Week Projects: File-Handling Features in Adobe Bridge
Five quick exercises to do while you're at work to learn important skills in Ill...

Work Week Projects: 5 Essential Illustrator Skills
Five quick exercises to do while you're at work to learn important skills in Ill...

Quick Wins: Design Tips
Use these five simple tips from the Before & After magazine collection to boost...