




October is here, and if seasonal graphics play any role in your work, it’s likely you’re working on some Halloween-themed stuff. Of course, there are mountains of stock graphics of pumpkins, monsters, witches, and the like. But don’t forget you can place vector graphics into InDesign and customize them with different fills, strokes, and effects.
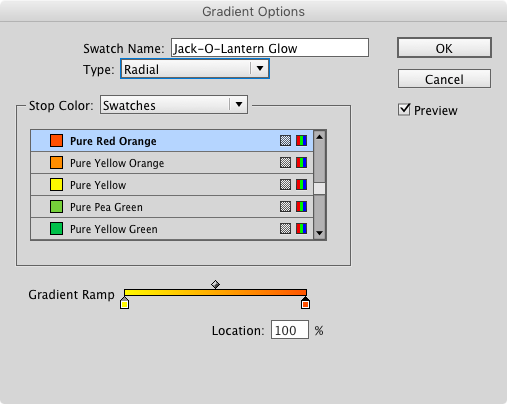
For example, to “light” a jack-o-lantern, just select the facial elements and apply a gradient fill with warm colors. Something that goes from yellow to red-orange ought to do the trick.
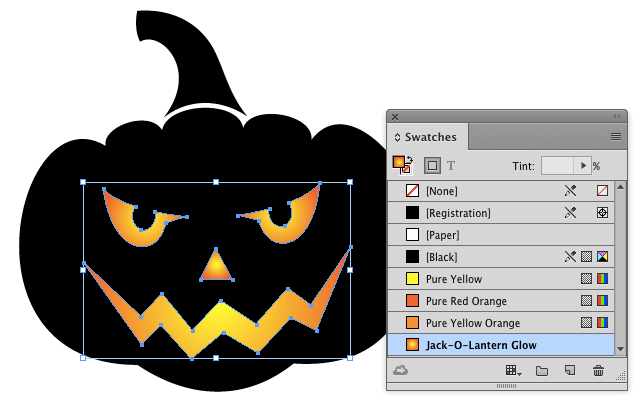
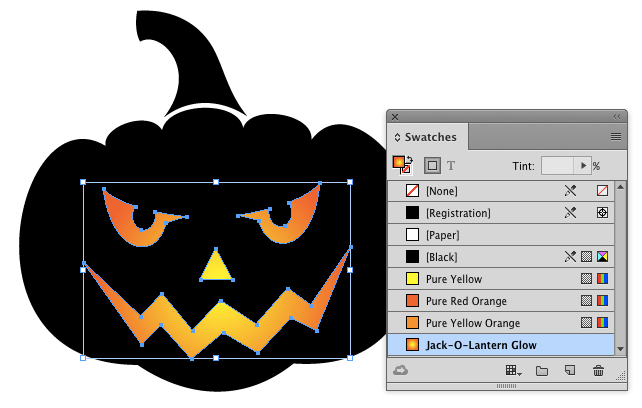
Then drag with the Gradient tool to set the position, angle, and length of the gradient.
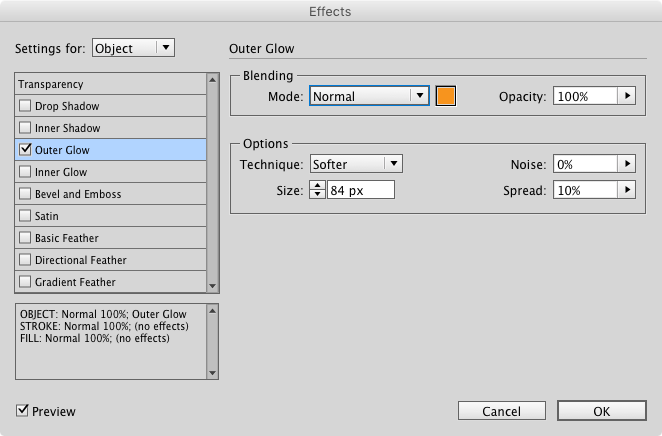
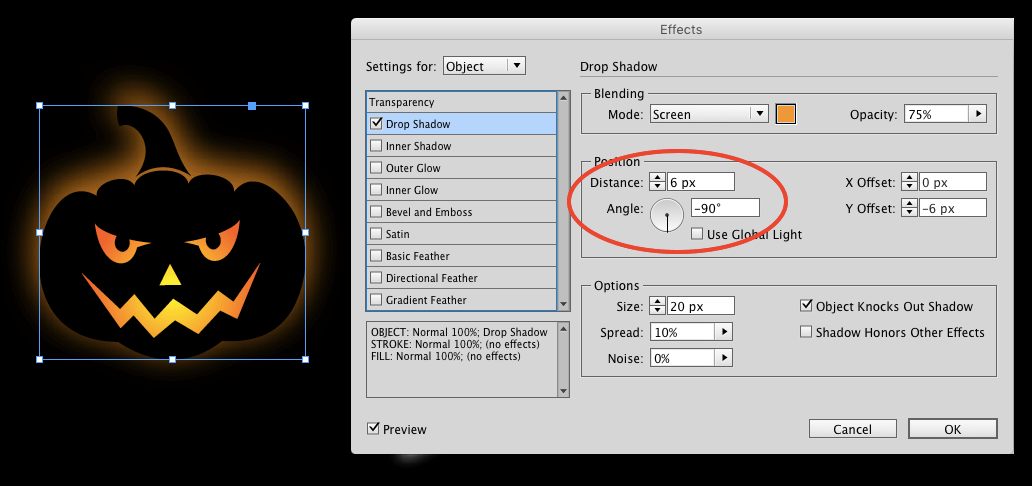
You can also do lots of cool stuff with glow effects. To add a simple yet eerie glow, select the object, then use the Effects panel to apply an Outer Glow. Experiment with the options in the Effects dialog box to get the look you want. In this example, I’m using a large (84 px) orange glow with a 10% spread. The Spread value indicates how much of the gradient area is at the full opacity value. So in this case, 10% of the gradient area is 100% opaque orange.

And if you’d like to position the glow off-center (so it’s not placed exactly behind the object), use a drop shadow instead. That way, you can apply a distance and angle. Use the same color and blend mode you’d use for a glow.
This article was last modified on October 25, 2022
This article was first published on October 11, 2016
Commenting is easier and faster when you're logged in!

Recommended for you
Edit Illustrator Effects in the Appearance Panel
Use Illustrator’s Appearance panel to change, add, and blend effects applied to...
Affinity for Photoshop Users
From real-time previews to added adjustments, Affinity special effect and lighti...

Creating Fluffy Text with AI in Photoshop
How to create a fun text effect that looks like fluffy fur on a grass background...