




This InDesign tip how to create scotch tape FX was sent to Tip of the Week email subscribers on June 22, 2017.

Sign up now and every week you’ll get a new tip, keyboard shortcut, and roundups of new articles, plus exclusive deals sent right to your Inbox!
Just scroll down to the bottom of this page, enter your email address, and click Go! We’ll take care of the rest. Now, on with the tip!
I was reminded of this FX trick when I saw Guardians of the Galaxy 2, in which finding a piece of scotch tape may be a life or death matter. It also is a follow-up on last week’s tip about Quick and Easy Photo FX.
To create the look of scotch tape, start by creating a rectangle. If you’re trying to gauge the size relative to other objects in your layout, real scotch tape is about .75″ in/2 cm in width.
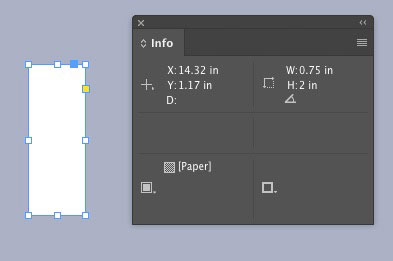
Fill the rectangle with a tint of 20% black. And in the Effects panel, reduce the opacity to 50%.
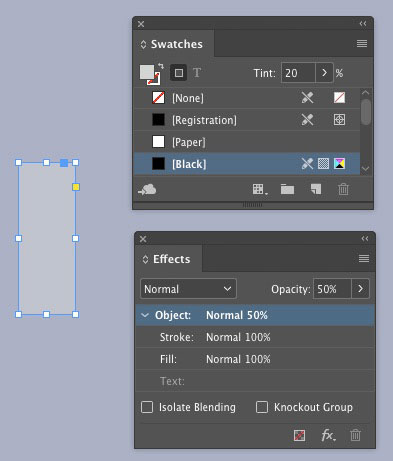
Add a tiny drop shadow.

Bonus tip: Save an object style with these settings if you’re going to be “taping” a bunch of stuff.
Then position the rectangle over other objects in the layout. Play with the length and rotation to get the look you want.

This article was last modified on July 25, 2019
This article was first published on June 27, 2017
Commenting is easier and faster when you're logged in!

Recommended for you

Learn About Your Links at a Glance
Learn how to get an instant summary of the status of all the links in an InDesig...

Filling Live Text with Images in InDesign
Want to get an image inside some text in InDesign? You don’t have to convert it...
A Script to Show Options for Placed Files
When you use File > Place you are given a dialog box with a choice ...