

Save, Export, Generate… Photoshop gives you so many ways to save files. How do you deliver your work in the most effective and efficient way?
The options for saving and exporting files in Photoshop represent almost three decades of changing requirements, so there’s some duplication that can be confusing. Let’s untangle the options based on the requirements of your jobs.
Do You Need to Preserve Layers?
If you must preserve Photoshop layers in a file you’re delivering, choose File > Save As, and choose Photoshop from the Format pop-up menu. Preserving layers maintains the ability to edit the components of a Photoshop document, such as an adjustment layer, the characters in a text layer, or the effects applied to a layer. This is also important for applications that can manipulate Photoshop layers. For example, you can use Adobe InDesign to control which layers of a Photoshop document are visible in a page layout, and you can use Adobe After Effects to animate Photoshop layers independently in a video composition.
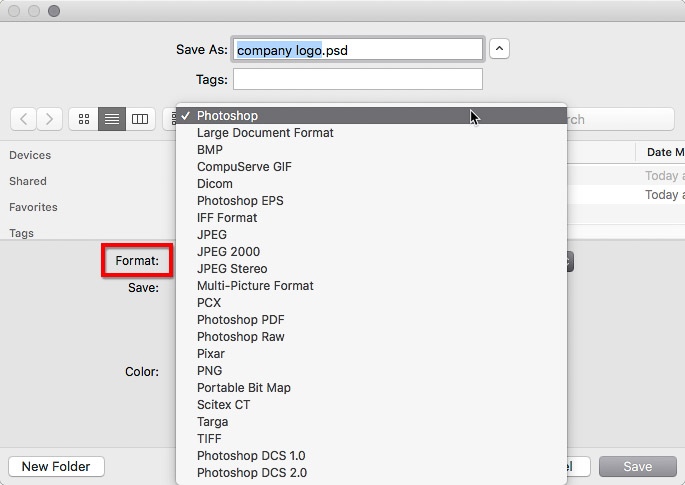
Format options in the Save As dialog box in Photoshop
Even though the TIFF and Photoshop PDF formats can also preserve layers and Photoshop features, applications that can manipulate Photoshop layers can usually require a document in Photoshop format.
Is the Document Going to a Press?
If you’re preparing your Photoshop document for a press, you’ll probably find the format you need in the Save As dialog box. The Format pop-up menu in the Save As dialog provides the Photoshop and TIFF file formats commonly used for prepress, along with the less commonly used Photoshop EPS and Photoshop DCS file formats.
The Photoshop PDF format in the Save As dialog provides PDF/X presets that you can select if you need to make a Photoshop document comply with a PDF/X standard.
Is the Document for a Web Page or Mobile Device?
Many users learn only one or two of the many ways to get web and mobile graphics out of Photoshop. Knowing the full range of options can help you solve more web graphics challenges.
Comparing Export As and Save for Web (Legacy)
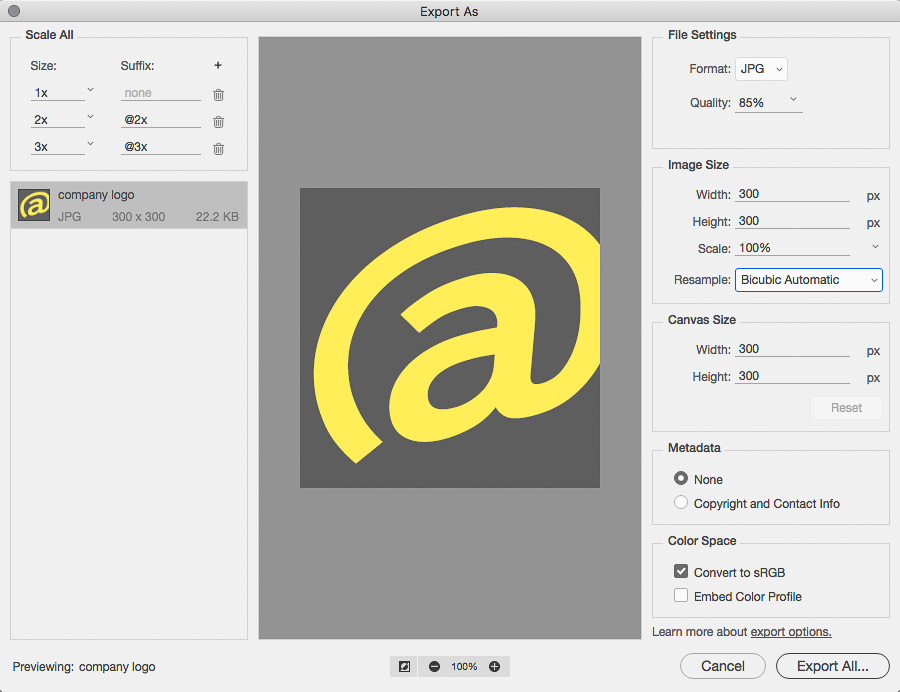
Adobe recommends the Export As dialog box (choose File > Export As) as the first option for most web graphics. You can use Export As to create a copy of a Photoshop document in the PNG, JPEG, GIF, or SVG format.
Export As is the newer way to save web graphics from Photoshop.
Long-time Photoshop users may be more familiar with the dialog box now called Save for Web (Legacy) (choose File > Export > Save for Web (Legacy)).

Save for Web (Legacy) is the older way to save web graphics, but it’s still useful.
Export As and Save for Web (Legacy) have a lot in common. Export As is built on newer code that can handle larger documents. It can export multiple resolutions if you need to provide a web developer with standard and HiDPI/Retina device resolutions (for example, 1x, 2x, and 3x scale factors). But Save for Web (Legacy) gives you more control over compression, previewing, and metadata. And Save for Web (Legacy) can export a Photoshop video timeline as an animated GIF file.
The Quick Export command (select layers and choose File > Export > Quick Export) is like an express version of the Export As command, because you don’t have to stop at a dialog box each time you use it. Instead, you set up Quick Export by choosing File > Export > Export Preferences. When you choose Quick Export, it instantly exports using the preferences you set. Quick Export is great when you repeatedly export using the same settings.
Understanding the Two Kinds of Export As
Export As is also available on the Layer menu, and it’s different than Export As on the File menu. The key to telling the difference is where each command is available:
- Choose File > Export > Export As to save a copy of the entire document as a single file.
- Choose Layer > Export As to save selected layers or layer groups as separate files. It’s common to design Web and mobile graphics with buttons, images, and other components on their own layers, so Web/mobile developers may request those layers as separate files. Quick Export is also available on the Layer menu for exporting selected layers or layer groups.
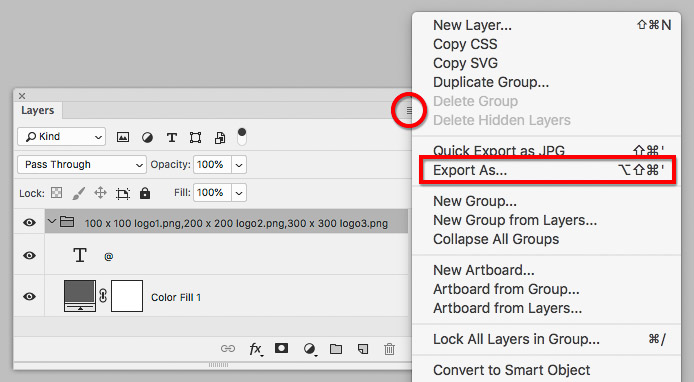
The Layer > Export As command is also available on the Layers panel menu.
Automating Web Export with Generator
If you’re a Web or app developer or working closely with one, you can automate the export of web graphics from Photoshop layers using Generator. How you name layer groups and layers determines how those layers export. For example, if you named a layer…
728 x 90 banner.jpg80%
…it will export as a 728 x 90 px file, named banner.jpg, in JPEG format, at a quality level of 80%.
Where Generator saves time is that you never have to select layers or manually export them. Each time you edit the document, all layers and layer groups named using Generator syntax will automatically export. That way, exports are always up to date.
Generator syntax is powerful. For example, if you name a layer or layer group…
100 x 100 logo1.png,200 x 200 logo2.png,300 x 300 logo3.png
…Generator will export three files at different sizes.
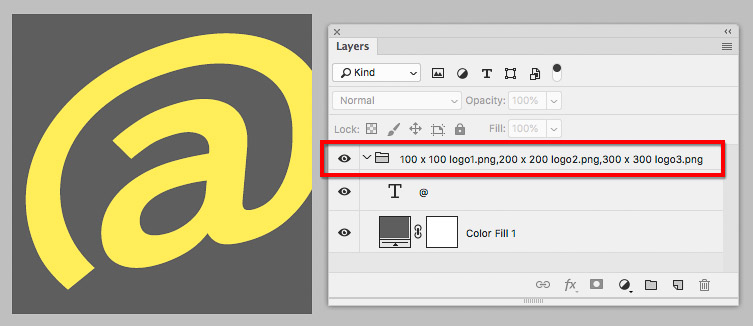
The highlighted layer group is named so that it will export three files using Generator.
If you want to use Generator, open the Photoshop Preferences dialog box, and in the Plug-ins panel, make sure Enable Generator is selected. Then choose File > Generate > Image Assets and make sure that command is enabled. For details about usage and syntax, see the Adobe help topic Generate Image Assets From Layers.
GIF and JPEG Options You Might Not Need
You may see the following Photoshop commands that sound like ways to export Web graphics, but they’re older or have specialized uses today:
- (Save As) CompuServe GIF. Another way to export as GIF is choosing File > Save As and choosing CompuServe GIF from the Format pop-up menu. But this is an older method that you might never need to use if the options in the Export As or Save for Web (Legacy) dialog boxes cover your requirements.
- (Save As) JPEG. The JPEG format option in the Save As dialog box can be useful when you want to save a JPEG format file intended only for print, or that won’t be uploaded to a Web page. The JPEG option in the Save As dialog box generally creates larger file sizes than the JPEG option in the Export As or Save for Web (Legacy) dialog boxes, because the Save As version includes more metadata such as resolution (ppi).
- Zoomify. If you shop online, you’ve seen similar techniques: Zoomify lets you magnify an image within a rectangle of a specific size, so that enlarging it doesn’t take over the entire web page. This requires not just an image, but accompanying HTML code. That’s fine if you’re coding your own web page. However, Zoomify may not be practical if you’re posting an image through social media or on a template-based web site builder.
Do you need a PDF file?
You might be surprised at how many ways you can convert a Photoshop document into a PDF file. To create:
- A one-page PDF file. Choose File > Save As, and choose Photoshop PDF. When you click the Save button, the Save Adobe PDF dialog box appears. You can choose from the same Adobe PDF Presets that other Adobe applications use.
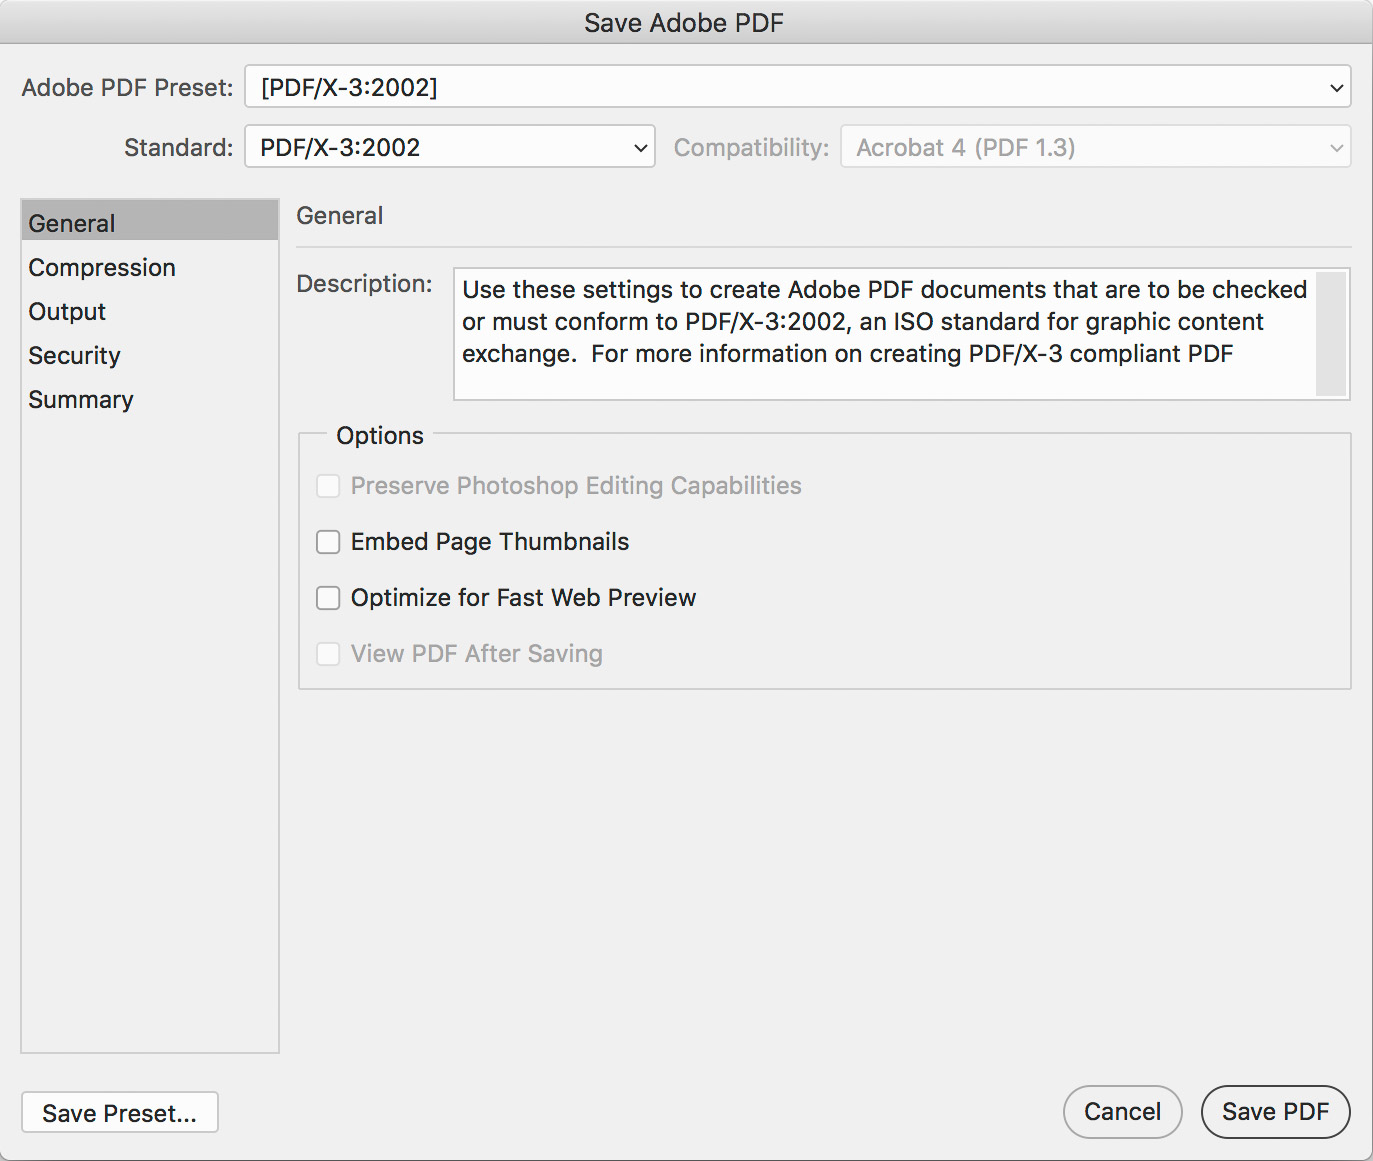
Selecting Photoshop PDF format opens the Save Adobe PDF dialog box also found in other Adobe applications.
- Artboards in a multiple-page PDF file. Choose File > Export > Artboards to PDF, so that anyone can review artboards you created, such as a web site design.
- Layer comps in a multiple-page PDF file. Choose File > Export > Layer Comps to PDF, so that anyone can review document variations you created using the Layer Comps panel.
- A slide show of multiple images. Choose File > Automate > PDF Presentation to create a multiple-page PDF file from files you select. You can then choose from Multi-Page Document, or Presentation (a self-running, full screen slide show when opened in Acrobat).
Knowing your choices for delivering Photoshop files can help you cut through confusing options, meet deadlines more easily, and more effectively satisfy the requirements of your clients and service providers.
This article was last modified on September 10, 2018
This article was first published on September 10, 2018
Commenting is easier and faster when you're logged in!

Recommended for you
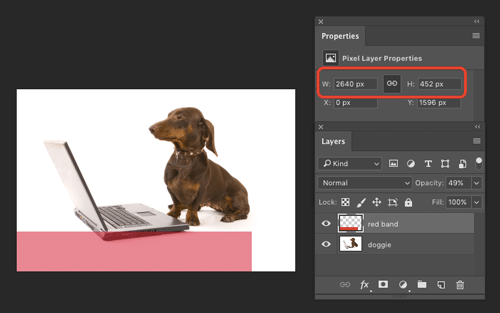
How to Find the Size of a Layer in Photoshop
Learn how to find the exact pixel dimensions of a layer in Photoshop!

Importing iWork or Excel or Anything Else Into InDesign
Karen writes: The charts generated by iWork Numbers are beautiful and I would li...

Camelot2: The Next Big Thing for Interactive PDF?
[A version of this article was originally published on LinkedIn.] If you’v...