Review: Adobe InDesign CS5

To jump to specific sections in this review, click any of the following links:
1. Multiple Page Sizes; Span, Split, and Balance Columns
2. Simplified Transformations and Selections
3. The Gap Tool; Gridified Frames and Super Step-and-Repeat; Layers Rebuilt
4. Metadata Captions; Mini Bridge
5. Interactive Documents
6. Workflow and Collaboration; (Not Quite) All The Little Things
7. Buying Advice
The Gap Tool
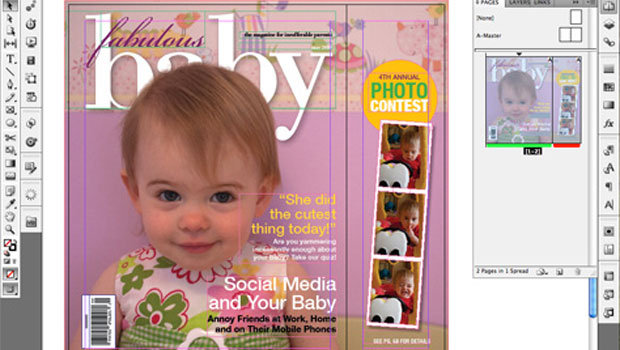
Moving and re-sizing objects on a page is an established concept, but now designers can approach layout changes a whole new way: by modifying and re-sizing the white space on the page with InDesign CS5’s new Gap Tool. You can move the white space (the gap) between two or more items on the page, re-sizing all of the objects around it simultaneously. Like the other simplified transformations, this tool eliminates selecting individual objects one at a time, drawing guides and changing tools. The “gap” can be:
• the space between frames and objects (but not the gutter in multi-column text frames), or
• any part of the page where one or more items share a common alignment, including the space between the object and a page edge.
Using the Gap Tool, hover over any gap and a pale gray highlight appears with two directional arrows. Click and drag to reposition the gap, and the objects on either side of it are re-sized according to its new position (Figure 6).

Figure 6. Click to open a YouTube video demonstrating InDesign CS5’s new Gap Tool in action.
The Gap Tool is also hands-down the fastest way to measure the gap between any two objects. Hover over any gap with the tool active, click and hold, and the Smart Dimensions feature (added in CS4) displays the gap’s height or width.
Gridified Frames and Super Step-and-Repeat
InDesign CS5 makes multiple object creation incredibly easy with its new “gridified” tools. As you draw any rectangle, ellipse, polygon or text frame, hit the right arrow key while dragging to create a duplicate object in horizontal alignment with each tap of that key. The up arrow key adds duplicates vertically. The left arrow and down arrow keys reduce the number of horizontal or vertical duplicates, respectively.
This multi-frame creation feature is especially useful when placing multiple images. If your place gun is loaded with five images, you can create the five frames needed to place them all in one step, in perfect alignment, and at a consistent size. When drawing out a new text frame, the right/up arrow keys create additional frames that are pre-threaded. Unfortunately, this pre-threaded, multi-frame creation option is not available when importing a single text file. For that, you have to fall back on InDesign’s long-standing text threading options.
To extend this gridification out to existing objects on the page, InDesign CS5 adds a new keyboard-based Super Step-and-Repeat capability. If you Opt/Alt-drag an object to duplicate it, hitting the up or left arrow key before releasing the mouse creates duplicate objects distributed between the original and the dragged copy with each tap of that key. Moving around the duplicated object before releasing the mouse redistributes all the objects in perfect alignment — vertically, horizontally and diagonally — while allowing you to continue adding or removing duplicates with the arrow keys until you release the mouse (Figure 7).

Figure 7. Click to open a YouTube video demonstrating the new super step-and-repeat feature.
Layers Rebuilt
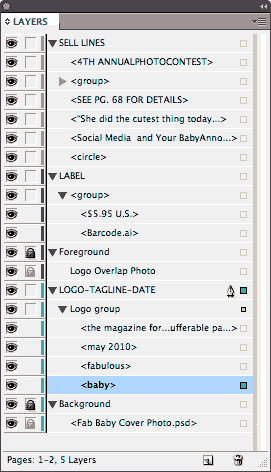
CS4 saw the tearing-down and reinvention of the Links panel. This version’s extreme makeover subject was the Layers panel, which is now very much like Illustrator’s. Each layer now has a complete hierarchy of objects on it, revealed by clicking the triangle next to the Layer name (Figure 8). Grouped objects have their own hierarchy within that layer, accessible the same way.

Figure 8. InDesign CS5’s rebuilt layers panel assigns every object a name. Defaults like “group” and “rectangle” are automatic, placed images bear the original file’s name, and text frames are named with their first 32 characters. You can change any of these object names by triple-clicking its name in the panel.
The advantages of this object-level specificity are the ability to:
• select any object by Opt/Alt-clicking its name in the pane
• hide or show individual objects instead of entire layers, and
• add objects to or remove objects from a group via the Layers panel.
This article was last modified on January 18, 2023
This article was first published on May 6, 2010
Commenting is easier and faster when you're logged in!
Recommended for you

Fontober: Free Display Fonts
Each Friday this month, we’ll feature a new set of free fonts for your use...

The Typography Beard Guide
Ah, typography and beards. They go together as well as… Hm. Actually, they go to...

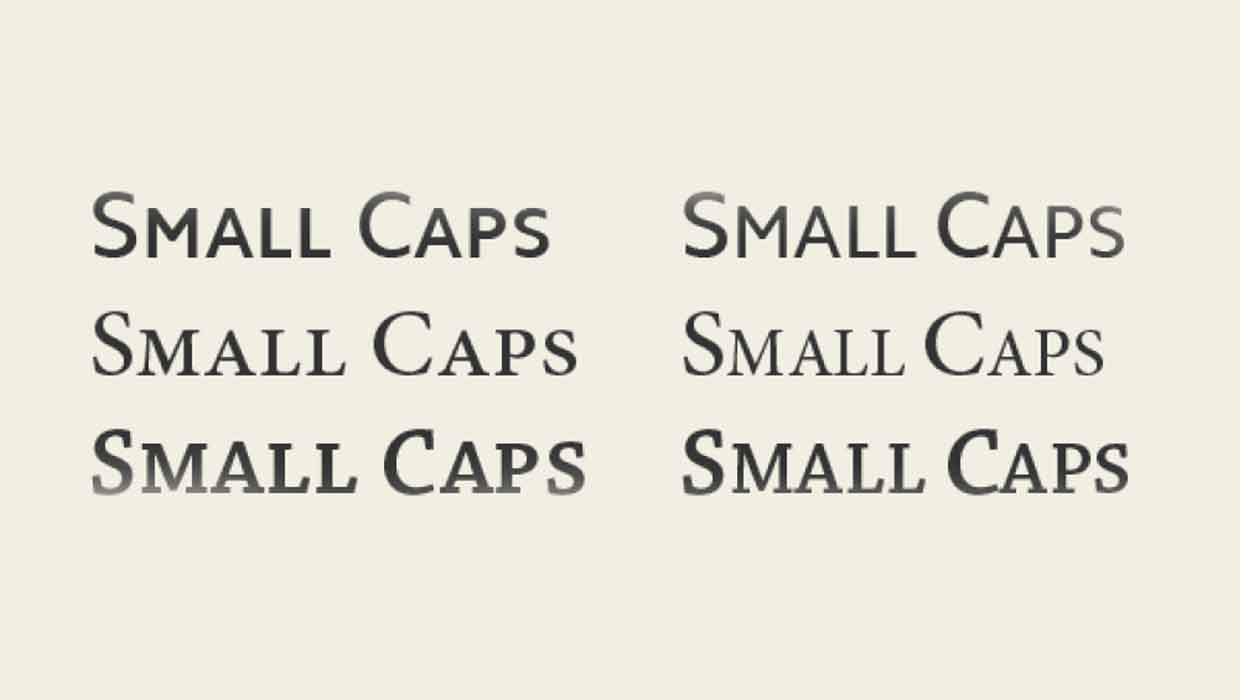
InType: Know Your Small Caps
Add sophistication and polish to your type by understanding the different kinds...


