


In InDesign, you can unify a design composed of separate placed images by recoloring them with colors extracted from a central image. Here’s how.
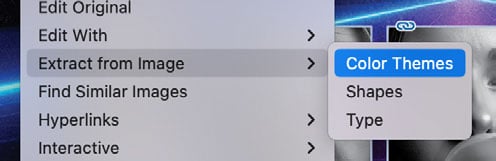
Right-click your main graphic with the colors you want to apply and choose Extract from Image > Color Themes. This pulls dominant colors from placed images and saves them as swatches.

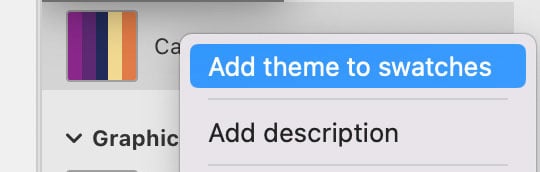
Click Save to CC Libraries, then right-click the saved theme from the CC Libraries panel and choose Add to Swatches to add the to the document and use the colors in your design.
Note: In order to recolor them in InDesign, the images must first be saved in Photoshop in grayscale mode as either JPEGs (flattened), PSDs, or (potentially layered) TIFFs.

To apply the new swatches to the images simply drag and drop the swatches from the Swatches panel directly onto the individual images.

Optionally, add a consistent stroke to all the images to unify the visual style.

This article was last modified on October 23, 2025
This article was first published on October 14, 2025
Commenting is easier and faster when you're logged in!

Recommended for you

Sampling Colors from Multiple Page Items in InDesign
How to use the Color Theme tool to quickly create custom color palettes by sampl...

Before&After: Create a Series of Cards
These small, tent-style cards needed to be different but look like a series and...

Tip of the Week: Color Shortcuts
This tip was sent to Tip of the Week email subscribers on September 18, 2014. Si...