
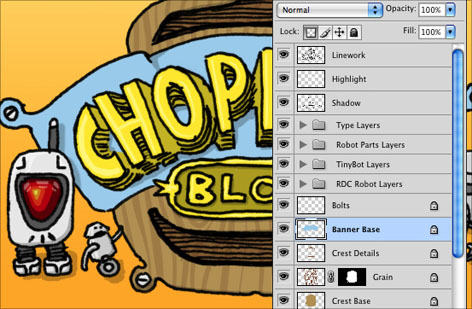
Since it opened in 1996, design studio The Chopping Block has always done things a bit differently. (Just look at its mission statement: ‘World Domination Through Graphic Design”.) Now Principal/Designer Matthew Richmond is sharing his technique for taking hand-drawn artwork from paper to Photoshop, and yes, it’s a little different.
As Matthew notes, the usual method for coloring scanned art in Photoshop is to “switch the document color mode to ‘RGB Color,’ set the blending mode of the layer containing your artwork to ‘Multiply, and create multiple layers containing color underneath your artwork.”
But if you do things The Chopping Block way, you’ll have greater flexibility, speed, and creative potential. Even better, Matthew is giving you a Photoshop Action that’s like having some of his expertise built into your copy of Photoshop!
For full instructions and to download the Action, read Matthew’s blog post.
This article was last modified on December 14, 2022
This article was first published on October 29, 2009
Commenting is easier and faster when you're logged in!

Recommended for you

Photoshop Tip: Using History Snapshots
Whether you call them do overs, Mulligans, or second chances, we all need those...

Crafting Chromatically Rich and Luminous Images
“If all the world’s a stage, I want better lighting.” I couldn’t agree more with...

How Photoshop Uses Bungee Cords to Define Color
The following excerpt is adapted from Speaking Photoshop CC by David Bate. Repri...