Precise Pattern Positioning in Illustrator

Pattern swatches in Illustrator are typically used to cover large areas, and as such, precise placement of the swatch within each object isn’t typically a concern. I was recently approached to help solve a pattern dilemma, and the design I came up with is a takeoff on an Object Mosaic technique. This article will teach you how to control where your pattern swatch is located with your objects.
The Task: Fill each object with a shape
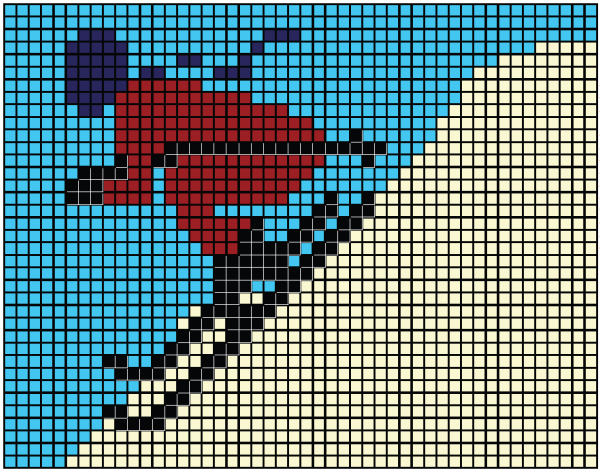
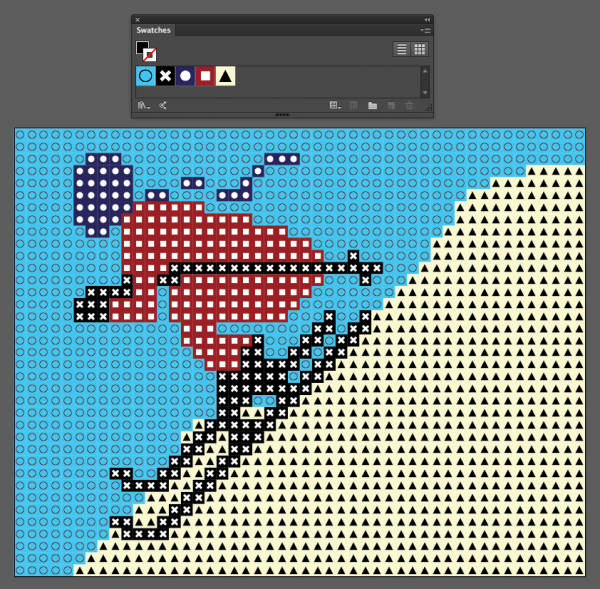
This artwork contains five different fill colors, and each one of the fill colors needs to also have a unique shape contained within each square.
Let’s say that I have a grid of squares, and each square needs to contain a different symbol inside. I could accomplish this using symbols, but it would be very cumbersome to do so. Here is how you would do it.
1. Select a square.
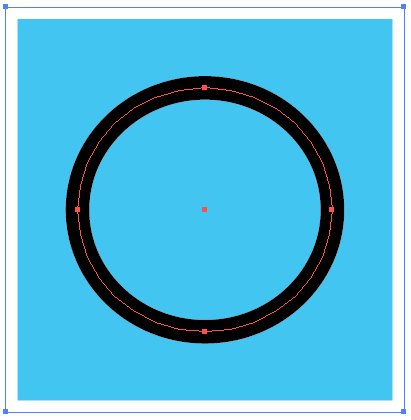
2. Add the circle and center it inside the square.
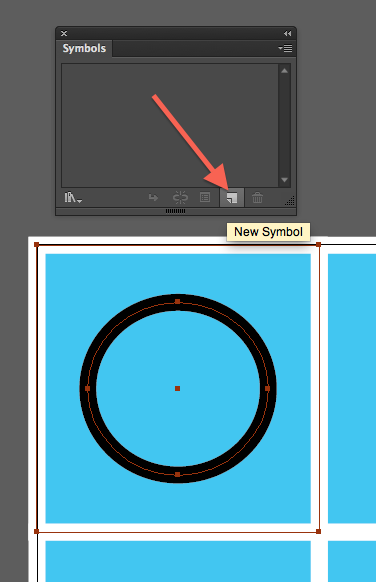
3. Select both objects and convert them to a symbol.
4. Select a second square.
5. Convert it to a symbol.
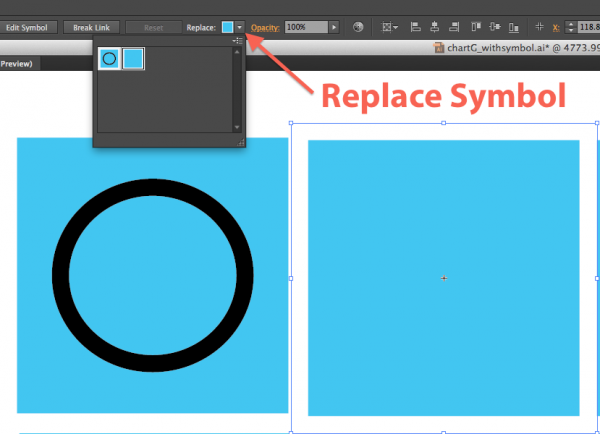
6. Replace Plain symbol with the non-plain symbol (the one with the circle inside of it).
7. Delete the Plain Cyan Square symbol.
8. Repeat 1700 times.
Apart from scripting, there is no way to select 1000+ different objects and convert them individually to symbols and then replace all those symbols.
But by choosing a different method and set of tools, we can accomplish this daunting task.
The Solution: Use a Pattern Swatch
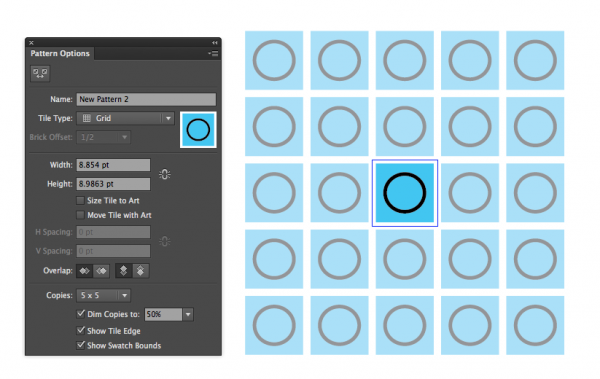
Let’s take a look once again at our design. What I really want is a grid of these cyan squares, all filled with circles. But the circles can’t just be placed willy-nilly. They need to be exactly in the center of each square. It seems simple enough: choose Go to Object > Pattern > Make. The default Tile Type is Grid, which is exactly what we want. (For our purposes in this project, nothing else in the dialog box matters. We’ll just leave it all at the default settings.)
Looks good so far! So I go to the next square and apply the pattern swatch to it (you may need to break the link to the symbol first). But as soon as I apply the pattern swatch to the fill, I see that something is wrong. Very, very wrong.
So why is the pattern swatch not behaving as expected? I suspect that Pattern Swatches were designed so that a pattern could be applied to a single large object (consider how patterns are applied to fabric designs). And if you need to adjust how the pattern sits inside of that single object, you can simply adjust the settings inside the Transform panel and easily fix the problem. A few nudges with your arrow keys and the problem is solved.
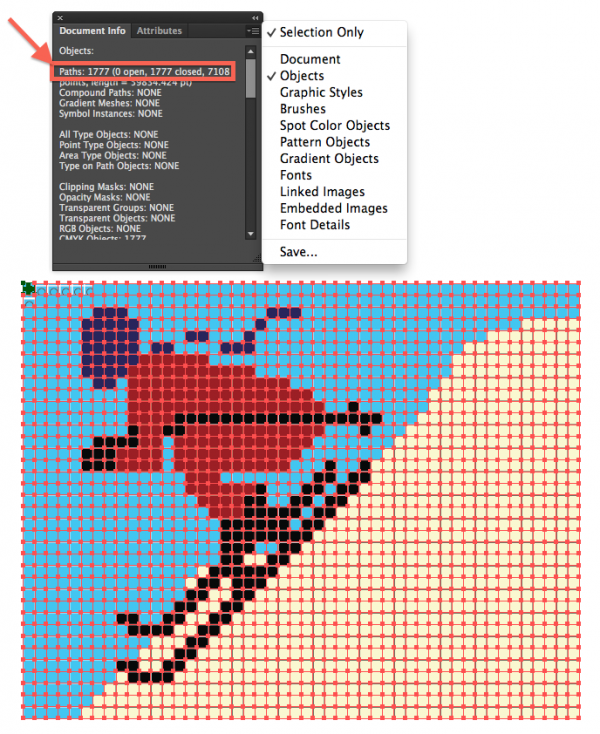
But in our case, we don’t have a single large object, we have 1776 different objects to which we need to apply a pattern swatch. (In case you’re wondering how I determined the number of objects, go to Window > Document Info > Flyout menu > Objects. There are 1776 squares and 1 circle.) So we need to find a way to precisely position each swatch pattern inside each of the 1776 squares.
Go back into your pattern swatch (double click on it in the Swatches panel) and set the square to have no stroke. This is important for getting the pattern to line up properly.
Mordy Golding was kind enough to share a quick explanation of how rulers work in conjunction with pattern swatches. In a nutshell: How rulers work changed in CS6 when Adobe added the new pattern feature. The placement of pattern swatches within objects is tied to the 0/0 ruler origin. Illustrator aligns the top left corner of the pattern swatch bounds with the origin point of the document’s global ruler.
So, let’s change the rulers to Global Rulers: View > Rulers > Change to Global Rulers.
That should do it, right? Not quite. Even though our rulers are global rulers, the 0/0 origin point doesn’t line up with the swatch bounds.
It’s worth noting that the default rulers in Illustrator are Artboard Rulers. Each artboard can have it’s own ruler origin.
From the Adobe help file:
Global rulers appear at the top and left sides of the illustration window. The default ruler origin is located at the top-left corner of the illustration window.
Artboard rulers appear at the top and left sides of the active artboard. The default artboard ruler origin is located at the top-left corner of the artboard.
The difference between artboard rulers and global rulers is that if you select artboard rulers, the origin point changes based on the active artboard. In addition, you can have different origin points for artboard rulers. Now, if you change the artboard ruler origin, the pattern fills in objects on the artboards are not affected.
What we need to do is make sure the 0/0 ruler origin is aligned to the pattern swatch bounds. The easiest way to do this is:
1. Select all the squares. Then go to Object > Artboards > Fit to Selected Art. That will eliminate the extra space surrounding the artwork and position the top left square exactly at the edge of the artboard.
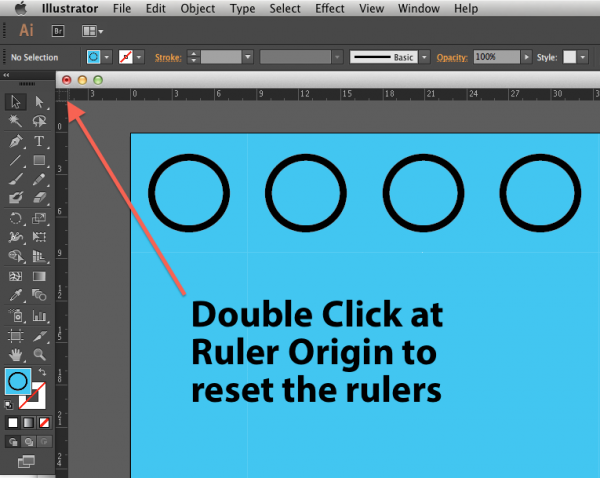
2. Make sure your rulers are displayed by going to View > Rulers > Show Rulers. Then simply double click on the in the corner at the ruler origin. This will reset the origin back to 0, 0.
Now, if you want to reposition how the swatch is positioned inside the objects, you can simply drag and drop the ruler origin to a new spot.
One Color Down, Four More to Go
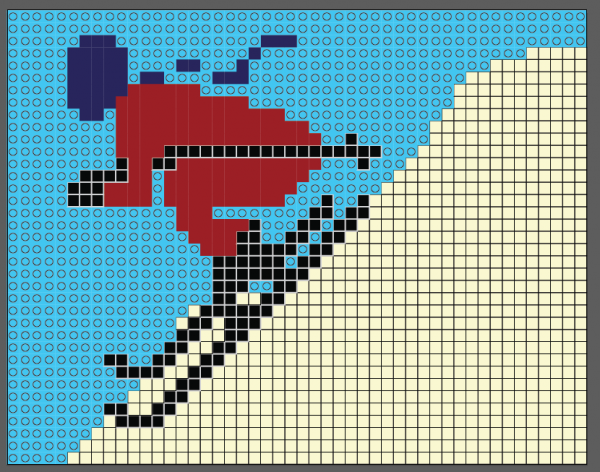
So, the original task was to make circles inside each of 1,776 squares, without doing it manually 1,776 times. So now that we have our Cyan pattern swatch set up correctly, select a plain cyan square. Then go to Select > Same > Fill Color. Then apply the Cyan/Circle pattern swatch. Voila!
Proceed with Remaining Four Colors
Once you understand how to setup a pattern swatch, as well as the logic behind how the pattern swatch placement is controlled by the global ruler guides, it’s pretty straightforward to set up the pattern swatches for the remaining colors of the design. Note that to keep the pattern swatches behaving as expected, I removed the strokes from all the squares. We’ll put them back in just a bit.
Since this design was originally intended for a knitting pattern, the divider lines in between each of the squares serve as a type of graph paper, so it’s easier to keep track of where you are at while knitting the design. Because those squares serve such an important function, it is important that they remain in the completed design.
Select one of the yellow squares and apply a .5 point black stroke to it.
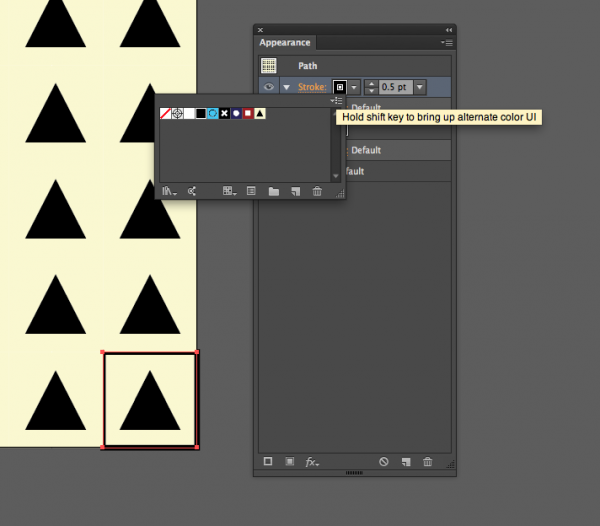
You can also add strokes and fills to objects using the Appearance Panel. That way, you can have just one panel open instead of two. Clicking on the Stroke color will bring up your color swatches. If you’d prefer to see the Color sliders, hold down Shift while you click on the Stroke color picker in the Appearance Panel
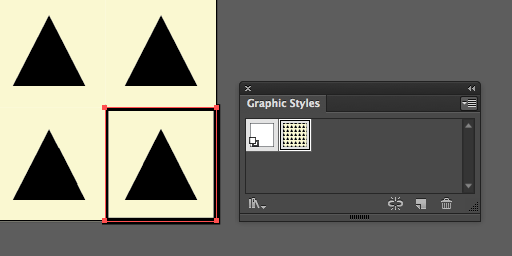
For long-term usability, set this as a graphic style, so it’s easier to apply and edit later on. Then Select> Same > Fill Color and apply the same graphic style to all the yellow squares.
Repeat the same process, setting up each one of the colors with a stroke and a graphic style, in order to form the gridlines.
While the application of this technique focused on the requirements of a knitting pattern, this same technique can be used anytime you need to precisely position pattern swatches inside of objects. Just remember: Global Ruler Guides Origin Point + Pattern Swatch Bounds = Precise Swatch Placement.
This pattern (a celebration of the love of winter sports) was originally designed by Larissa Sielicki and available for sale at ravelry.com
This article was last modified on April 24, 2025
This article was first published on May 28, 2014
Commenting is easier and faster when you're logged in!
Recommended for you

Creating Custom Shadows in Photoshop
Learn how to create shadows that add a whole new layer of meaning to a photo.

CreativePro Tip of the Week: Making Dotted Lines in Illustrator
This CreativePro Tip of the Week on Making Dotted Lines in Illustrator was sent...

Google Slashes Prices on the Nik Collection
Last fall, Google announced that it had acquired Nik Software, makers of the pop...


