

You may not be a whiz in the kitchen, but all you need is an understanding of Photoshop and a couple of appropriate photographs to create your own custom pie design. Here, we’ll see how to make a fruit dessert that’s sure to go down well in the CreativePro offices.
Step 1: Find a pie
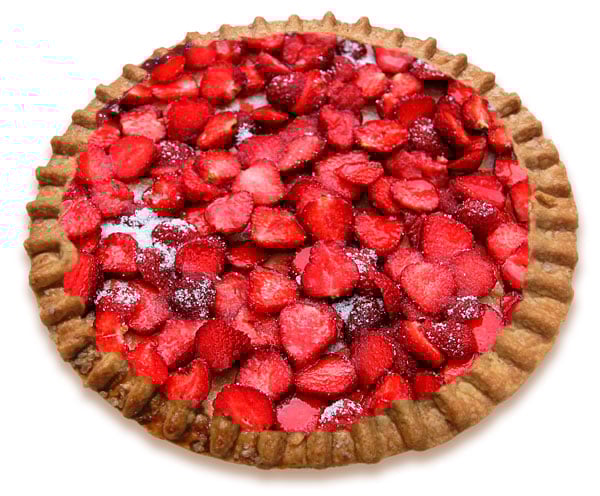
You don’t need to pay for expensive library images to find the perfect pie. This one came from the excellent free online resource pxhere.com, and is just the job for our confection.

Step 2: Find some filling
Ideally, you’d have two pictures of the same pie for this technique – one with a pastry lid, and one without. We couldn’t find a suitable pair of images, so we have to make do with this photo of some stewed strawberries – again, courtesy of pxhere.com.

Step 3: Fill the pie
The easiest way to make the filling fit the pie is to make a Layer Mask, and then paint out around the edges. It helps to follow the contours of the outer crust to make it look more three-dimensional. When you’re done, use the Properties panel to feather the edges of the mask by a few pixels to make it look less artificial.
Step 4: Add a shadow
To make the strawberries look as if they’re inside the pie, rather than on top of it, make a new layer and set its mode to Multiply. Use Layer > Create Clipping Mask so this layer is visible only where it overlaps the strawberry layer, and use a large soft-edged brush to paint around the edges. Rather than painting in black, sample a dark brown color from the pie itself.

Step 5: Thicken the crust
Because we’re looking at the pie from an angle, we need to add some thickness to the pastry on the far side. Load the strawberry layer mask as a selection by holding Command/Ctrl and clicking on its thumbnail, then switch to the original pie layer and use Command J/Ctrl J to make a new layer from that selection. Move it above the strawberries, and darken the layer a little. Load the selection again, then nudge the selection down about 10 pixels and Delete, so that the thickness is showing just at the top of the pie.

Step 6: Add your design
You can use any logo or simple image to decorate the pie. I’ve used the CreativePro logo, grabbed from this website. I’ve had to blow it up because it was very small, which means it’s now quite ragged – but that doesn’t matter. Select all the white in the logo with the Magic Wand tool, then Invert the selection so that only the lettering is selected.
Step 7: Round the design
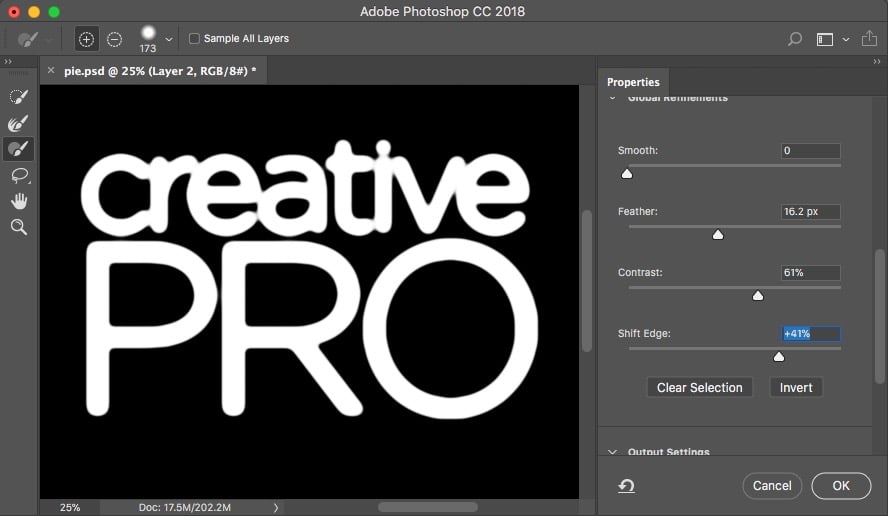
To make the lettering look like it could conceivably be made of pastry, we need to round those edges. Open the Select and Mask dialog, and set the view mode Black & White so you see just the selection area, and not the image. Now increase the Feather amount about half way. This will produce a very soft edge, so increase the Contrast to tighten it up. You may need to drag the Shift Edge slider as well to give the letters some thickness.
Step 8: Turn the design into pastry
When you exit the Select and Mask dialog, you’ll have the selection you need. Duplicate the original pie layer, and choose Layer > Layer Mask > Reveal Selection. Move it above the strawberry layer, and you have the beginning of the pastry cutout.

Step 9: Add some perspective
Click the chain icon between the design layer and its mask, and distort the mask using Free Transform so that it’s in perspective. It can help to click the Image Warp button to lift the middle of the design so that it looks like its bending over the strawberries. To stop the cutout being too crisp, use Filter > Stylize > Diffuse to roughen up the edges of the mask.

Step 10: Add some effects
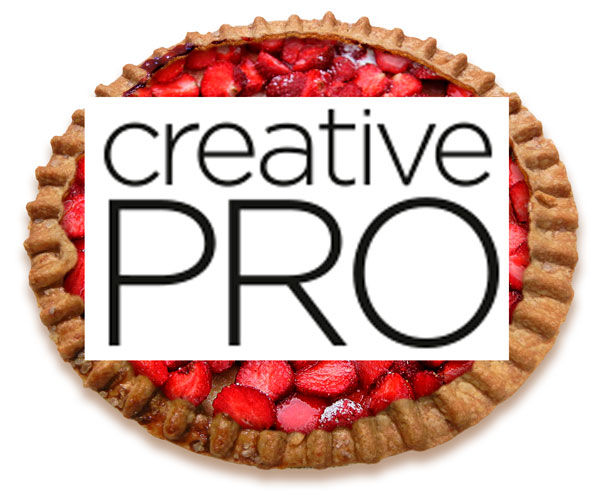
Finally, use the Layer Styles dialog to add an Inner Bevel to the design, which will make it look more three-dimensional; then add a Drop Shadow so it’s raised slightly above the strawberries. It’s as easy as pie!

This article was last modified on March 20, 2018
This article was first published on March 20, 2018
Commenting is easier and faster when you're logged in!

Recommended for you

Creating Duotones in Photoshop
Duotones offer designers a great way to add visual interest to photos. Essential...

Using the Select Subject Feature in Photoshop
Any experienced Photoshop artist knows that most of the grunt work involved in c...

Thou Shall Not Use Comic Sans
Excerpted from Thou Shall Not Use Comic Sans: 365 Graphic Design Sins and Virtue...