


Strange (for Adobe) but true: If you’re a registered user of Photoshop CS2, you can download a free, 750MB beta of Photoshop CS3 starting December 15, 2006. If you don’t have CS2, are leery of beta software, or just want a guided tour before you take the plunge yourself, you’ve come to the right place. We’ve been working with the beta version of Photoshop CS3 for a while now, and it certainly is worth a look. Among other things, it includes significant improvements to the workspace, filters, and selection tools. Here’s a tour of the new capabilities that we find most exciting.
More Elbow Room
As soon as you launch Photoshop CS3, you’ll see that the toolbar is now a single column. (Don’t like it? You can return to the old two-column display by clicking the gray bar at the top of the toolbar.) Additionally, palettes are collapsed to a compact view and represented by icons, saving even more space. We’ve found that the new workspace makes it easier to focus more on the images, and the tools became more of a natural extension of our work. As we describe some of the enhancements, we think you’ll understand why.
The public beta remains a work in progress, so the app may be slightly different depending on when you download the software, but the default workspace should be similar to what you see in Figure 1.
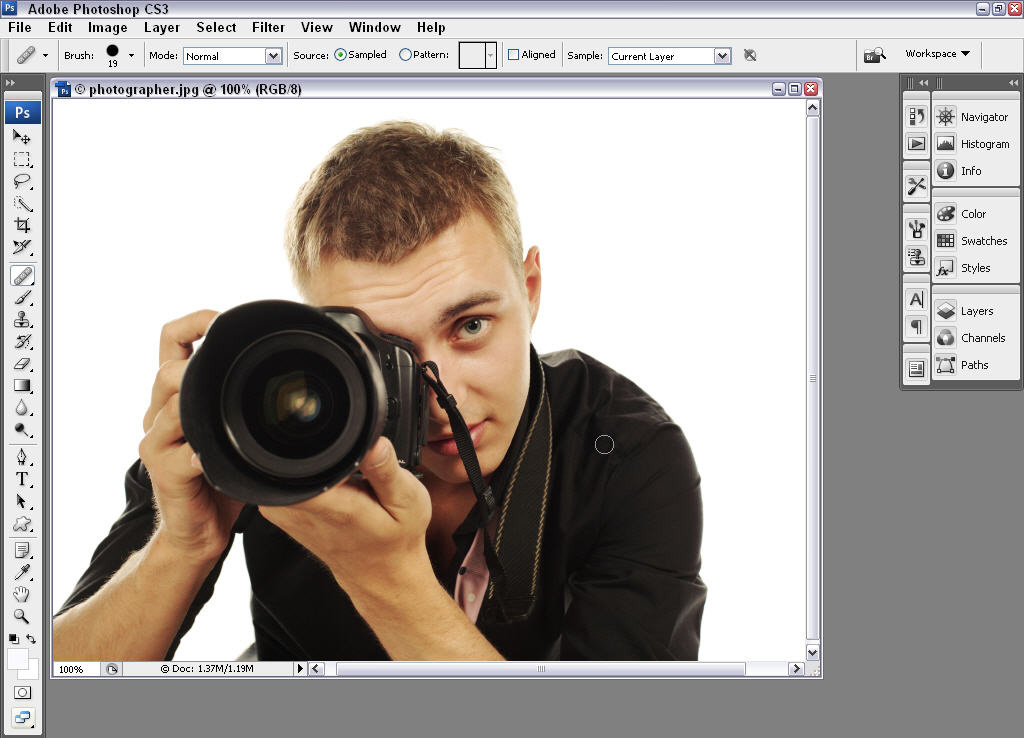
Figure 1. The default Photoshop CS3 Workspace in the compact icon view. For a larger view, click on the image above.
Photoshop continues to make extensive use of palettes. To activate a palette in this new version, simply click the appropriate palette icon and the related palette group expands. Select another palette icon, and Photoshop brings that palette pane to the front of the display.
You can expand all icons to palettes: just click the Expand Dock bar at the top of the palette icons, and the palette drawer appears. You can expand or reduce the size of the palette drawer by dragging its vertical border, as you see in Figure 2.
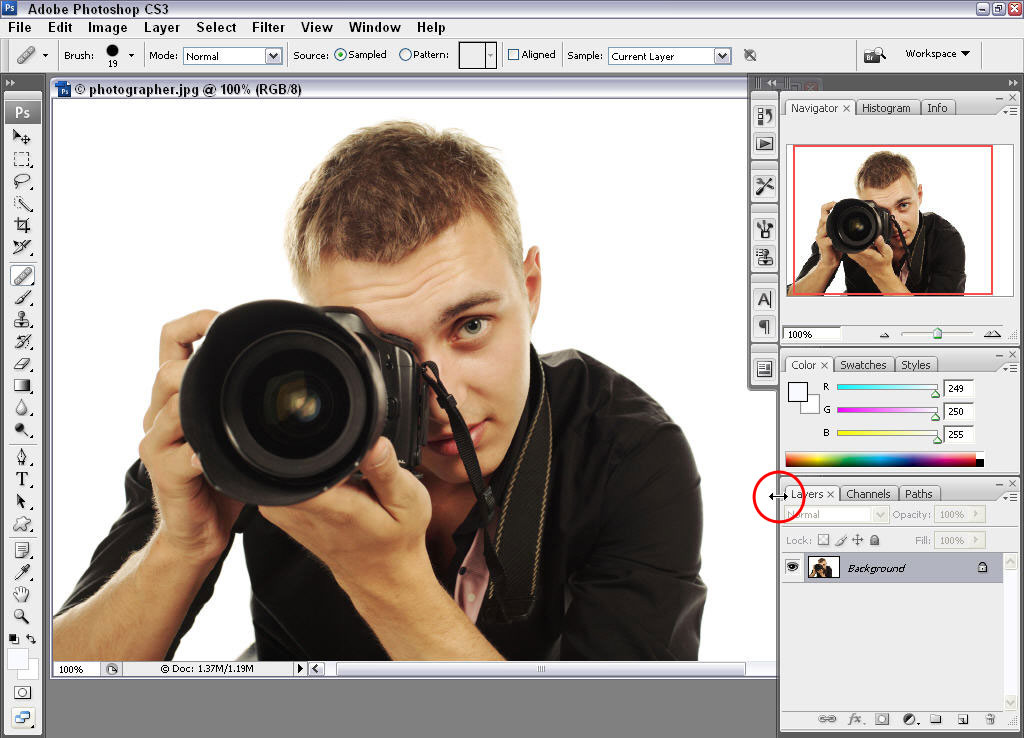
Figure 2. The Photoshop CS3 workspace with the palettes expanded to a palette drawer. For a larger view, click on the image above.
You can return the palettes panes to icons by clicking the Collapse to Icons bar at the top of the palette drawer. When you drag an icon to the work area, it automatically expands, and it returns to an icon when dragged back into dock, which is all very intuitive.
It’s also easier to show and hide all of your palettes. You can still press the Tab key to hide all of your tools and palettes, but now you can move your cursor over the left or right side of your screen and pause at the vertical gray bar. This causes the tools and palettes to reappear.
While the workspace improvements alone are exceptional, there are a great many additional features.
New and Improved Selection Features
If you like the ability to paint your selections but don’t want to venture into Quick Mask mode, you’ll love the new Quick Selection tool. With this tool you can easily brush over the image area that you want to select, as shown in Figure 3. By default, additional strokes with the Quick Selection tool add to the selection. You can delete by holding down the Alt (Windows) or Option (Mac) key as you stroke. The toolbar provides more options, including New selection, Add to selection, and Subtract from selection buttons.
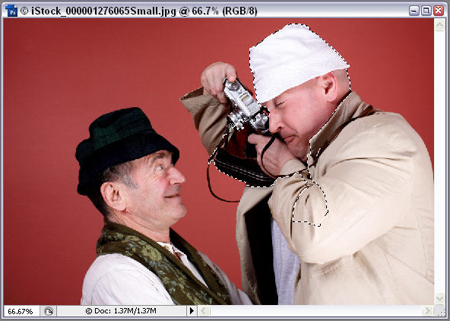
Figure 3. Paint your selections using the new Quick Selection tool.
The new Refine Edge button is quite helpful in cleaning up selections. It’s available from any of the selection tool’s options. Use Refine Edge to improve a selection or even add feathering to create a vignette of a selection. All of these options are available in a preview window that includes choices for five different ways to preview the selection, as shown in Figure 4.
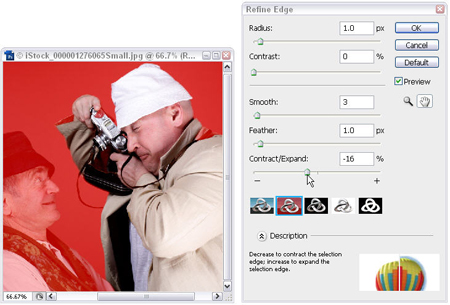
Figure 4. You can use the new Refine Edge feature with any of the selection tools.
Smart Filters
Since version 4, Photoshop has had ways of editing non-destructively — that is, without losing pixels — but too many actions resulted in data loss. While some actions, such as cropping, resizing, and mode changes, are still destructive, Photoshop CS3 has made great strides with the addition of Smart Filters. Now you can change filter parameters after you apply them, or delete a filter to disable it.
Try Smart Filters by selecting Convert for Smart Filters from the Filter menu. Click OK if a dialog box appears. Choose any filter and click OK and you’ll see a Filter effects mask thumbnail appear in the Layer’s palette. Want to take it even further? Select the thumbnail and use the paint tools to paint black (and shades of) where you don’t want the filter applied, or paint white to bring back the filter. In Figure 5, we used the gradient tool on the Filter effects mask thumbnail to fade the Gaussian Blur and Rough Pastels filters.

Figure 5. Take advantage of Smart Filters and apply multiple non-destructive filters to each layer.
You can turn off the filter by selecting the visibility icon in the layers palette, or adjust filter settings by double-clicking the icon to the right of the listed filter.
Smart Filters are a great improvement, especially for those of us who have relied heavily on the History Brush.
Better Black and White Conversion
Photoshop CS3 takes the Channel mixer to the next level by providing exceptional controls that make it easier to create appealing black and white images. With an image open, you can click on the Create new fill or adjustment layer button in the Layers palette, and then select Black & White. The Black and White dialog window appears as shown in Figure 6. Choose a preset, or customize the color conversion by using the Channel mixer adjustments. If you’re converting multiple images, you can save your settings by selecting the Preset options button to the right of the Presets drop-down menu. To experiment with more creative options, use the Tint box and add a color tint to your image as it’s converted.
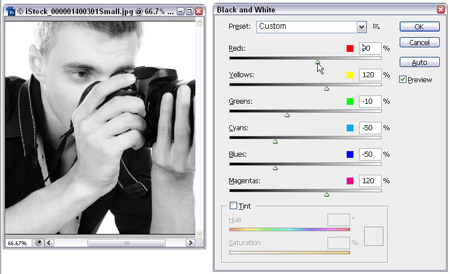
Figure 6. Use the Channel Mixer options as well as other presets in the new Black & White adjustment layer.
Multiple Planes in Vanishing Point
In Photoshop CS2, the newly introduced Vanishing Point tool held great promise for copying and painting within an image’s planes of perspective. Vanishing Point has evolved, and now in Photoshop CS3, you can wrap around multiple perspective planes, and you’re no longer restricted to adding planes at 90 degree angles. It’s great for mocking up package design or for spatial illustrations.
To begin, copy an image and choose Filter>Vanishing Point. Using the Create Plane tool, you can then click four corners to make a perspective plane. Note that the plane is accurate if the grid is blue. If the grid is not blue use the Edit Plane tool to adjust the corners. Now the cool part: hold down the Ctrl key (Windows) or Command key (Mac) and drag one of the middle nodes. This creates an additional perspective plane, generated from the original (Figure 7).
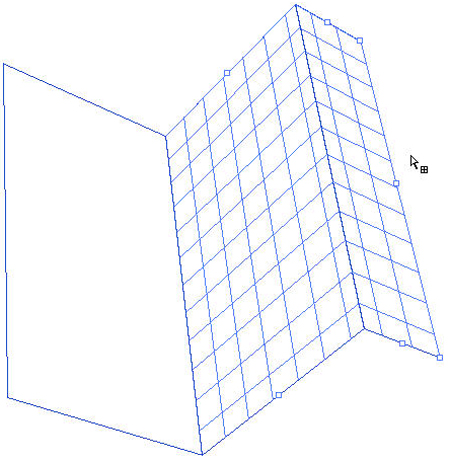
Figure 7. The Vanishing Point filter in Photoshop CS3 now supports multiple planes.
Now paste your image and drag it into your plane. The image wraps the planes (Figure 8)!
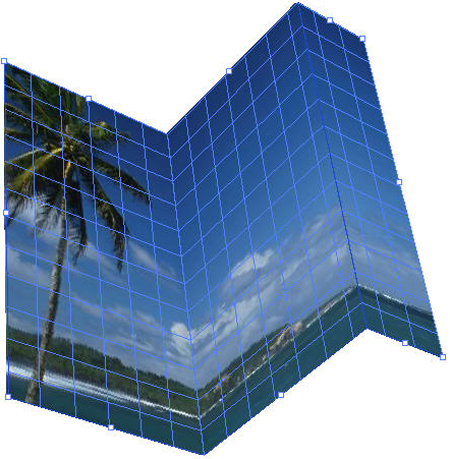
Figure 8. An image wrapped around multiple planes.
Vanishing Point adjusts brush strokes, healing, and cloning as you paint over the planes.
Align Like a Pro
If you’ve ever taken several versions of a picture and wished you could easily combine and align the images to pick the best part of each image, you’ll love the new Align feature. With the Align feature, you can drag images into a file to create layers, select the Move tool, and then Shift+click to select the multiple layers. Then click the Auto-Align Layers button in the options bar and the dialog window that you see in Figure 9 appears. Choose your alignment method, click OK, and you’re done!
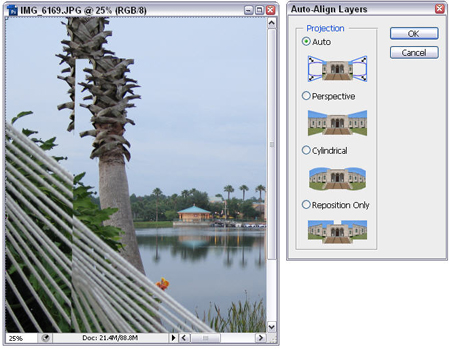
Figure 9. Photoshop CS3 will align these layers easily using the new Auto-Align Layers button in the Move tool options.
Adobe Bridge
The Photoshop CS3 beta includes Bridge, an asset manager that debuted with CS2. Bridge is now faster and it also sports a more efficient workspace so you can maximize your ability to handle multiple files and projects.
New to the Bridge is the ability to create Stacks, which compress a series of selected images to a single thumbnail (Figure 10). Use Control+G (Windows) or Command+G (Mac) to create a stack, and expand the images by clicking on the stack number in the upper left of the stack.

Figure 10. Save space and keep similar images together by taking advantage of Stacks. For a larger view, click on the image above.
Bridge now makes it easy to see details of an image without opening it. Move the cursor over the thumbnail and it acts as a loupe, automatically magnifying the image (Figure 11).
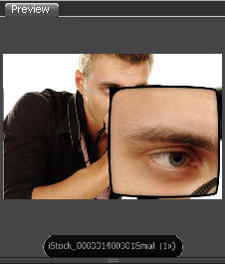
Figure 11. Zoom into your image in the Bridge thumbnail.
Performance Improvements on Mactel Systems
Last, but definitely not least if you’re a Macintosh user, Adobe has ported Photoshop CS3 to the Intel-based processors used by all new Macs. As a Universal application, the software can run in a native mode on both Intel and PowerPC Macintosh systems.
As part of our testing we’ve been using PC and Macintosh systems, both with Intel Core2 Duo processors. The beta’s performance is strong on both platforms. Most noticeable is the huge speed improvement between Photoshop CS3 running on an Intel-based Macintosh and Photoshop CS2 running on the same system. Before Photoshop CS3, the Intel based Macintosh computers had to interpret the software so that it could run on these new computers, as Photoshop CS2 was not made for the Intel processors.
Note that the Photoshop CS3 beta still runs on older Macintosh systems with PowerPC processors, as well.
Final Thoughts
Remember that this is a beta, so the software may change slightly before it’s released in its final format. The beta isn’t intended to replace your current version of Photoshop; instead, it’s just a preview of what’s ahead from Adobe.
But even given these caveats, consider trying the beta yourself. (Adobe says you can install CS2 and the CS3 beta on the same computer without conflict.) There’s a lot more to discover — we’ve only scratched the surface of all of its improvements and tweaks. The Photoshop team has exceeded our expectations with this release, and we think it will exceed yours as well.
Jennifer Smith is an author and instructor. An Adobe Certified Expert in numerous Adobe applications, she is co-author of “Adobe Creative Suite 2 for Dummies” (with Christopher Smith). She has authored or edited more than ten books on Adobe’s software, and has written several books on Photoshop CS3 that will be available when the software ships in its final form. Jennifer is executive vice president of American Graphics Institute.
Christopher Smith is an author and consultant. An Adobe Certified Expert in numerous Adobe applications, he is co-author of “Adobe Creative Suite 2 for Dummies” (with Jennifer Smith), and has authored or edited more than one dozen books on Adobe’s software products. Christopher is also president of American Graphics Institute.
Jennifer and Chris will be part of the Adobe Creative Suite seminar tour, presented by the Creative Professional Association, which will be in 10 cities across the United States over the next few months.
This article was last modified on January 18, 2023
This article was first published on December 14, 2006
Commenting is easier and faster when you're logged in!

Recommended for you

Color Management is Not Color Correction
In the webinar I presented to the Graphic Artists Guild titled Color Manage...

Sometimes a Logo Is Just a Logo
The recent hubbub surrounding Quark’s new logo has raised several question...

Fill Live Text With Any Image in InDesign
Mike Rankin shares the trick for filling live text with any color, pattern, or p...