Punch-Out Text
Variations on this first one have been shown here before, but it’s a fun trick that bears repeating.

To make text that you can see through (and edit as real, live text) do the following:
Type some [Paper] colored text in a frame, then select the frame and set the text to the Multiply blend mode.
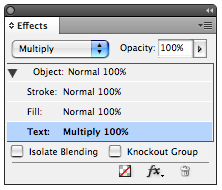
Then in the Effects panel, click on Object, and Knockout Group.
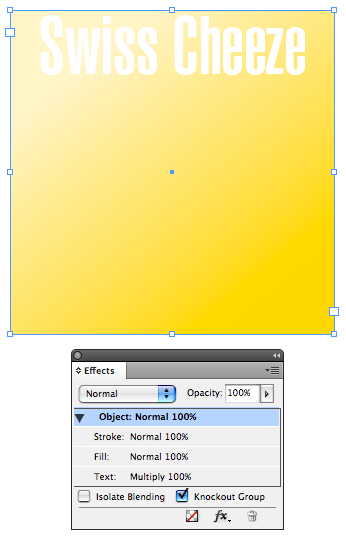
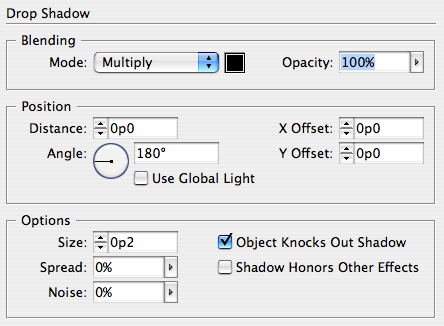
For extra credit, give the frame a drop shadow and the text an inner shadow.
Stickers

I’ve seen the sticker or decal look used in some magazines. It works best with simple shapes. Be warned, stickers are addictive. Once you start making them, it’s hard to stop.
Take an object or some text, and give it a big [Paper] stroke. Then add a tiny drop shadow directly behind.
If the shadow gets lost on a colored background or photo, beef it up by increasing the Spread.

For extra credit, make an object style that applies the stroke and shadow to automate your sticker production.
Rips
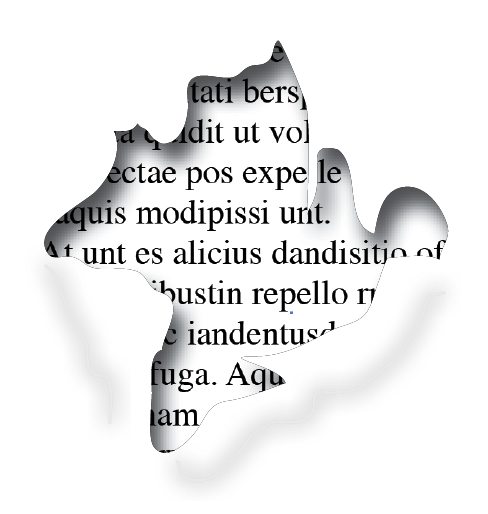
Want to make a document really “pop”?
Use the Pencil tool to draw a jagged shape. Apply an inner shadow. Then fill the shape with a photo, color, etc. You can sell the effect even more by adding a couple lines below and give them a big fuzzy drop shadow.
Variations
Bullet Holes: just a circle with an inner shadow and some jagged shapes with shadows.
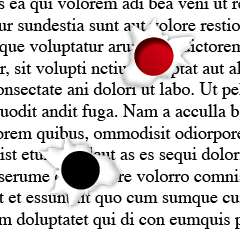
Layers/Burns: Pile the shapes on top of each other. Add a brownish drop shadow to “singe” the edges.
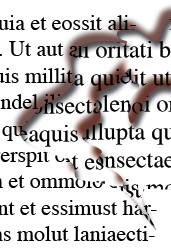
Breakthrough: If you want something to poke through the hole, you need two copies.

The part poking through has a clipping path and a drop shadow. The other part sits inside a jagged frame with an inner shadow.
Stand back, those horns are sharp!
This article was last modified on December 19, 2021
This article was first published on May 28, 2009
Commenting is easier and faster when you're logged in!

Recommended for you

Creating a Ghostly Effect with a Drop Shadow in InDesign
Here’s how to achieve a ghostly effect, using an obscure drop shadow trick...

Tip of the Week: Placing an Image in a Compound Frame
This tip was sent to Tip of the Week email subscribers on October 1, 2015. Sign...