
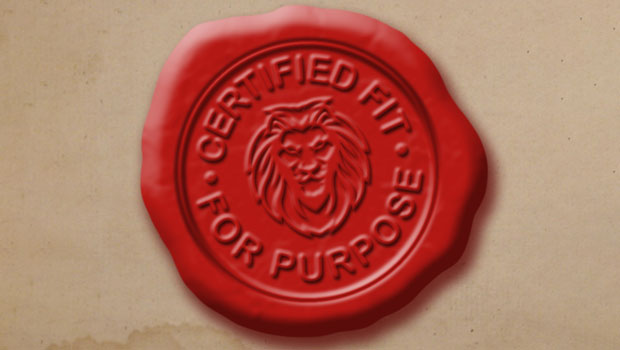
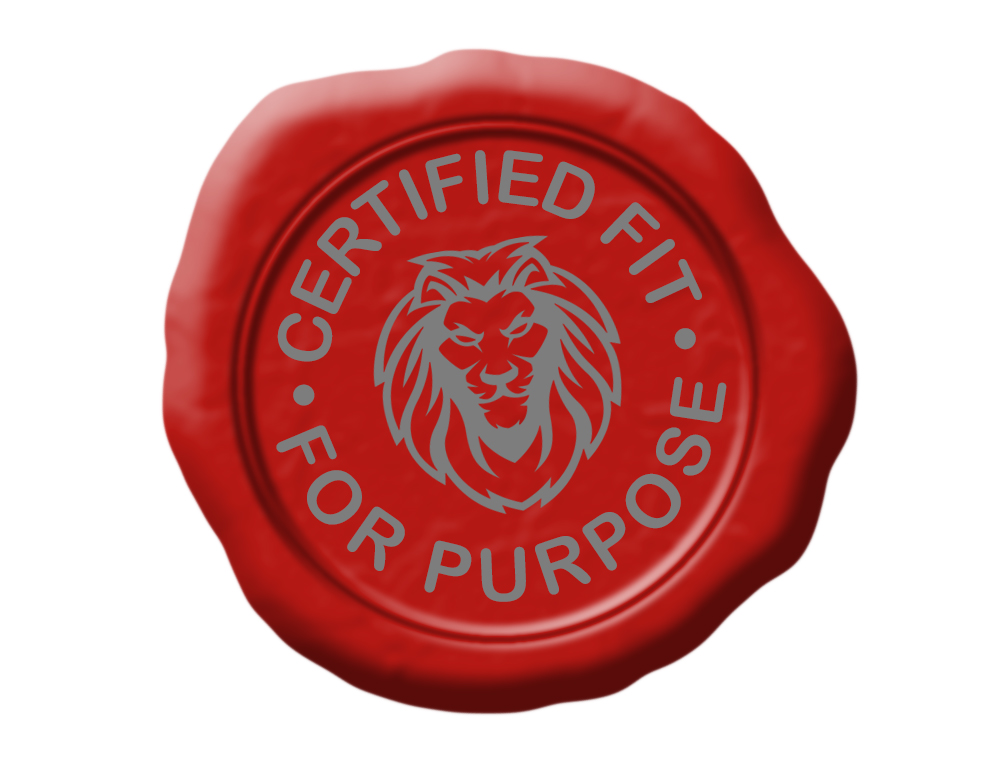
Wax seals are an archaic method of securing an envelope. But added to the bottom of a certificate, they add an air of authority and gravitas. Here, we’ll look at how to create one in Photoshop in just a few steps.
1: Draw your Seal
The seal is easiest drawn freehand on a new layer, using the Brush tool. It’s important that it isn’t a perfect circle, since it’s supposed to be made of poured wax. The color doesn’t matter at this stage.

2: Smooth the Edge
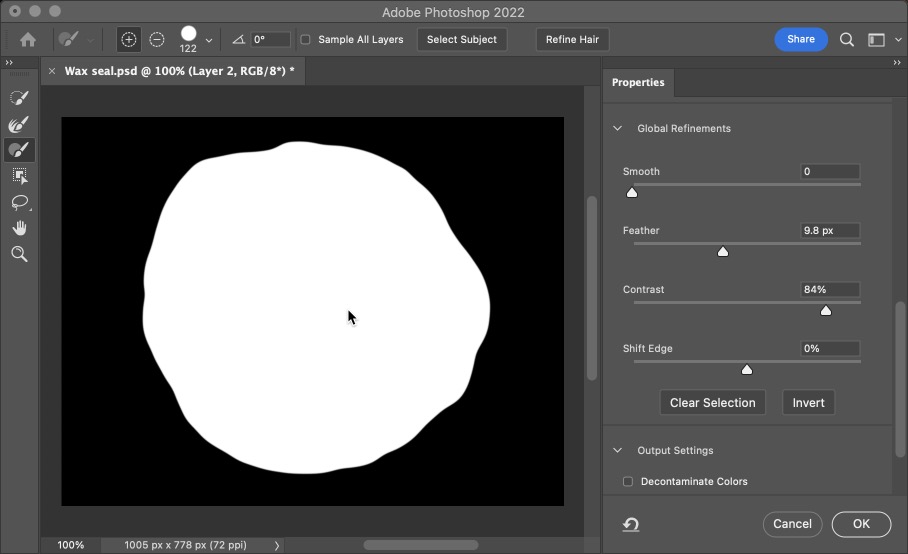
The Brush tool can often leave bumpy edges, as seen above. To fix this, hold Command (Mac) Ctrl (Windows) and click on the thumbnail of the seal in the Layers panel. This loads the layer as a selection. Then use the Select and Mask dialog and scroll down to the Properties pane. Increase the Feather amount to smooth out the bumps, then increase the Contrast to tighten up the feather. Click OK when you’re done. Then make a new layer and fill it with any color.

3: Emboss the Seal
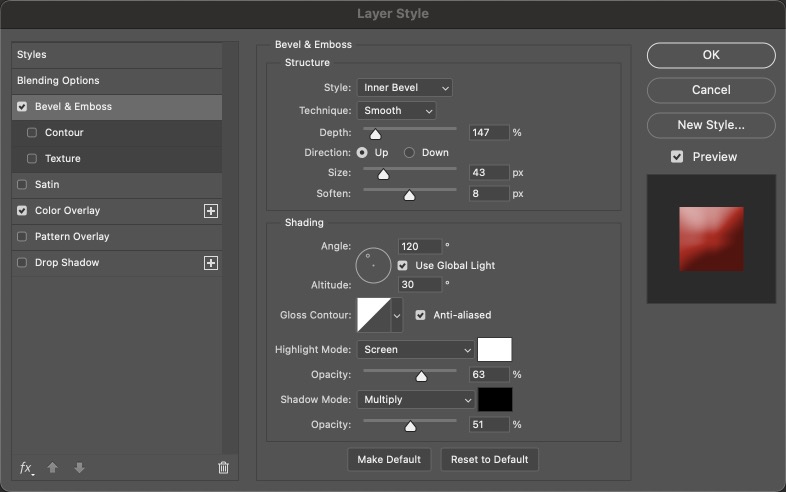
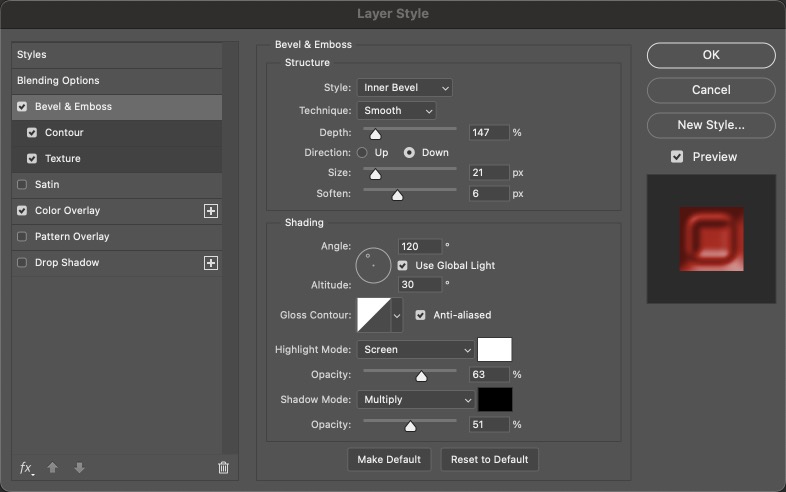
From the FX menu in the Layers panel, choose Bevel & Emboss to open the Layer Style dialog box and apply the effect. Set the Style to Inner Bevel, and increase the Size and Depth until you get a suitably three-dimensional surface. Before closing the dialog box, add a Color Overlay effect to make the seal red.

4: Add some Lumps
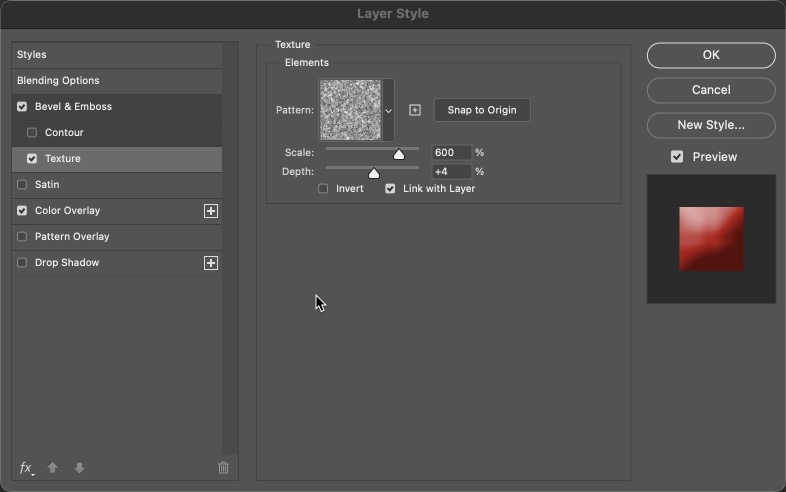
The seal is looking good so far. Perhaps too perfect: the surface looks like plastic, not wax. To fix this, double-click the Bevel & Emboss listing on the Layers panel section to reopen the Layer Style dialog box. Turn on Texture. The built-in Grass texture works well. Here, I’ve enlarged it to 600%, and given it a very small depth of just 4% so it’s barely visible – but it does make a difference.

5: Add the Inner Circle
The inner circle is the shape of the seal itself, so it can be a perfect circle. Make a circle on a new layer and fill it with any color. Then hold Option (Mac) / Alt (Windows) and drag the Layer Style from the previous layer onto here to duplicate it on this layer. Double-click the duplicated effect to edit it and change the Direction to Down so it looks recessed, and increase the Soften value so the edge isn’t too crisp.

6: Jazz up the Inner Circle
For a more convincing-looking seal, check the Contour button in the Bevel & Emboss section of the Layer Style dialog box, and choose the N-shaped contour. This gives the impression of a more sculpted edge, in keeping with the way many seals are made.


7: Add your Content
At this point you can add whatever you like to the seal. To make this lettering, take the Ellipse tool and set it to Path mode in the Options bar. Hold Shift as you drag to draw a circular path. Take the Type tool and click on the path and add some text. It will wrap around the circle. Then duplicate the layer and change the text for the bottom of the path. I’ve also added a lion motif, and rotated all the layers so they aren’t exactly straight – again, this will make it look more like a real seal.
8: Add a Bevel
Select all the interior layers (the text and the lion) and make a new Layer Group from them. Copy the Layer Style from the base layer onto this group. You’ll need to play around with the Bevel amount so that it’s not too deep. Adding a drop shadow makes the text more legible.

9: Finishing Off
Adding a textured paper background behind the seal gives it authenticity. It also needs a Drop Shadow to lift it off the surface. You can do this in the Layer Style dialog. Rather than using the default black color for the shadow, though, change it to a dark red sampled from the seal itself, which will look much more convincing.

Commenting is easier and faster when you're logged in!

Recommended for you
How to Save InDesign Files as Layered Photoshop Files
A script to take layered content from InDesign to Photoshop

Creating 3D Jigsaw Effects in Photoshop
Creating a fantasy scifi image such as this one takes a while, but it involves a...

Combining Custom Distortions with Image Warp in Photoshop
Photoshop’s Image Warp tool is great for bending layers into any shape. Of...