

What’s better than a Star Wars Stormtrooper? A whole row of Stormtroopers, of course. Here’s how you can make your own Attack of the Clones in Photoshop, using the Clone Source panel.
Start with one Stormtrooper
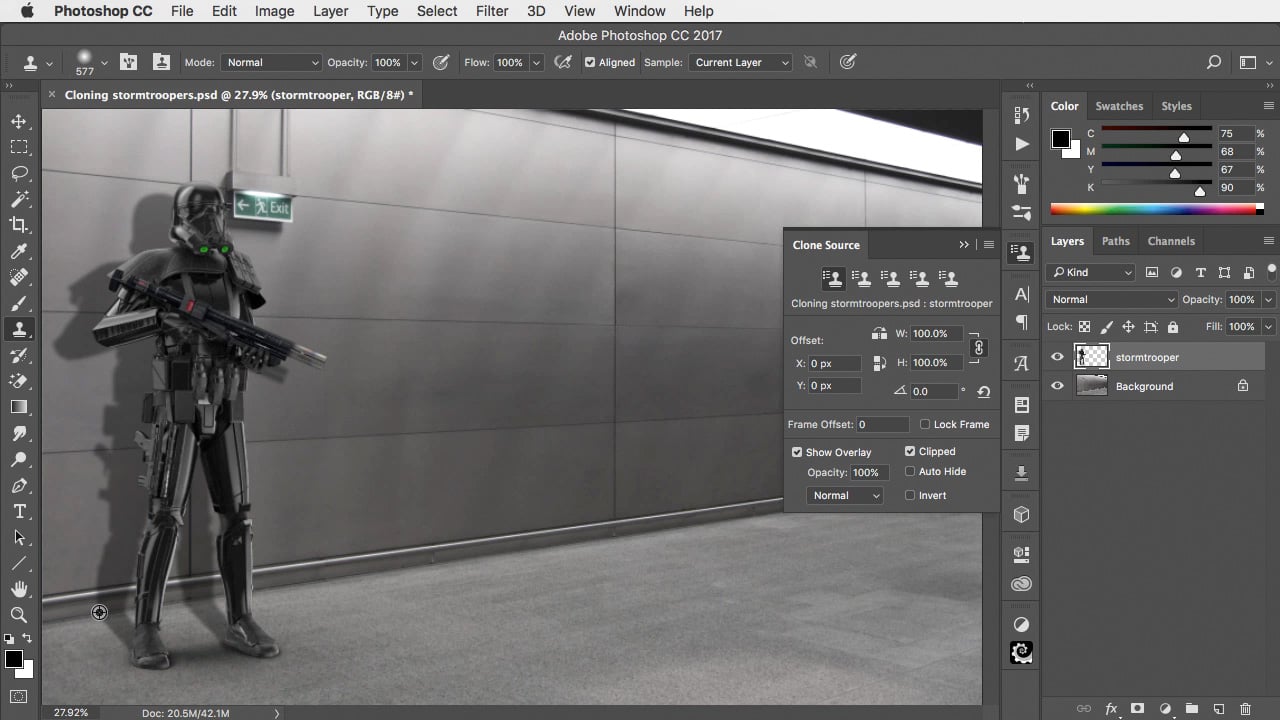
Position your Stormtrooper – or whoever you choose to work with – against your wall. I’ve added a shadow that runs down the wall and along the ground to his feet, to make it look more like he belongs in this place. Note that the Stormtrooper is on a separate layer; this is important.

Open the Clone Source panel
You’ll find the Clone Source panel under the Window menu. Open it up, switch to the Clone Tool, then hold Alt or Option as you click the bottom left of the shadow to set the source point. Make sure the Clone Tool is set to sample the Current Layer only – you can set this on the Options Bar.
Start to clone
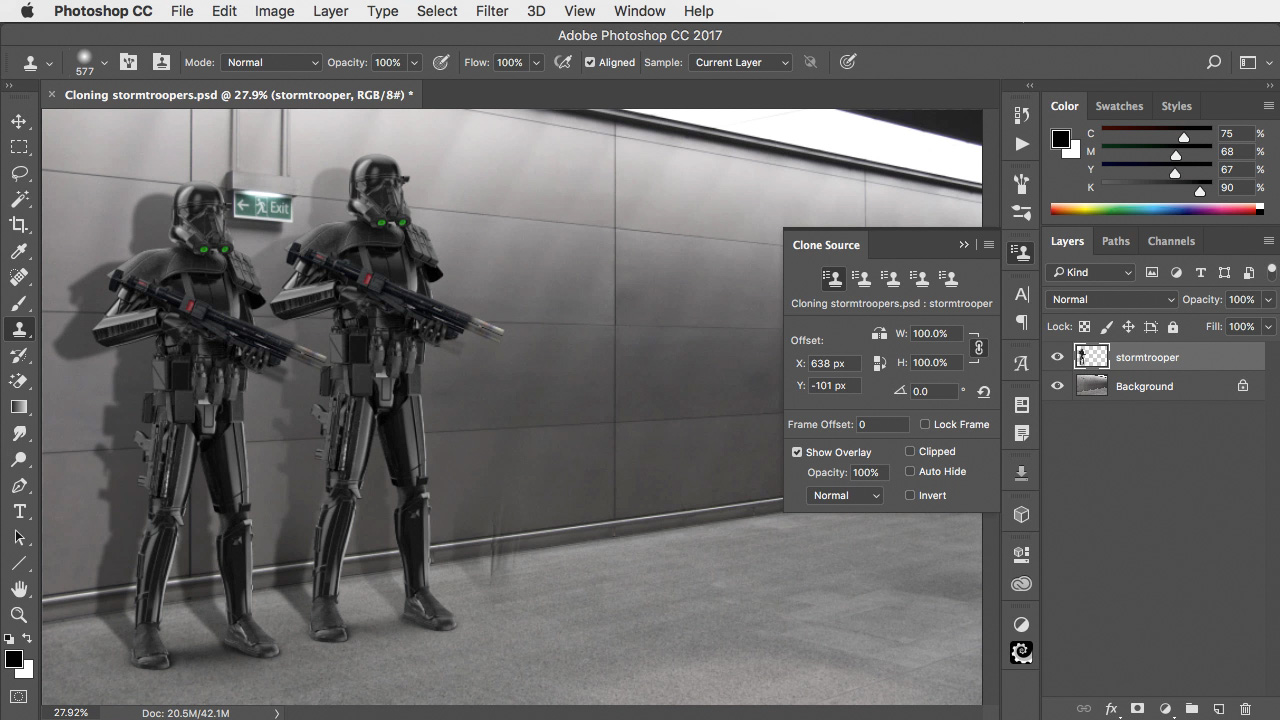
Move the cursor to where the next Stormtrooper’s shadow should begin and click once to start the process. You’ll see the beginning of the new Stormtrooper in place. Check the Clone Source panel: the Show Overlay checkbox should be checked already, as well as the Clipped checkbox when means you only see the overlay at the current brush size.

Uncheck the clipping
Uncheck the Clipped checkbox, so you see the whole Stormtrooper. He hasn’t been painted in here yet; you’re just seeing where he will appear when you start to clone. Unchecking the Clipped checkbox shows the whole thing.
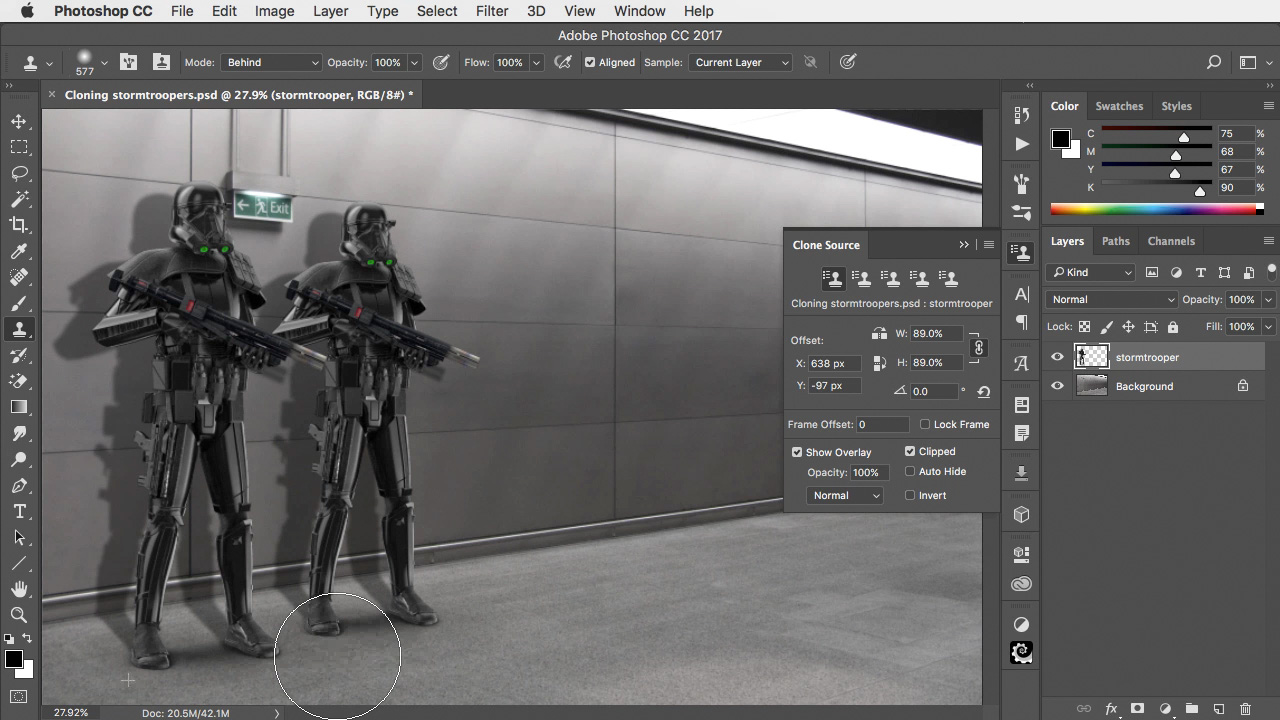
Set the scale
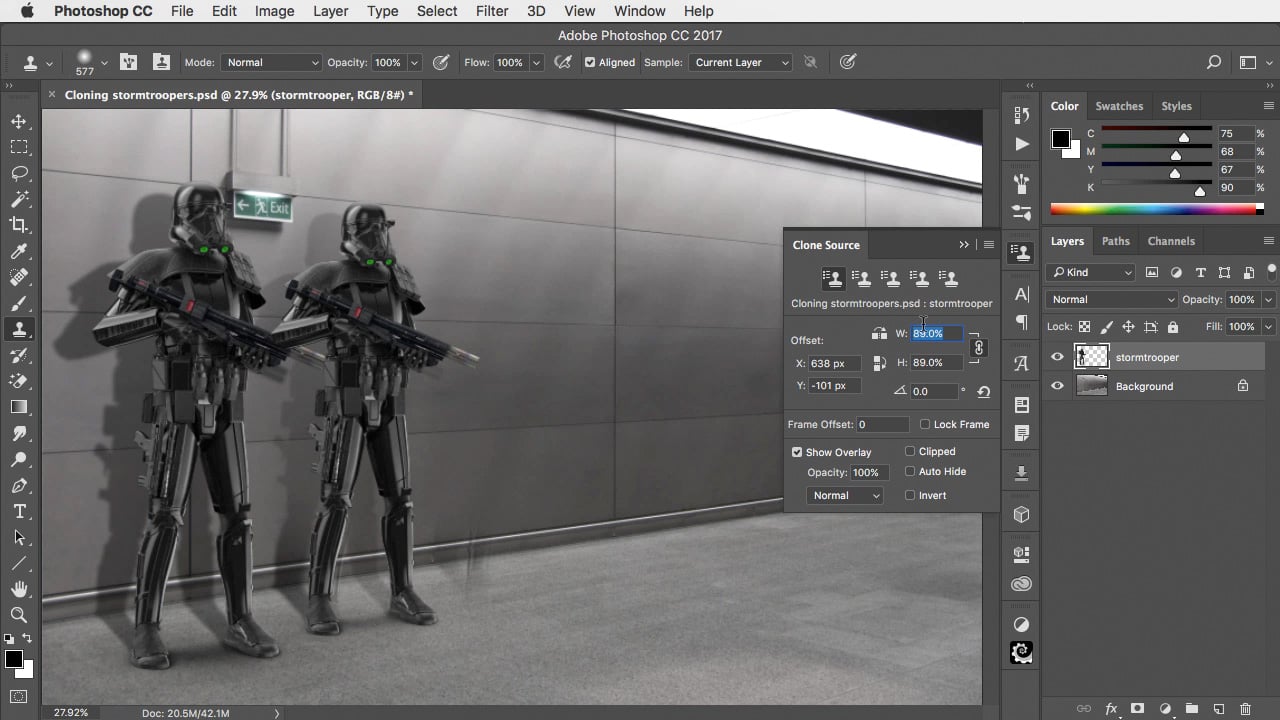
You can use the Clone Source panel to set the scale of the clone operation – it doesn’t have to be full size. Try changing the size until it looks right; in this case, a scale of 89% both horizontally and vertically produces a second Stormtrooper at the right size. When you’re done, check the Clipped checkbox again so you can see where you’re painting.
Change the tool setting
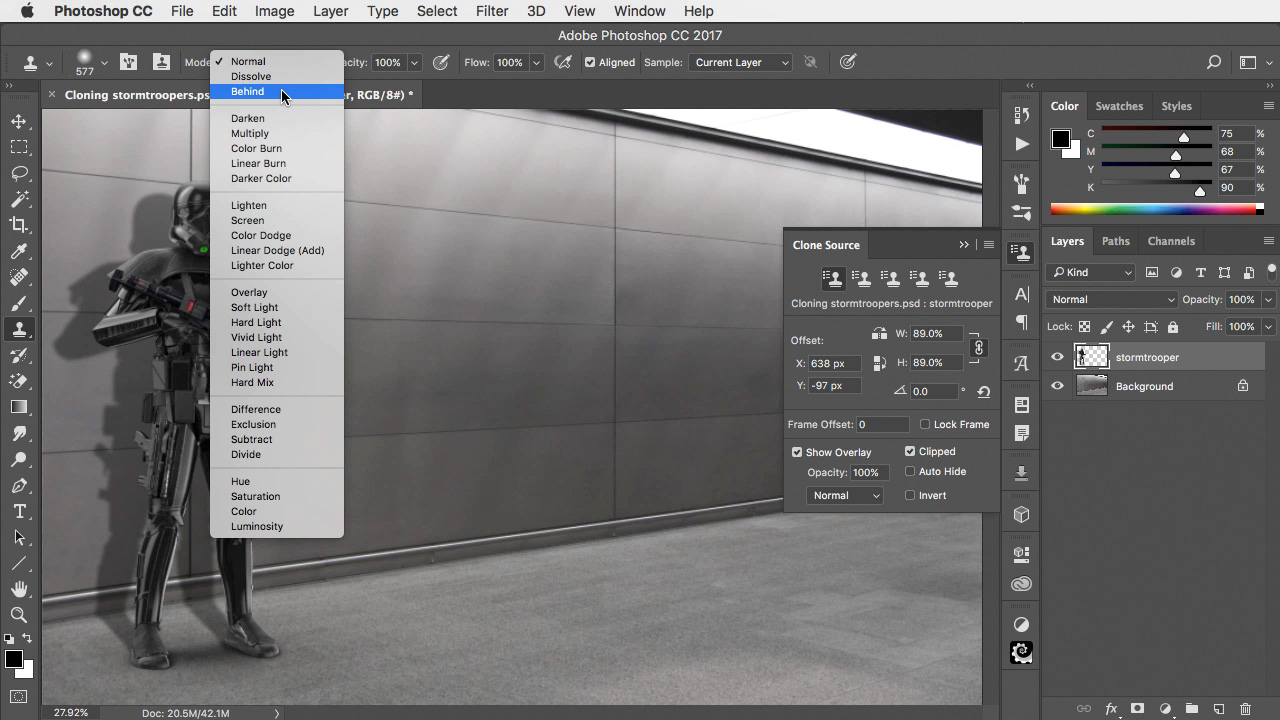
Undo the last operation – the initial clone – using Command+Z or Ctrl+Z. On the Options Bar, change the mode of the tool from Normal to Behind. That way, you’ll be sure to clone behind the existing Stormtrooper.
Clone the first duplicate
With all the settings in place, you can now go ahead and clone in the entire Stormtrooper. He’ll appear in the right place, at the right size – and behind the original Stormtrooper.
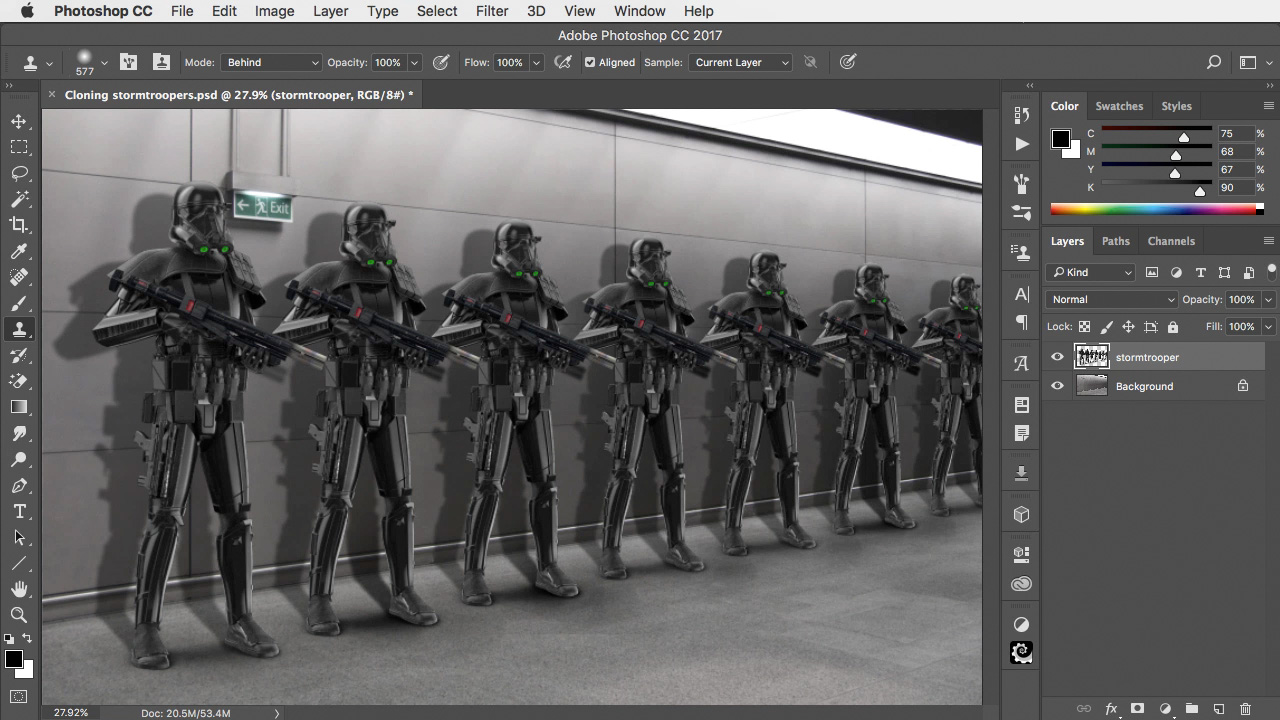
Keep on cloning
No need to change any of the settings: you can continue to paint a whole row of Stormtroopers all the way down the corridor, painting a new one with each stroke. As you do so, the freshly-cloned one will then be available to clone the next.
Stormtrooper Video Tutorial
Check out the video version of this tutorial, and get a link to download the original artwork.
This article was last modified on May 4, 2022
This article was first published on July 24, 2017
Commenting is easier and faster when you're logged in!

Recommended for you

Create Parallax Video Effects in Photoshop with Qlilipn
We’re well used to seeing parallax effects on modern websites, where images scro...

Illustrator Tip: Creating Custom Views
When you work in Adobe Illustrator, do you often find yourself zooming and scrol...

Adding Multiple Strokes to Editable Text in Photoshop
See how to use stacked layer styles in Photoshop to add an infinite variety of l...