
Generating Vector Patterns in Illustrator
Making patterns from prompts opens up a whole new world of creative possibilities.

This article appears in Issue 52 of CreativePro Magazine.
You know that sinking feeling of staring at a blank artboard? You need to make a pattern, but have no ideas. Relax, Illustrator 2026 can offer a few. Its new Text To Pattern feature acts like a creative friend who suggests, “What about this?” and instantly produces a tiled design. Even if you have never built a repeating pattern before, this tool helps you start creating without worrying about technical details.
In this tutorial, I’ll show you what the feature does, where to find it, how to write effective prompts, and how to shape the results into patterns that feel personal. We will walk through building a mid-century-inspired tiki design for a poster print, then explore how to tweak colors, adjust the design, and save your patterns for future use. By the end, you will not only understand the tool, but you will also feel comfortable making patterns whenever inspiration strikes.
What Text To Pattern Is (and Why You Will Love It)
Text To Pattern is one of Illustrator’s new generative AI features powered by Adobe Firefly. Instead of drawing tiles manually or arranging shapes until your eyes blur, you simply provide Text To Pattern with a prompt that describes the pattern you want. Illustrator then generates three variations directly in the Generate Patterns panel, each one already built as a seamless repeating tile.
For beginners, this removes the hardest part of pattern design. You can ignore grid math, edge alignment, and tile construction and instead focus entirely on the creative direction. For experienced designers, Text To Pattern is an incredibly fast ideation tool. You can test visual directions in seconds, explore alternate styles, and refine designs without investing hours. Experimentation becomes effortless because moving on from an idea costs almost nothing. (Fair warning: Once you start, experimenting can become surprisingly addictive.)
Where to Find It
Text To Pattern is easy to find: Choose Object > Pattern > Generate Patterns, choose Object > Generative > Generate Patterns, or click the Generate Pattern button after selecting Fill or Stroke in the Control Panel or Properties panel (Figure 1).
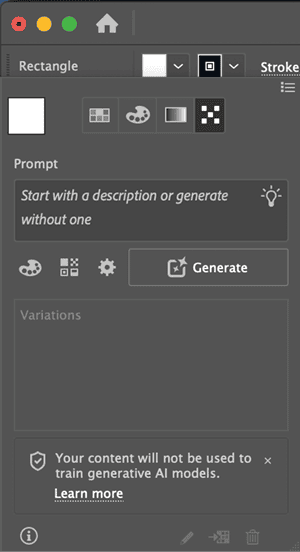
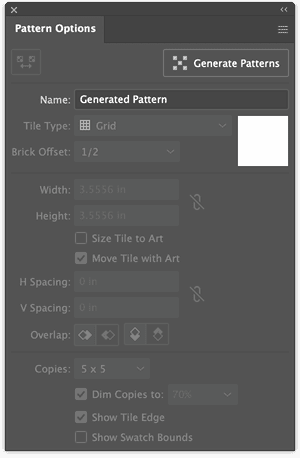
All of these methods open the Generate Patterns panel. It has controls for specifying colors, adding effects, and adjusting the pattern density, and a big Generate button. Clicking the Edit Pattern (pencil) icon at the bottom opens the Patterns Options panel where you can name and adjust your pattern (Figure 2). Even if generative tools are new to you, the process is straightforward, as you’ll see next.
Setting Up
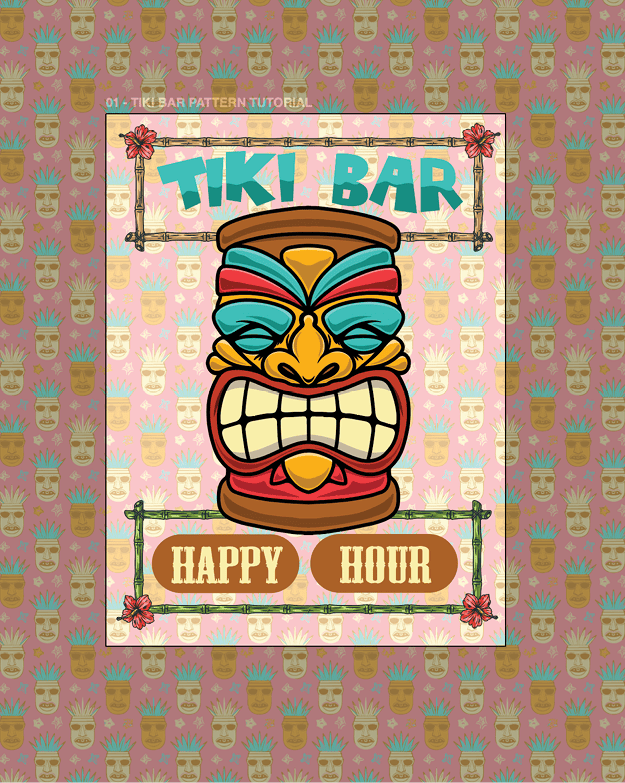
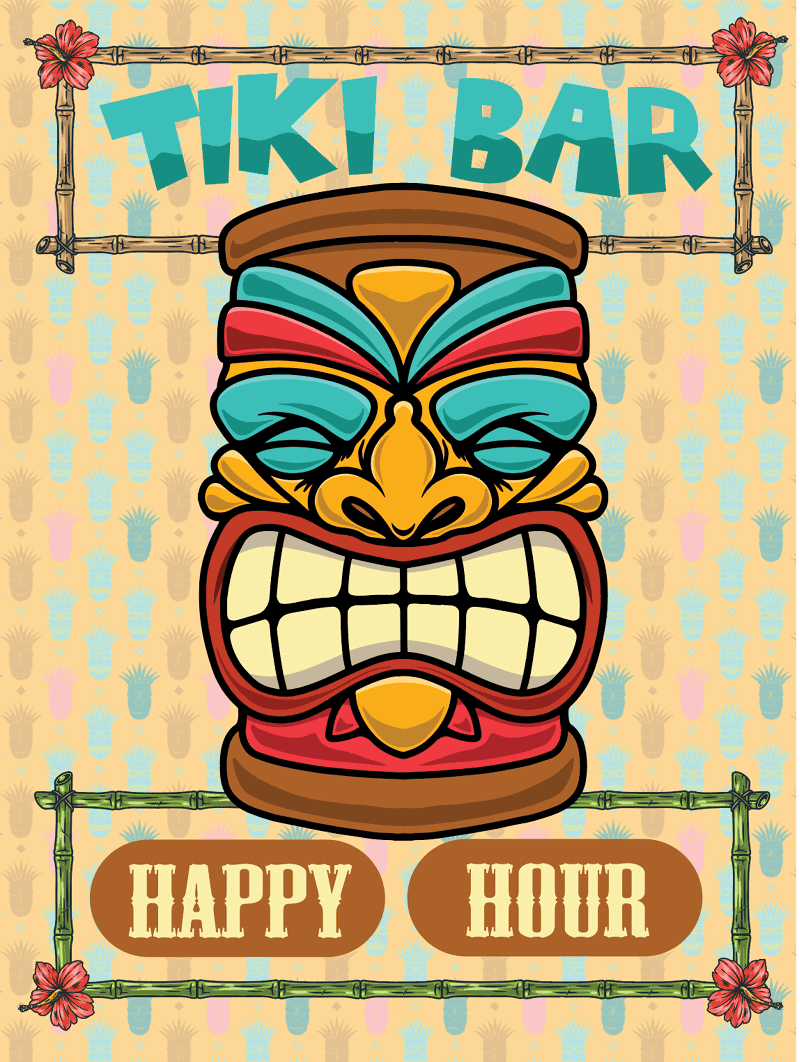
When creating a pattern, you can start fresh in a new document or work with an existing design. For this tutorial, we’ll create a patterned background for a fun tiki bar poster design (Figure 3).

Starting with a design will help you think about what you want to create and how to approach the pattern design. The example poster is 18 by 24 inches, and you can download the design from here.
Picking Colors
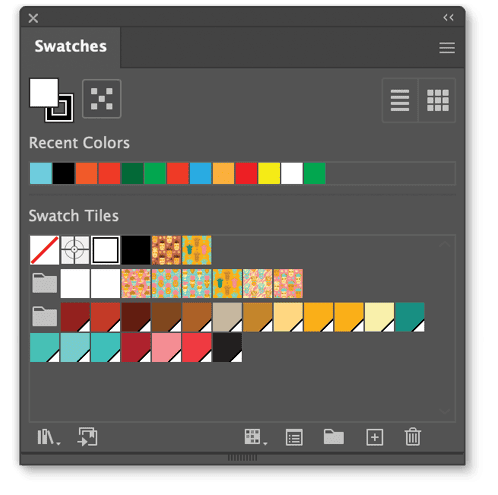
You can ask Text To Pattern to decide on a color scheme for you or provide it with a color swatch set that complements your design. I opted to make my own by choosing New Swatch Group from the Swatches panel menu. After I gave the group a name, I selected Create From: Selected Artwork and picked colors from the tiki mask artwork (Figure 4).
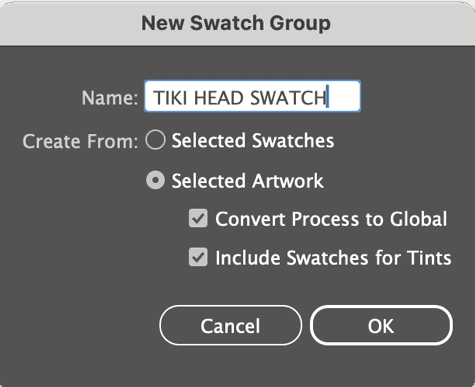
You can use the TIKI HEAD SWATCH group in the poster design file to follow along (Figure 5).
Prompting Best Practices
The key element of success with Text To Pattern is using a good prompt. Think of prompt writing like explaining an idea to a friend. Illustrator responds best when you start simple and refine after seeing the first round of results.
Begin with a clean concept such as mid-century tiki style. To refine what Illustrator generates, add details like playful tiki bar theme, fun shapes, mid-century style. This gradual approach gives the underlying AI clear direction without overwhelming it (Figure 6).
Being specific about the design and style helps even more. Adobe Firefly understands concrete nouns very well. Instead of prompting for fun shapes, try tiki masks, cocktail glasses. Combine clear style words, concrete motifs, and gentle iteration, and the results become much more intentional—and much more fun. This is your space to experiment and be playful.
Create and Apply a Pattern
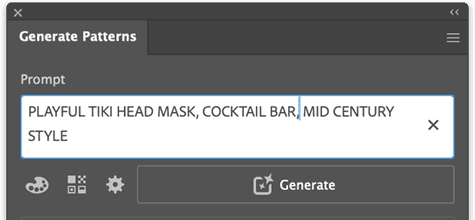
With the basics covered, it’s time to make a pattern. Open the example poster file, then open the Generate Patterns panel using one of the methods described in “Where to Find It.” In the Prompt box, type a simple idea like playful tiki head mask, cocktail bar, mid-century style.
At this point, you could click Generate and browse the results, which would be completely fine. Or, you can first fine-tune the variations Illustrator will produce with the refinement settings below the Prompt box. Click the Color Presets (the palette) icon to open the Color & Tone dialog box and set:
Color Presets: Use your own palette as is (select None) or apply a color preset: Black And White, Muted Color, Warm Tone, Cool Tone, Vibrant Color, or Pastel Color. Leave the default of None for the tiki poster.
No. Of Colors: Set the number of colors you want in your pattern, up to a maximum of 30. For the example, choose 5 (Figure 7).
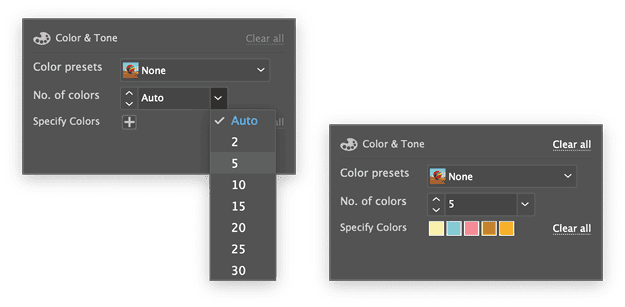
Specify Colors: Click the + icon to add colors from the Swatch panel. You can use any swatch set, but select five colors from the Tiki swatch set for the example. To edit or remove a color, select it, and then make the changes from the Swatch panel. Select Clear All to remove the colors if you want to start again.
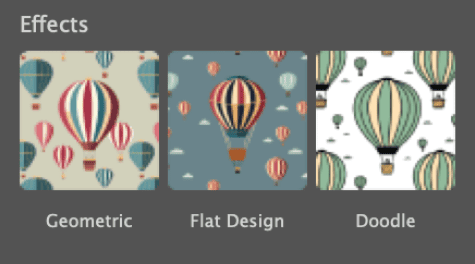
You can also apply effects to your pattern by clicking the Effects icon to the right of Color Presets. You can choose from Geometric, Flat Design, and Doodle (Figure 8). I tend to favor Flat Design, but click around and find out which you like.
Click the Settings (the gear) icon to access the Density slider, which controls the density of the pattern result, from low to high with one option in the middle. Try all of them.
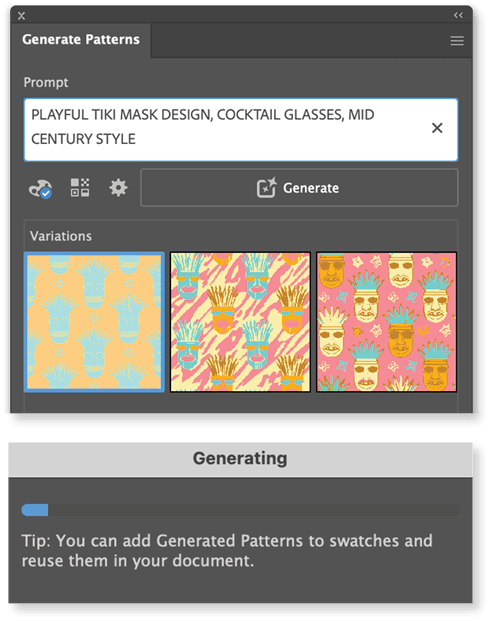
Once you have your preferred settings, click Generate. Three pattern thumbnails will begin to load in the panel; Illustrator displays a tip while you wait (Figure 9).
To review larger versions of the results, draw out a rectangle on the artboard and select each pattern in turn to fill the shape (Figure 10).

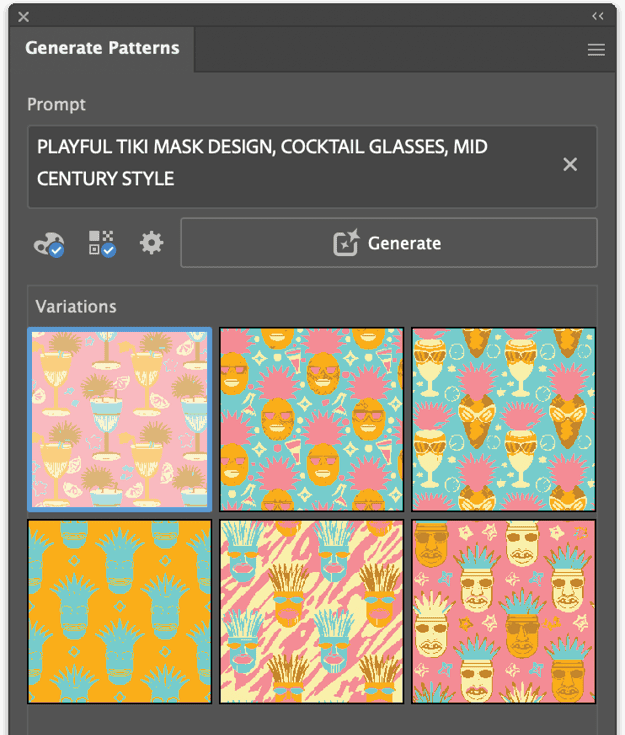
If you don’t like any of the choices, you can click Generate again for three more options (Figure 11). Be aware, however, that each generation uses one generative credit, unless you have an unlimited access plan. See this page on Adobe.com for all the details on generative credits.
You can experiment with different colors from the swatch set, try different numbers of colors, change the effect, or even change your prompt. Illustrator adds all the patterns you preview or select to the Swatches panel, and if you like, you can create a swatch set from the Swatch panel menu.
Scale and resize a pattern
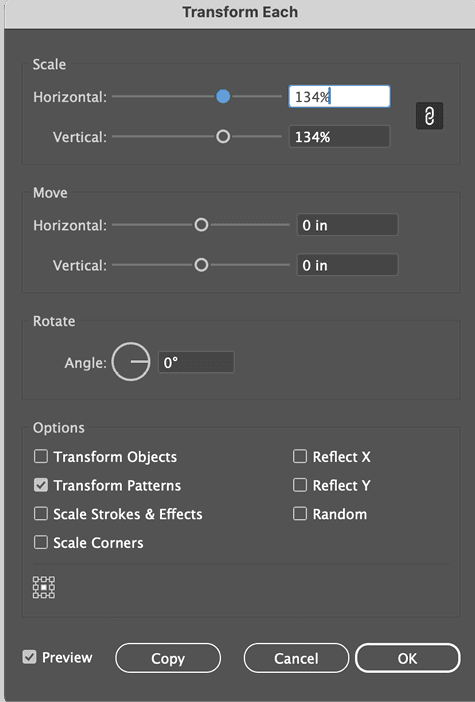
You can further edit pattern results using the Transform control (Object > Transform > Transform Each). In the Transform Each dialog box, turn on the Transform Patterns option and turn off Transform Objects. You can now adjust the pattern’s rotation or scale (click the link icon to scale proportionally) (Figure 12).
When you find a look you like, click OK. If you want to resize only the shape and not the pattern, reopen Transform Each, turn on the Transform Objects options, and turn off Transform Patterns. It’s fiddly but useful.
Add the pattern to the poster
You can apply patterns from the Swatches panel or from the Generate Patterns panel. Try that now: With your favorite tiki pattern filling the rectangle, place the shape as the bottom layer in your poster design and lower the opacity to about 50 percent. This keeps it from overpowering the layout and helps it sit comfortably as a background (Figure 13).
Further Pattern Edits
Illustrator offers still more ways to adjust the look of your pattern, using generative and manual tools. Let’s try the generative feature first.
Generative Recolor
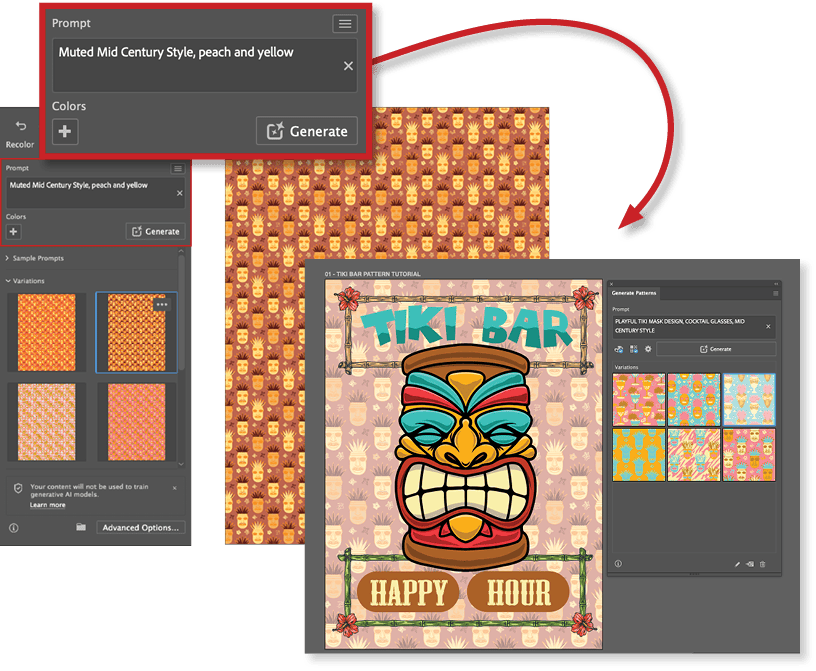
Even with custom palettes and presets, sometimes you can’t quite get the look you were envisioning. If you’re stuck, try Generative Recolor (in the Control Panel select Recolor Artwork , then Generative Recolor). In the Generative Recolor panel, you can explore presets or add your own colors just as you did when building the original pattern (Figure 14).

You can also type a prompt to define the color style you want, such as Muted Mid Century Style, peach and yellow, and see what you get. Each time you select a new variation, Illustrator updates the artwork and adds the new pattern to your Swatches panel (Figure 15).
Put Pattern Options to work
For manual pattern refinements, return to the Generate Patterns panel and select the Edit Pattern icon to open the Pattern Options panel. Here you make alterations to your pattern by selecting elements and changing their color or rotation or even moving them around within the safe area (Figure 16).

You will see the changes live. You can also change general pattern settings, but that’s beyond the scope of our project.
Once you are happy with the result, select Save A Copy to keep the new version and give it a name. Note that any additional changes you make in Pattern Editing mode now will affect the original pattern but not the one you just saved. When you’re finished editing and experimenting, select Done. Illustrator will apply your changes to the pattern.
To apply these new variations to the tiki poster, select the background shape and select the pattern variations to see a live view. When you are happy, save your poster design and wow your tiki-loving friends!
Final Thoughts
Instead of working hours to create a pattern, you now can dream up a style, describe it in a sentence to Text To Pattern, and instantly see a design direction worth refining. Nothing is locked in, it’s all about having some fun. You can edit tiles, recolor shapes, adjust spacing and blend AI generation with your own design outcomes.
The Text To Pattern tool lowers the barrier for beginners while expanding possibilities for experienced designers. It does the technical heavy lifting, but you remain the art director. Use it to explore styles you have never tried, build pattern libraries for future projects, or simply play. The more you experiment, the more surprising and inspiring the results become. Once you start creating patterns this way, it becomes very hard to stop. Trust me on that!
Commenting is easier and faster when you're logged in!

Recommended for you

How to Fix the Fill on Items with Wavy Strokes
InDesign's “fancy” stroke styles don’t adhere to shape of the path you apply the...
How to Work with Illustrator’s Effects
Learn how to work with effects in Illustrator and make further adjustments, incl...
Members-Only Video: Creating Artwork with Pattern Brushes in Illustrator
Learn how to build custom pattern brushes in Illustrator so you can apply comple...