




It’s difficult (verging on impossible) to exaggerate the importance of color adjustments in Photoshop. In the 19+ years I’ve been using the program, I don’t think I’ve come across a single image that I haven’t adjusted to some degree or other. And while there’s no single best command for adjusting colors (Hue/Saturation may work for one image, whereas Curves may be better for another), there is a best method: adjustment layers.
An adjustment layer is an independent layer of color adjustment that you can edit any time you like. Plus it affects all layers below it, consumes very little space in memory, and affords you the opportunity to make selective edits. In other words, it’s small and nondestructive. (Compare this to Smart Objects, which is huge and nondestructive.) The modest adjustment layer is also relatively easy to use–by Photoshop standards, anyway.
The video below tells the story. In it, I take a great-looking but flat photograph and turn it into something bordering on extraordinary using just two varieties of color adjustment, Vibrance and Brightness/Contrast. The secret sauce to the adjustment layers’ success is layer masks.
Click on the video below to open it in another window.

This article was last modified on January 5, 2023
This article was first published on March 15, 2010
Commenting is easier and faster when you're logged in!

Recommended for you
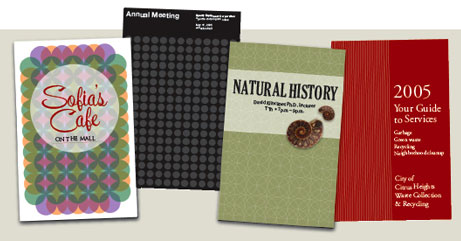
Design How-to: Endless Pattern Possibilities
This story is taken from “Before & After” Magazine. You can subs...

The One-Hour Ad Deadline
The phone call and the email arrived together. “We’ve reserved a full page ad in...
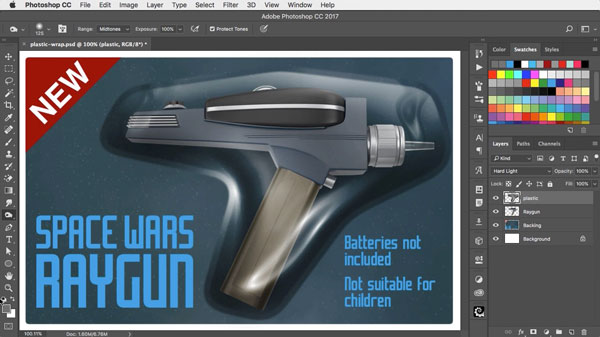
Using Photoshop’s Plastic Wrap Filter
Photoshop’s Plastic Wrap filter is great at creating liquid effects of all...