
Five Lightroom 2 How-Tos

Convert a Photo to a Watercolor
This tip comes from Tom Hogarty, product manager for Lightroom. Thanks to its new Adjustment Brush, Lightroom 2 can create painterly effects.
1. Select a photo in the Filmstrip or Grid Layout and click Develop in the upper-right corner to go to the Develop module.
2. In the Basic panel, adjust the settings so the colors are desaturated or converted to grays. A simple way to do this is to click Grayscale directly below the panel header, or you can retain a little bit of color by moving the Vibrance and Saturation sliders. The objective is to create an underpainting that emphasizes shape and a little color. For a more dramatic effect, increase exposure and brightness until parts of the image are blown out.
3. Select the Adjustment Brush tool and use it to reintroduce color and detail to the photo. I like to use the advanced settings to add both Saturation and Clarity, bumping the settings all the way to 100.
There are a lot of creative things you can do with settings:
* Lower the Flow setting and layer color with multiple strokes. Keep in mind that you have to start a new adjustment by clicking New to do this. This technique works well with landscapes and large areas of flat color.
* Change Saturation with a series of brushstrokes, then start a new adjustment and change Clarity. With this method you can adjust the two settings independently.
* Change the Color settings to brush new color into a photo.
* Adjust Exposure, Brightness and Contrast.
Figure 6. The original photo.

Figure 7. I used the Basic panel in the Develop module to create a weak underpainting. Click on the image for a larger view.
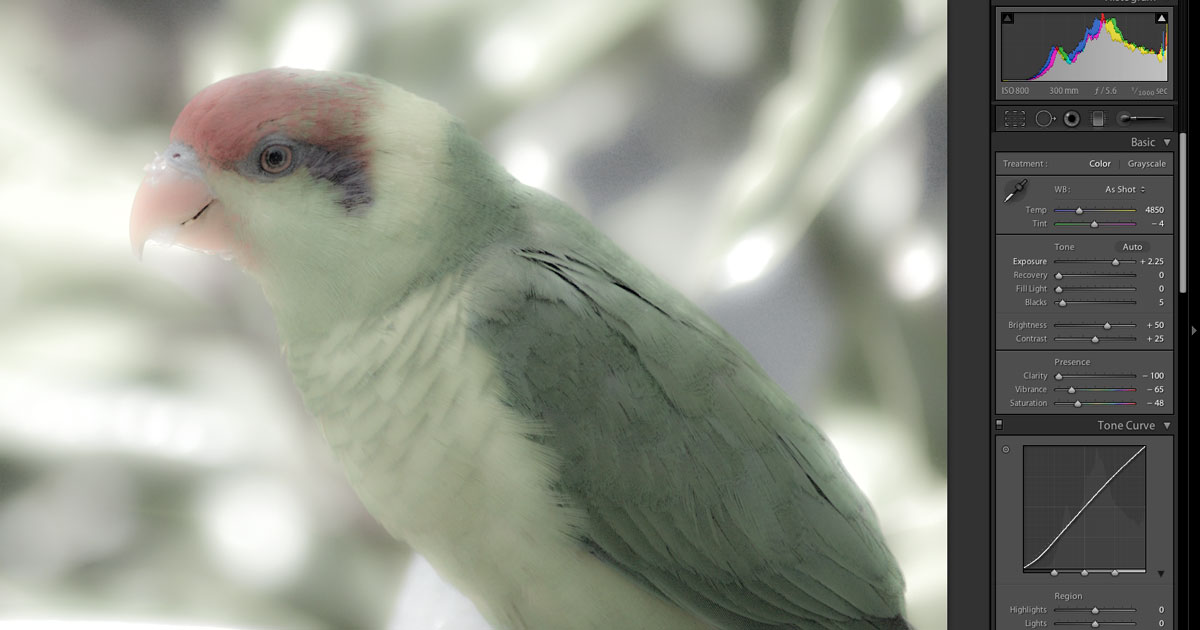
Figure 8. I used the Adjustment Brush tool to add a wash of color and detail in the subject. Click the image for a larger view.
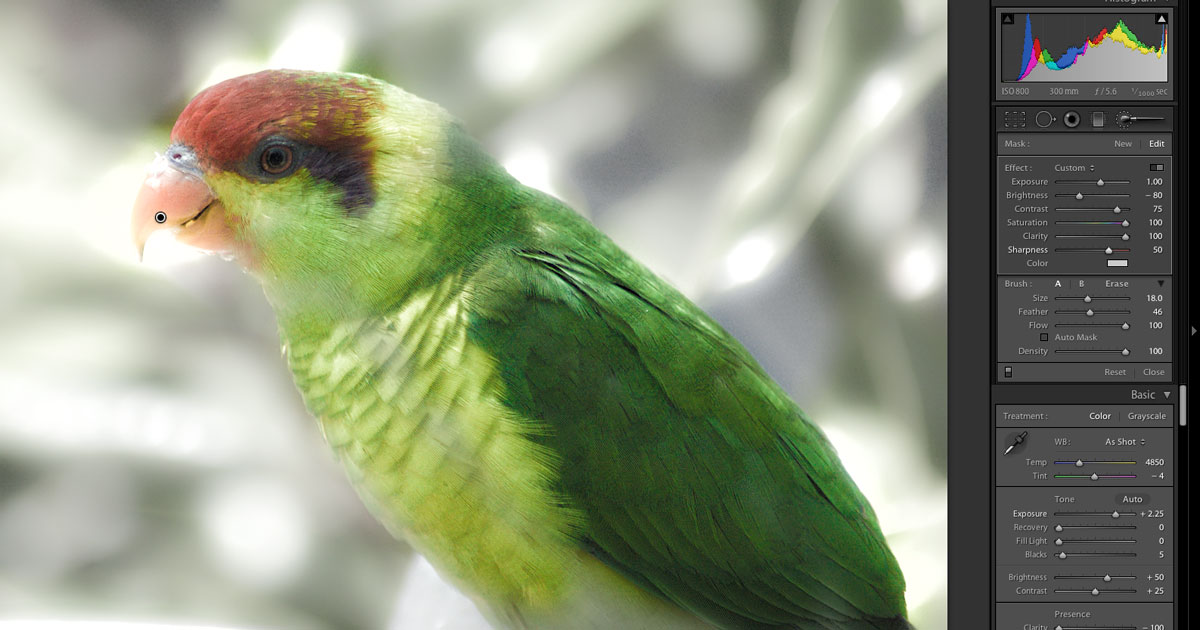
Figure 9. I used a second Adjustment Brush to add contrast and color to the background. Click the image for a larger view.
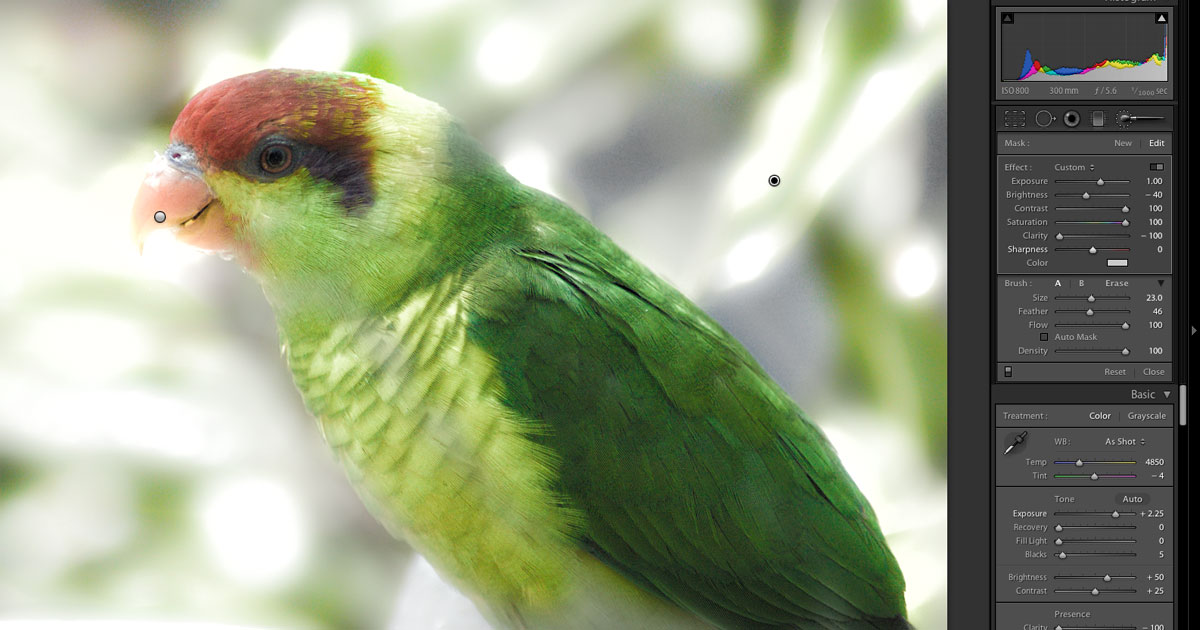
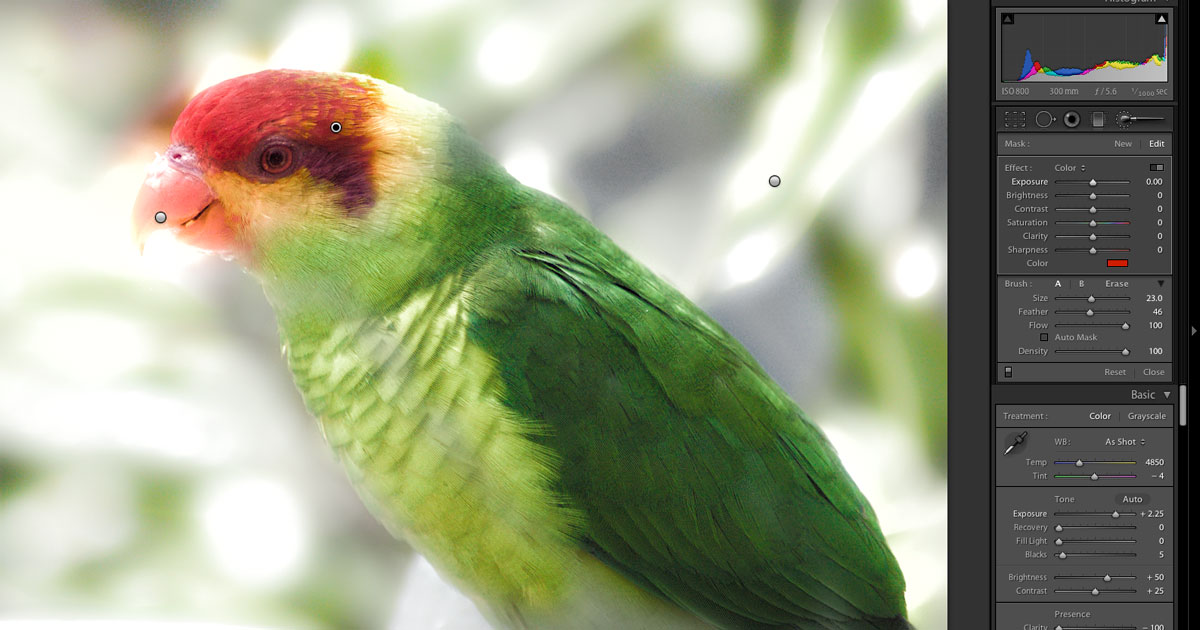
Figure 10. I added a third Adjustment Brush to add red color to the plumage. Click the image for a larger view.
What are your favorite new features in Lightroom 2? Click the Comments icon below to let me know.
This article was last modified on January 5, 2023
This article was first published on November 13, 2008
Commenting is easier and faster when you're logged in!

Recommended for you

Photoshop New Features Guide Updated
Earlier this year, I wrote about a great resource for Photoshop users, the Photo...
Photoshop 10 Essential Tips: Working with Layers
Photoshop users have been enjoying the ability to shuffle around layers since ve...

Illustrator CC 2018 New Features
Adobe Illustrator CC 2018 brings several exciting enhancements, including Variab...