


This is the first in a series of tips for making some fun visual effects using only InDesign.
Note: This tip doesn’t work in CS3 because it relies on the Gravity option for Type on a Path, which, as David previously pointed out, was broken in CS3. This tip does work in CS2, with one adjustment (noted below).
In Gravity’s Shadow
Long shadows are useful when you want to convey the idea of Really Big Things, and also to add a 3D feel to your 2D media, be it a screen or TMFKAT (the media formerly known as a tree).

Start with a frame wide enough for your text to sit on the top.

Using the Type on a Path Tool, click and drag from the top left corner to the top right. I like to snap the endpoints to the top corners horizontally. Sounds weird, but they seem to snap easier that way.

If you didn’t get them right the first time, take the Direct Selection tool and drag them in place.
Type your text and center align it. Use caps; descenders and serifs ruin the effect. You really don’t want much of anything below the baseline, so choose a font accordingly.

Select the frame and make sure the reference point is one of the top three.
![]()
Option/ALT-click the Flip Vertical button in the Control panel to duplicate the frame and flip it.
![]()
Now you have two frames, with the new, flipped frame on top.

With the new frame selected, choose Type > Type on a Path > Options… and choose the Gravity effect.

You get something like this.

Next, adjust the length of the shadow to taste. Select the shadow text, and change the Vertical Scale value in the Control panel.
![]()

Then adjust the skew of the shadow by clicking and dragging the top of the flipped frame with the Selection tool. Think of that control point as the light source: the lower it is, the more skewed the shadow. Pause before you start dragging to see the effect live.


Fade the shadow with a Directional Feather applied to the flipped frame. Apply it to the top of the frame, and select First Edge Only, from the Shape menu.

Note: If you’re using CS2, you don’t have Effects, so fill the shadow text with a gradient to feather it.
Last, stand back and enjoy (click the image below for the full size version).

This article was last modified on December 19, 2021
This article was first published on May 12, 2009
Commenting is easier and faster when you're logged in!

Recommended for you
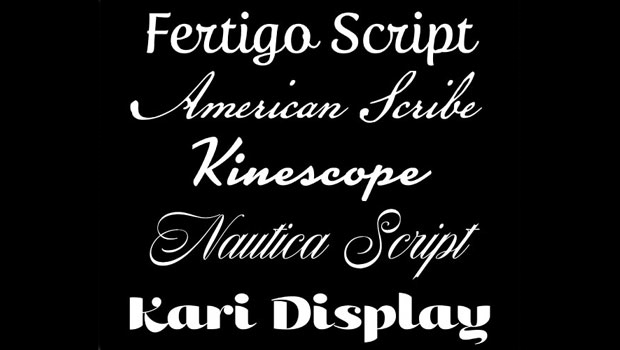
5 Great Script Fonts From Adobe Fonts
Need a great script font for use in your next InDesign project? Look no further!

InDesign Basics: Working With Bleeds in InDesign
Bleed is printing that extends beyond the edge of where the paper will be trimme...
InDesign GREP Essentials: What GREP Is and What It Does
Part 1 in a series of posts on using GREP in InDesign for beginners GREP is scar...