
Designing with Adobe Stock
Conrad Chavez shows how CC Libraries give Adobe Stock key advantages over other sources of imagery.

This article appears in Issue 82 of InDesign Magazine.
A new dividend from Creative Cloud
Adobe recently created the new Adobe Stock service by combining their recent acquisition of the Fotolia stock agency with Adobe Creative Cloud. Adobe took the time to rethink how a stock image service could work within a cloud-driven production workflow involving Adobe applications, and this gives Adobe Stock certain unique advantages. Using any service’s stock photos in Adobe InDesign is not much of a challenge; just download the images and place them. How could it be any better? For Adobe, the answer was in using its Creative Cloud Libraries (or CC Libraries) to simplify how you try, buy, store, and import stock images. You can buy Adobe Stock images individually or as part of a subscription plan; as I write this, Creative Cloud subscribers get a discount on the 10-images-a-month plan. To see this integration in action, we’ll use a sample InDesign document that’s a fictitious electronic newsletter (Figure 1), like the kind that a health care provider would send to its members.

Figure 1: This newsletter story needs a graphic to go in the placeholder frame at the bottom of the page.
Find the Right Image
The usual way to find stock images is to visit a stock agency’s website in your web browser, search the site for the images you need, and download them. If you’re using Adobe InDesign CC, you can find Adobe Stock images without leaving InDesign, because Adobe Stock is built into the
CC Libraries panel (Figure 2).
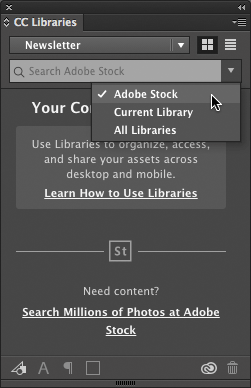
Figure 2: You can add Adobe Stock graphics or your own content to the CC Libraries panel, which is accessible from other InDesign documents and CC applications.
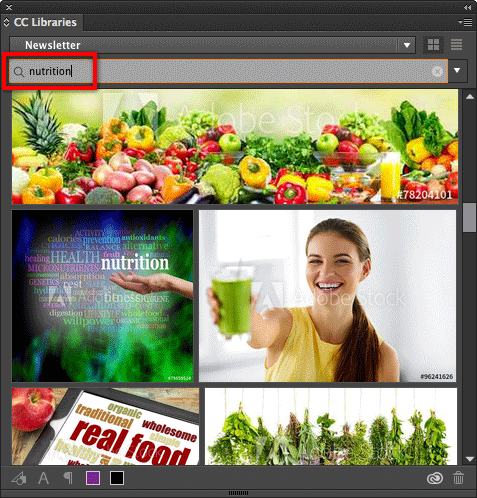
Figure 3: Enlarging the panel shows more search results at once.
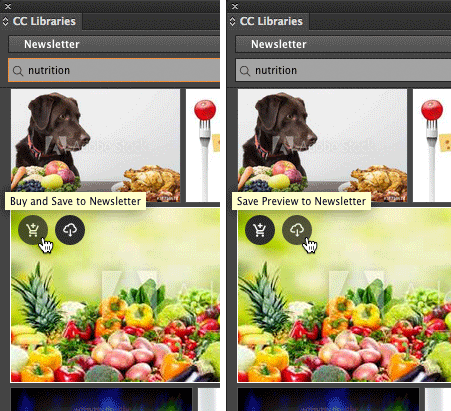
Figure 4: To download a preview to your CC Libraries panel, click the second icon. Click the first icon only when you’re ready to buy an image license.
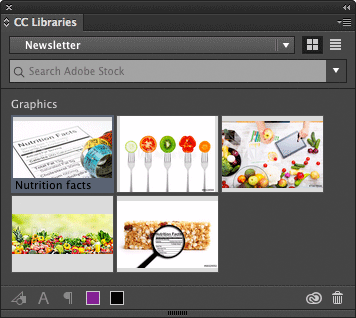
Figure 5: My candidates for the story image.
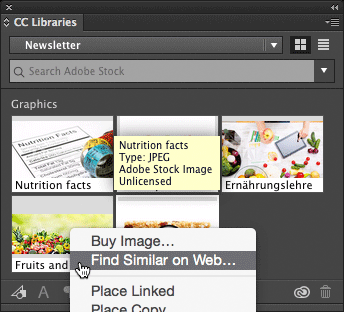
Figure 6: Close but not quite? Right-click an image, and choose Find Similar on Web.
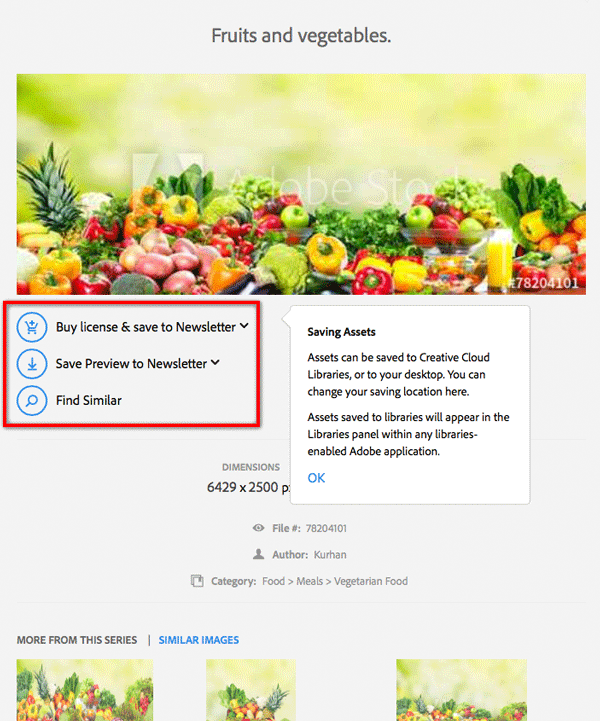
Figure 7: It’s just as easy to add images to libraries from the Adobe Stock website.
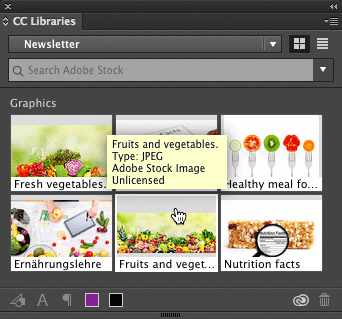
Figure 8: A tool tip provides information about the image under the pointer.
Try It
You can drag any image out of the CC Libraries panel to load it in your Place cursor (which lets you place it in your InDesign layout). I had already created a placeholder graphics frame for the image, so for me it was faster to select the frame, right-click the image in the CC Libraries panel, and choose Place Linked (Figure 9).
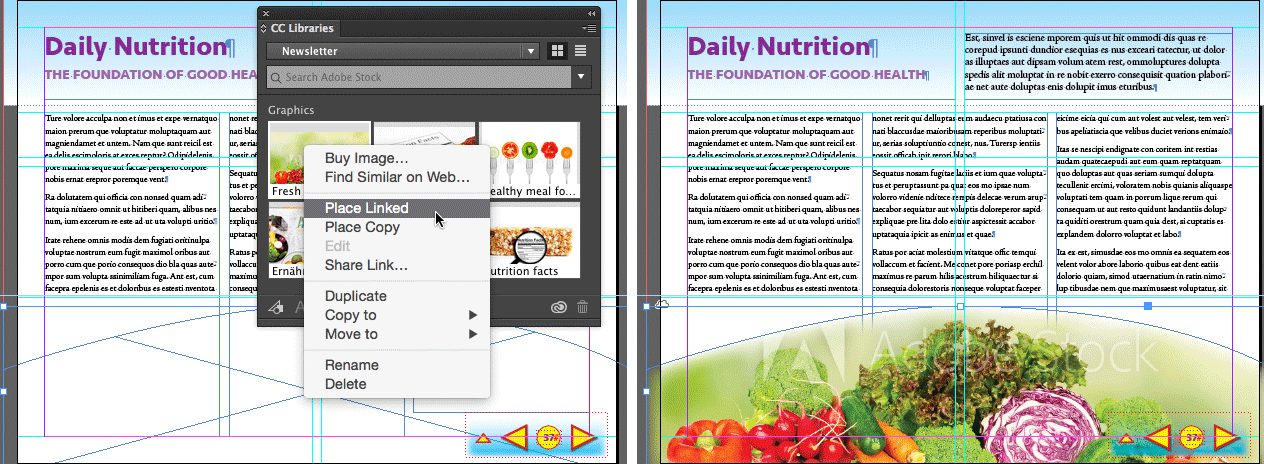
Figure 9: Right-click an Adobe Stock image (left) to place it directly into a selected frame. The frame then displays a cloud icon (right).
Inspect It
You might notice a few subtle differences between a placed Adobe Stock graphic and a graphic you place from local storage. For example, instead of seeing a link icon at the edge of the graphics frame, you see a cloud icon to remind you that the graphic is linked to a Creative Cloud library (Figure 10).
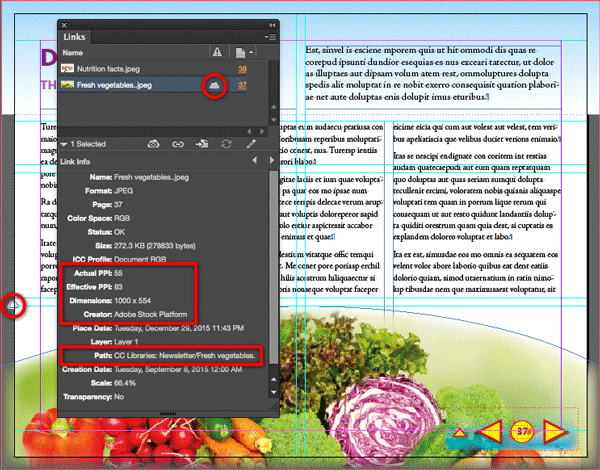
Figure 10: A cloud icon on a graphics frame tells you that the graphic is linked to a CC library, and the Links panel displays the metadata for a selected Adobe Stock image.
Careful with color
I should warn you that there is currently a problem with Adobe Stock images that could, in some circumstances, make them appear incorrectly on screen. It’s a color management problem, so it is kind of technical, but the quick version is that the unlicensed (preview) images don’t seem to have embedded ICC profiles—or if they do, InDesign can’t see them. Therefore, the Links panel reports that the ICC Profile of an unlicensed (preview) Adobe Stock image is Document RGB, which means InDesign displays that image’s colors using the same profile assigned to the InDesign document. And even though licensed (paid) Adobe Stock images do contain embedded sRGB profiles, for some reason the Links panel still reports them as Document RGB (this is probably a bug and may be fixed by the time you read this). Fortunately, you probably don’t have to be concerned about any of that if the RGB profile assigned to your InDesign document is sRGB, as it is by default for many InDesign installations (Figure 11).
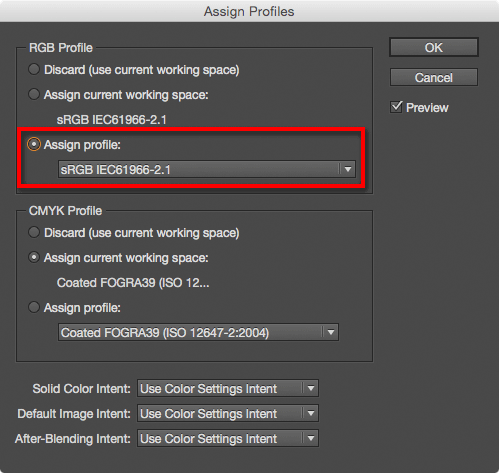
Assign Profiles) is sRGB, so Adobe Stock image colors should appear as expected.” width=”499″ height=”473″> Figure 11: The RGB document profile assigned to this InDesign document (in Edit > Assign Profiles) is sRGB, so Adobe Stock image colors should appear as expected.
Buy It
After you settle on a final image, you can buy a license for it. If your library contains many more Adobe Stock images than you used in your InDesign document, you can use the Links panel to make sure that you pay for only the images you actually used. In the Links panel, select an Adobe Stock image, and choose Reveal in CC Libraries from the Links panel menu (Figure 12), which selects the image in the CC Libraries panel.
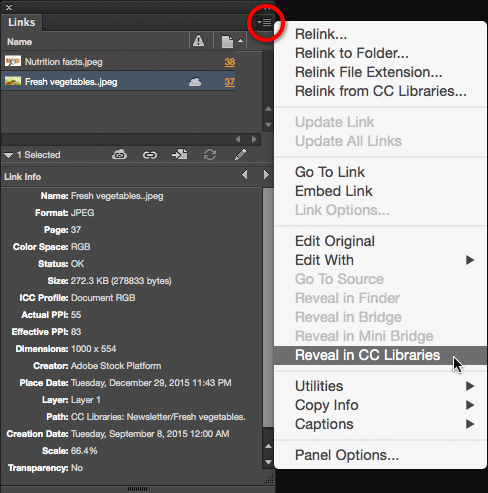
Figure 12: The Reveal in CC Libraries command shows you where a cloud-linked document item exists in your libraries.
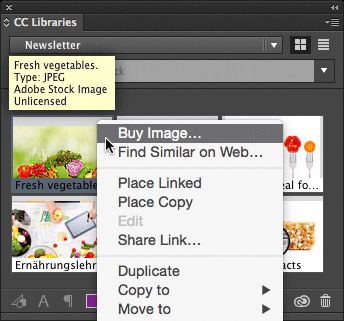
Figure 13: To license an Adobe Stock image, right-click it in the CC Libraries panel, and then choose Buy Image.

Figure 14: After purchasing the image license, the high-resolution version looks great and the watermark is gone.
The Local Option
Earlier I mentioned that you can save Adobe Stock images locally; here’s how. Select any or all of the Adobe Stock images in the Links panel (remember, they all have cloud icons), right-click any of the selected images, choose Copy Link(s) To (Figure 15), select a local folder or drive, and click OK.
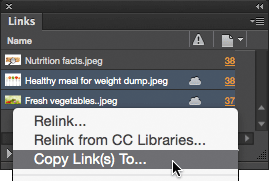
Figure 15: To save library-linked Adobe Stock images locally, right-click one or more of them in the Links panel, and choose Copy Links To.
Stock Up on Graphics
Adobe Stock isn’t just about photographs; you can also use Adobe Stock to find illustrations and vector graphics. (Adobe Stock also has video, although as I write this, importing video to InDesign from the desktop works better than adding video from the CC Libraries.) If Adobe Stock has the media you need, its integrated searching, storage, and billing makes it the most seamless stock service to use with InDesign and other Adobe Creative Cloud applications.
Commenting is easier and faster when you're logged in!

Recommended for you

TypeTalk: Metrics Versus Optical Kerning
When is it better to use Optical kerning and when should you choose Metrics? Ile...

QuarkXPress 7 Launch Supported by Key Strategic Partners; Positive Industry Endorsement by QuarkAlliance Members for Powerful Ne
Quark Inc. announced today that the QuarkXPress 7 launch event features 12 partn...

Road Trip, USA Image100's Latest Big Release
Road Trip, USA takes you on a journey with a difference, a tour de force of Amer...