




When you work in Adobe Illustrator, do you often find yourself zooming and scrolling around your artboard(s) to get precise portions of your artwork into view? Well, you can stop doing that. All it takes is a few seconds to set up custom views that you can use to well, view, your artwork just the way you want. Here’s how.
Arrange your artwork exactly as you want to see it in view in the document window. Then choose View > New View.
In the dialog box, enter the name for your view and click OK.

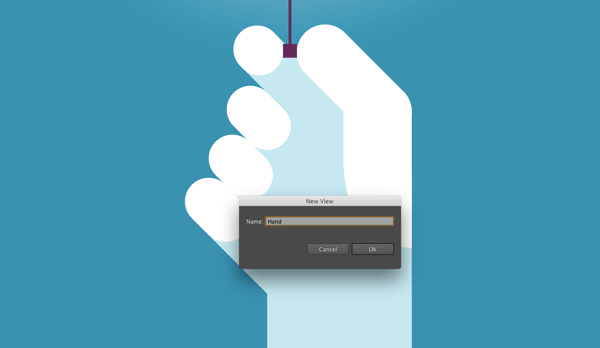

Repeat for any other views you want to save.Now to switch to a view, just choose it from the bottom of the View menu.

Note that this works with multiple artboards and viewing modes (like Outline).
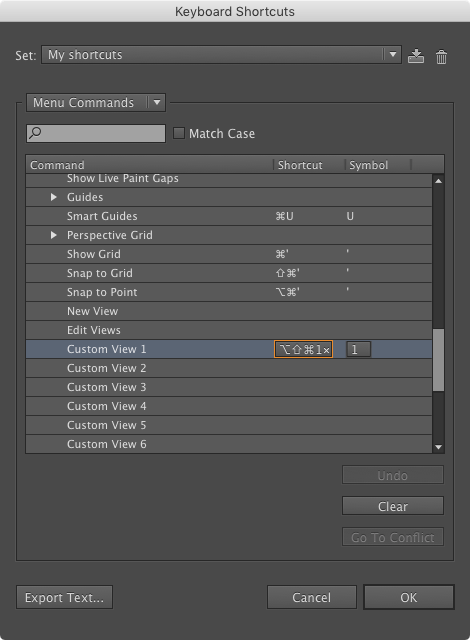
Even better: you can instantly switch between your custom views by assigning keyboard shortcuts to them. To do that, choose Edit > Keyboard Shortcuts. Then in the dialog box, select Menu Commands from the pop-up menu, and choose View > Custom View 1 and type the shortcut you want to use to switch to that view. Repeat for your other custom views.
This article was last modified on January 12, 2026
This article was first published on February 6, 2017
Commenting is easier and faster when you're logged in!

Recommended for you

How to Shoot Raw Photos on Your iPhone (and Why You’d Want To)
You don’t need a DLSR camera to reap the benefits of the raw image format.
Creating a Panorama: Photoshop, Camera Raw, or Lightroom?
When a scene is wider than your widest lens, merging images into a panorama is a...
Convert Fonts to Graphics with Font Pestle
We’ve had stories about amazing scripts that can build custom fonts from a...