Creating Paragraph Styles in PowerPoint
Wait, there are paragraph styles in PowerPoint?!
Well…not really. Not in the way there are in Microsoft Word, Adobe InDesign, and even Keynote. But with a little creativity, you can actually create text styles in PowerPoint that can be applied, edited, and globally re-applied.
The secret lies in those bullet point-ridden placeholders in the Master. Content placeholders and text placeholders can each contain up to nine levels of bullet points (although the default only shows the first five levels.) And each one of those levels doesn’t actually need to be a bullet point, but rather can be styled with information such as font, type size, color, line spacing, space before/after, character spacing, capitalization, etc.
The caveat here is that to make use of any of this styling, the text on a slide must reside in a content or text placeholder. This won’t work with “rogue text boxes” not tied to a Master Layout. But on the other hand, you can actually have as many mastered placeholders as you like in a file—as many different layouts as you like and as many different placeholders on a single layout. (But I’ve never actually found a reason to have more than a single placeholder and more than 4 or 5 styles in a file.)
Setting up Your Styles
You can choose to create your styles in the Master itself (the topmost slide in the Master) which will apply styling to all Layouts in the Master, or you can create your styles in an individual Layout which is what we’ll do here in the default Title and Content layout.
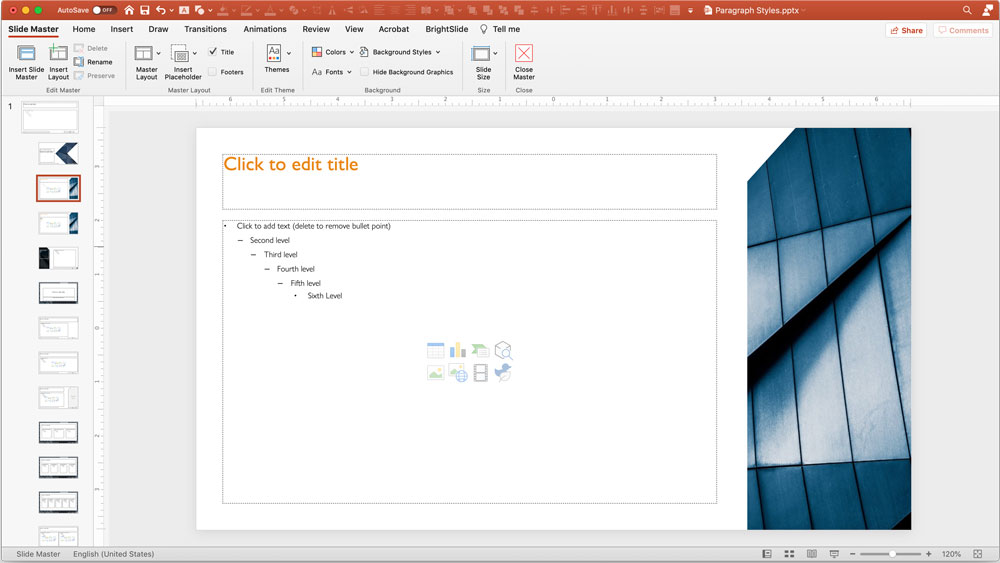
In this content placeholder you’ll see the typical five levels of bullet points, but if you want more, you can enter a return at the end of “Fifth level” and tab over one position to the sixth position. You’ll need to type in your placeholder text which can be anything you like. (It can, but does not have to be, “Sixth level.”) Repeat this for levels seven, eight, and nine if you like.

Select all of your levels of text, from the Home Tab, remove the bullet point formatting, and move the text indent markers all the way to the left which should give you something like this:

Now continue styling each level however you like, and feel free to retype the placeholder the text at each level with something more descriptive. Note that certain text attributes such as All Caps will need to be applied in the Format: Font dialogue box and not just from the ribbon.

Because this kind of styling works best with copy-heavy presentations—the kind meant to be distributed and printed rather than presented on screen, we’re also going to set the content placeholder to 3 columns (Home Tab: Add or Remove Columns…)
Applying Your Styles
Now we can go to our content slide which is still using the original bullets and setup of the original Master Layout and placeholder…

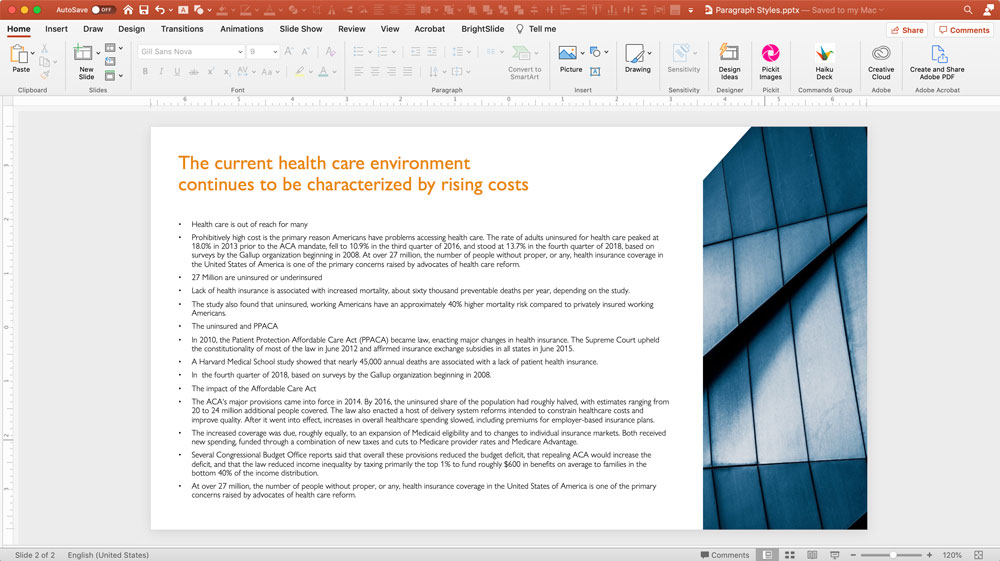
…until we reapply the newly formatted Layout giving us this:

All paragraphs are still a first-level bullet, but by simply inserting the cursor at a point in the text and using the Increase List Level tool on the Home Tab, you’ll force that paragraph to take on the style of the next level bullet point styled in the Master Layout.

Continue doing this for all other paragraphs that need to be styled. And if you need to make any formatting tweaks, just make them in the Layout and your slides should automatically update.
And that’s how you create styles in PowerPoint!

More Resources To Master Presentation Design
CreativePro Week is the essential HOW-TO conference for creative professionals who design, create, or edit in Adobe InDesign, Photoshop, Illustrator, Acrobat, and Microsoft PowerPoint.
Featuring over 30 expert speakers and 75 sessions, CreativePro Week offers five days of in-depth training and inspiration, all in one place. No matter your skill level, you’ll learn techniques and best practices you can start using immediately to improve your productivity.
Members get a special discount on registration! Sign up today.


Legend!!!! This has been a sore (Power) point for me for over a decade!
Awesome use of paragraph styles
Hi there! This is a fantastic idea, however, I am working in PPT for Mac and am experiencing an issue with this approach: When I remove the indentations from the bullets, it automatically restyles the text I just remove the indentations from as the first-level text style. Even if I add a hard return, it continually picks up that style. This approach is genius, but it doesn’t seem to be working in PPT for Mac.
Hi Melissa,
Sorry to hear you’re not able to make it work. I work primarily on a Mac, and it definitely works cross-platform. I don’t know if I’m completely following your workflow though to be able to point out the issue. Are you actually using the indent level button to move the line to the next bullet level?
If you want to send me the file you’re working on at nolan at nolanhaimscreative.com, I’d be happy to look at it.
Use the submenu «Paragraph…» (right clic) instead of the buttons of the Ribbon Menu to « move the text indent markers all the way to the left». If you do it using the indent buttons, PowerPoint will change automatically the style and you don’t want it.
Has anyone done a feature request for styles in powerpoint?
What you are suggesting, while brilliant, will not work for my slides. I teach a programming language, and in particular the code examples are separate from the slide template.
I’ll also note that we’ve found that non-standard bullet characters, such as a dash, will keep a custom font embedded in a deck, when you’re otherwise trying to remove that font (replace fonts). One would do this if the custom font is not able to be embedded, thus throwing alerts when your client tries to open your file! FYI—
Yes, you have to be careful when choosing non-standard bullets for sure!