

Making a foreground object match the lighting in the background is a common task for Photoshop artists. The traditional way is to use Dodge and Burn to brighten and darken the object, but it’s easy to go wrong with this approach – and difficult to undo your mistakes. Here’s a better method, that is fully editable.
Step 1: The starting image
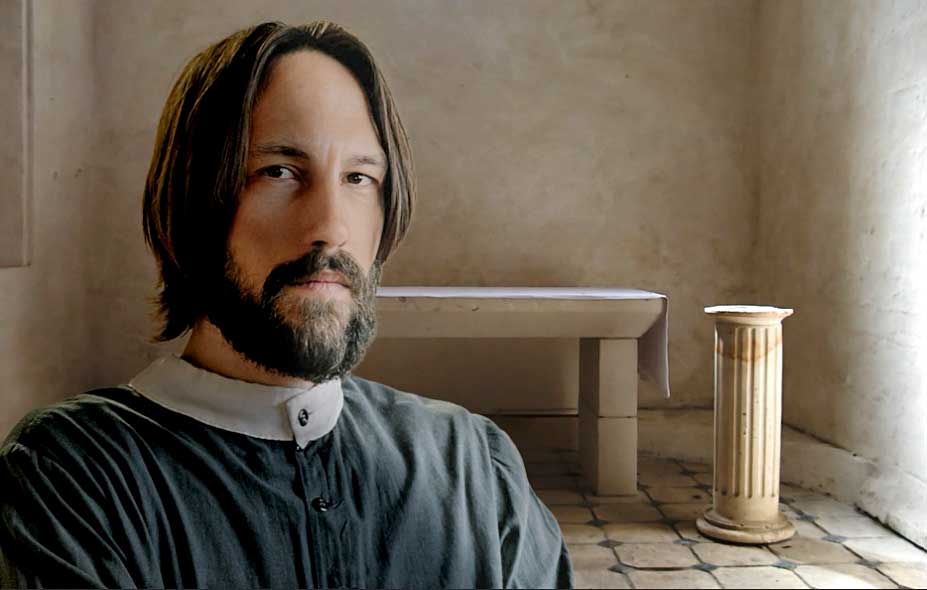
Here’s a church background, with an image of a priest (courtesy of Ivan Samkov from Pexels). We need to make the priest match the strong side lighting of the background.

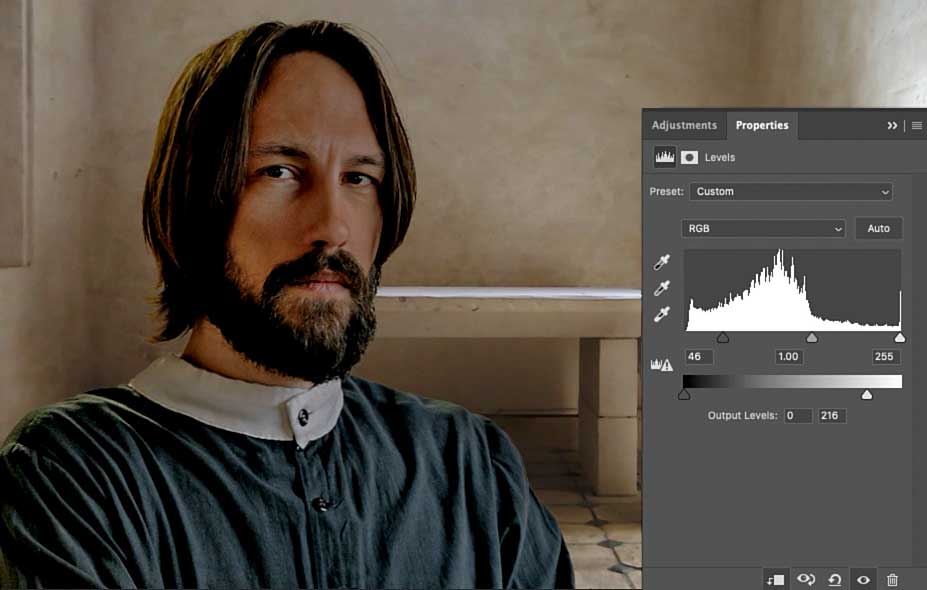
Step 2: Add a Levels Adjustment Layer
Choose Layer > New Adjustment Layer > Levels, and drag the dark point slider under the histogram to the right. This darkens the image, but it also increases the saturation – and dragging it too far will make the priest very oversaturated.

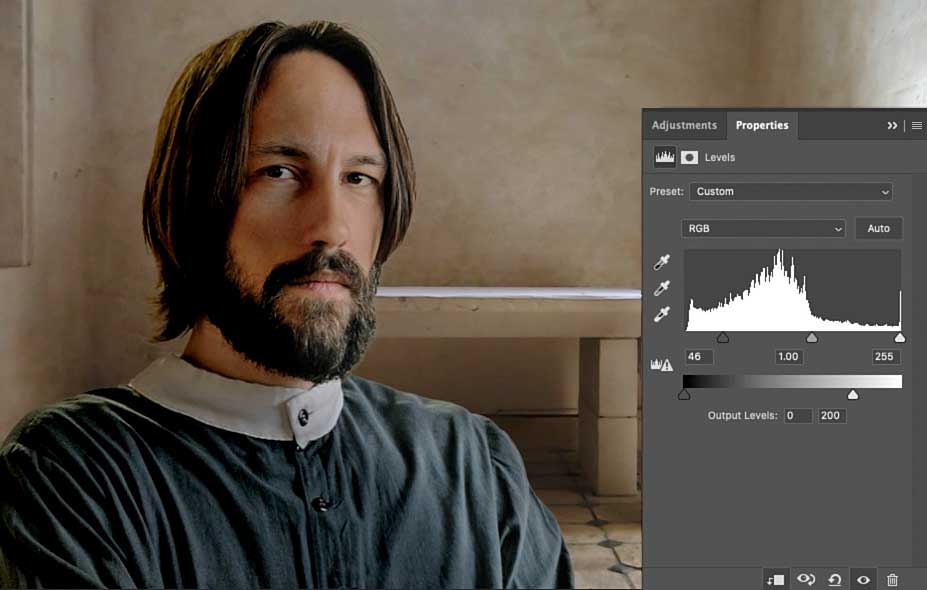
Step 3: Limit the brightness
Dragging the highlight slider in the Output section at the bottom of the Properties panel darkens the image further, without increasing the saturation. You can balance both controls to give the desired amount of darkness and color.

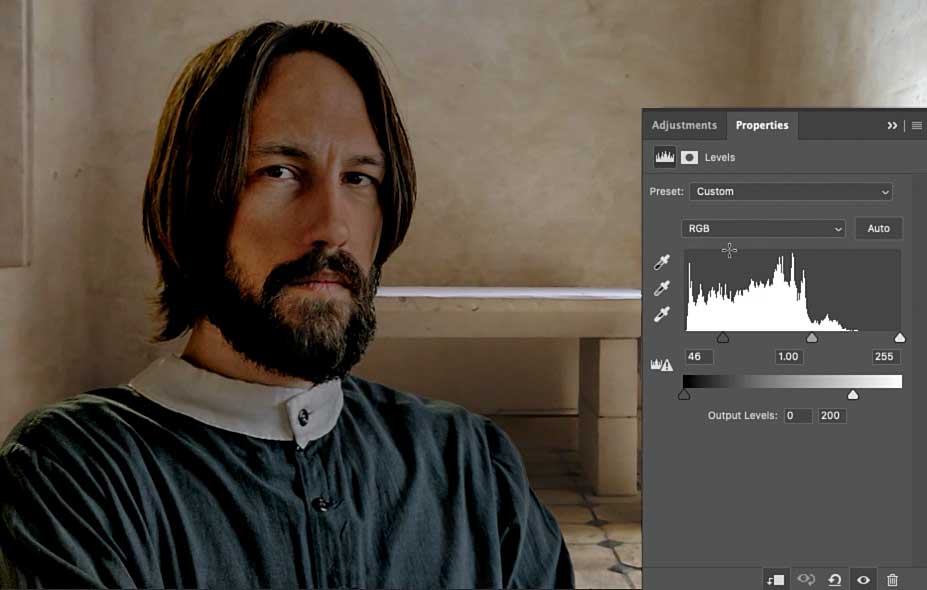
Step 4: Make a clipping layer
Click the Clipping button at the bottom of the Properties panel to clip the Adjustment Layer to the priest layer, so it only affects that layer. The background layer is now back to its original appearance.
Step 5: Paint a mask
All Adjustment Layers come with a built-in mask. If you paint on this mask in black, it will hide the effect. So use a large, soft-edged brush and paint over the right side of the priest’s face and clothing to hide the darkening effect. Now, the shadow will appear only on the left, away from the light.
Step 6: Making the highlight
We’ve got the shadow; now we need the highlight on the opposite side. We can create this easily by using the mask we’ve already painted. Start by duplicating the Levels Adjustment Layer, making sure it is still clipped with the layer beneath. The result is to double the darkening effect on the face.

Step 7: Invert the mask
Select the mask for the new Adjustment Layer, and invert it by choosing Image > Adjustments > Invert, or use the keyboard shortcut Command/Ctrl+I. Because the two masks are inverses of each other, the effect will look like the original Adjustment Layer with no mask applied.
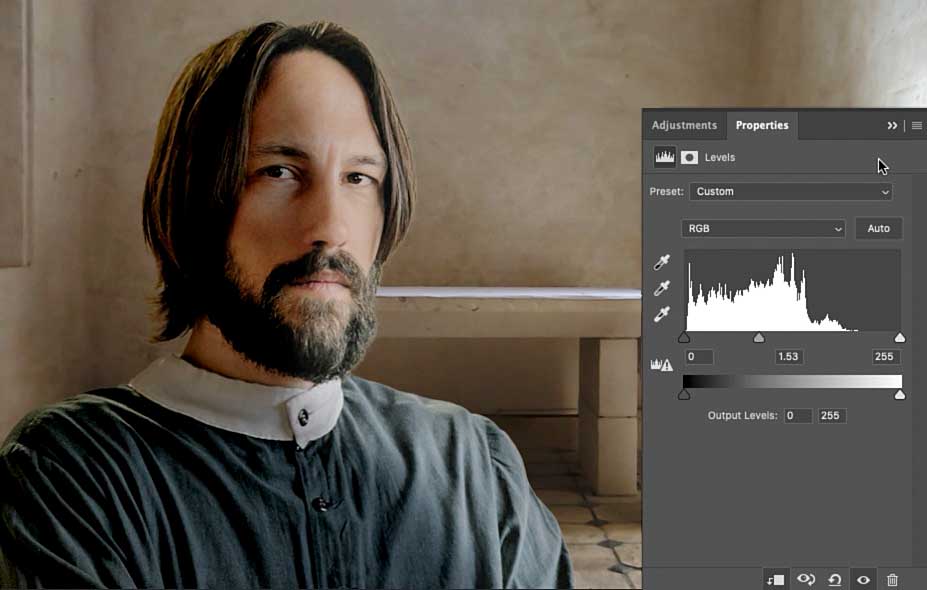
Step 8: Change the adjustment
Click the Reset button at the bottom of the Properties panel to reset the second Adjustment Layer to its default values. Then drag the midtone slider under the histogram to the left, to brighten up the highlight side of the face.
Step 9: The finished result
Here’s the finished image, with the shading on the face now matching the background. Because both the shadows and the highlights are created with Adjustment Layers, it’s easy to change the values at any point it you want to modify the result.
You can see a video version of this tutorial, and download the PSD file, here.
Commenting is easier and faster when you're logged in!

Recommended for you

Basic Tips for Color Management
In early December, a community of conference-goers explored best practices and n...

CreativePro Conversations: The Past, Present, and Future of Photoshop
Learn a little bit of the history—and future—of Adobe Photoshop from this conver...

Creating Embossed Paper Effects in Photoshop
A step-by-step guide to simulating both blind embossed and foil debossed styles...