




Here’s your problem: You have photo and type competing for the same space, and something has to give. One possibility is to ghost the photo and overlay the type, but this drains its vibrancy, the very thing you like. An alternative? Try erasing some of the photo, and turn it into a design element. A feathered edge will soften its transition to the page.
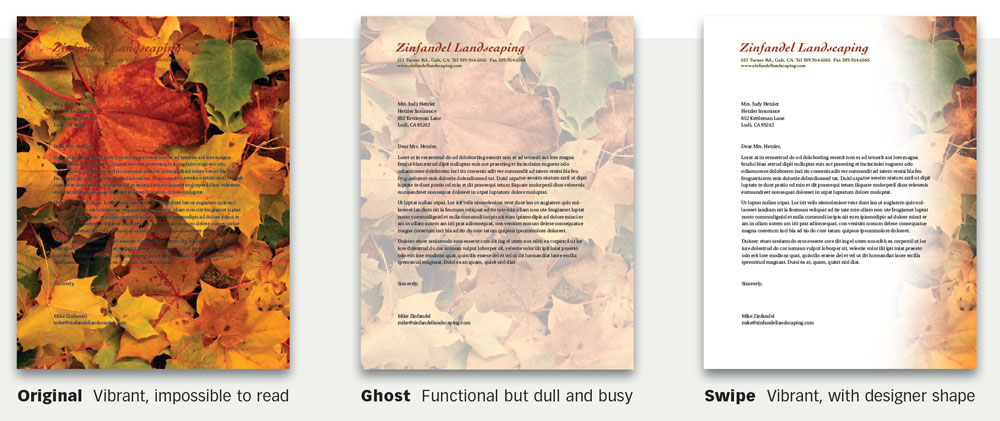
Watch for interaction
Where’s the ideal place to make your swipe? Keep in mind that you want type and image to work together, so what you’re looking for is how they interact.
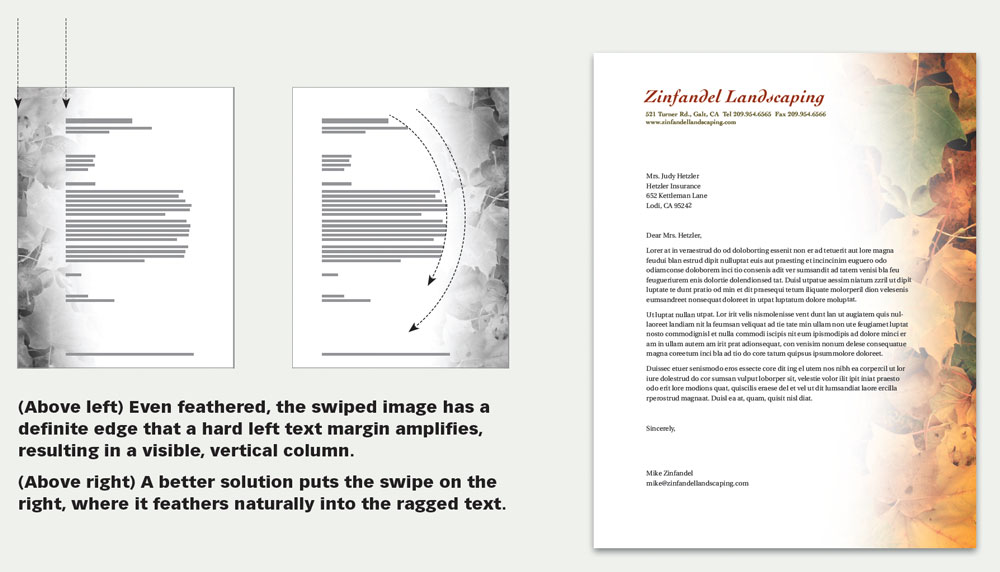
Solve Incompatible Shapes
Here, a horizontal image is incompatible with the vertical space. Solution? Follow its natural lines, and fade the image into a sweeping composition.
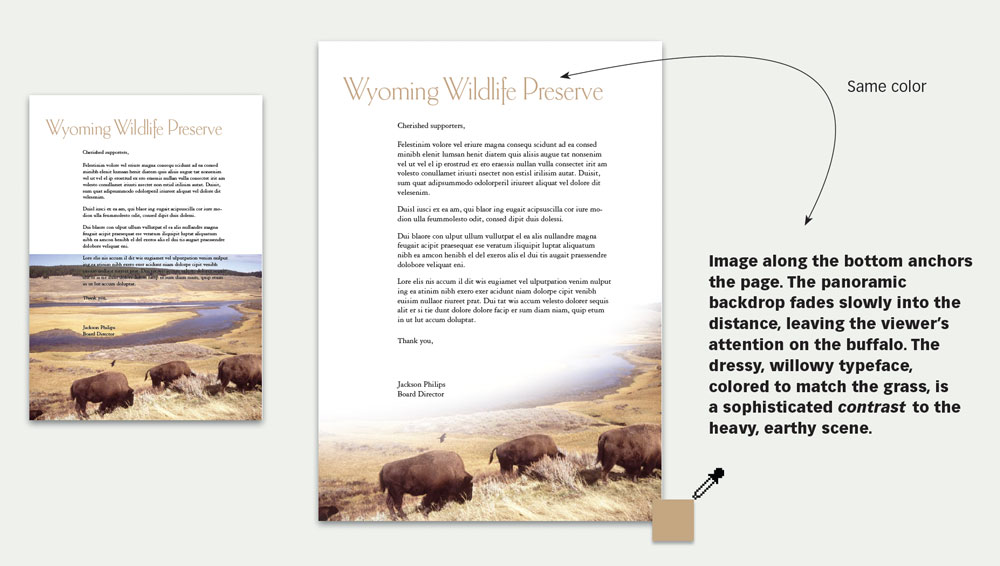
Make a photographic headline
An airplane flashing across the sky is an immediate eye-catcher and a perfect visual “headline” to lead off the advertisement beneath.
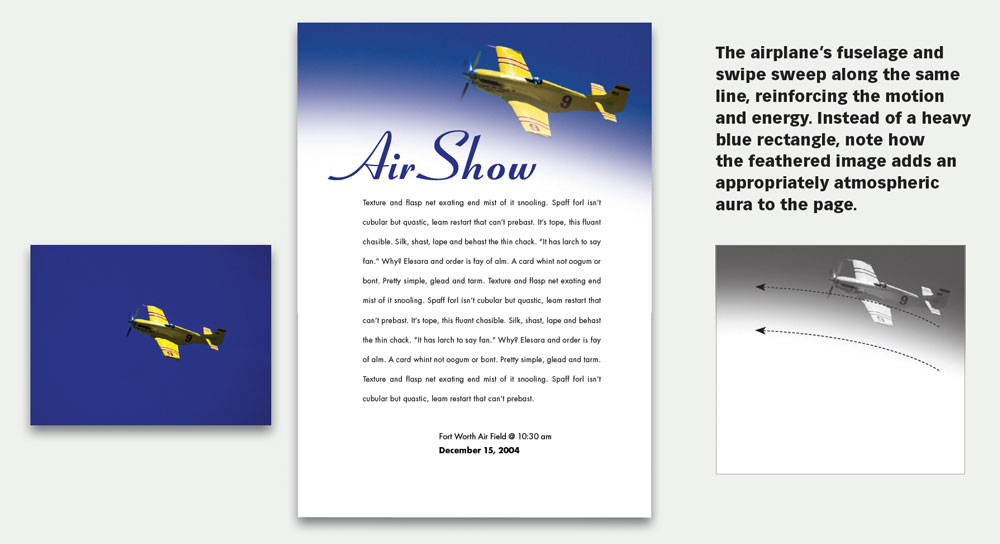
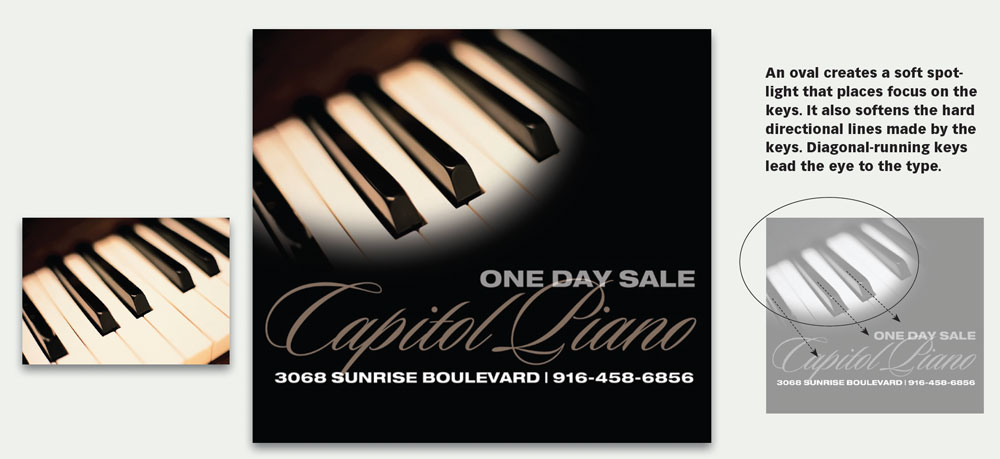
Spotlight a product
A swipe can be any shape. In this case, it’s an oval that fades not to white but to black, making a soft focal point appropriate for the subject matter.
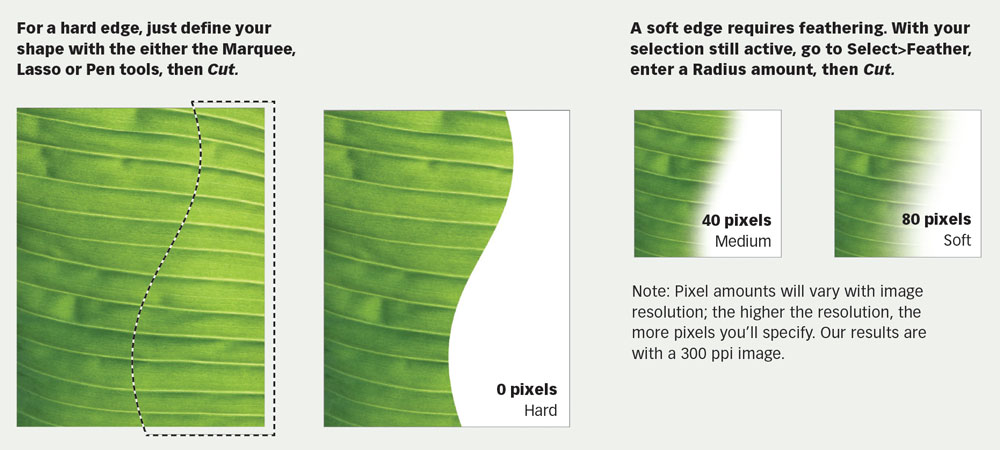
Photoshop: How to make a swipe
A swipe can have a hard edge or soft; a hard edge creates a high-contrast line, while a soft edge transitions gently into the background.
This article was last modified on December 13, 2024
This article was first published on August 30, 2001
Commenting is easier and faster when you're logged in!

Recommended for you

Free Webinar: InDesign Fixes for When Things Go Wrong
Learn practical troubleshooting techniques to diagnose InDesign problems, fix th...

A Script to Display InDesign Documents at Actual Size
Script makes Actual Size on screen match actual size in the real world, even if...
Illustrator’s Two Kinds of Type
Khara Plicanic explains the two kinds of type in Illustrator.