
Here’s a quick design tip on instructional design from issue 44 of Before&After Magazine.
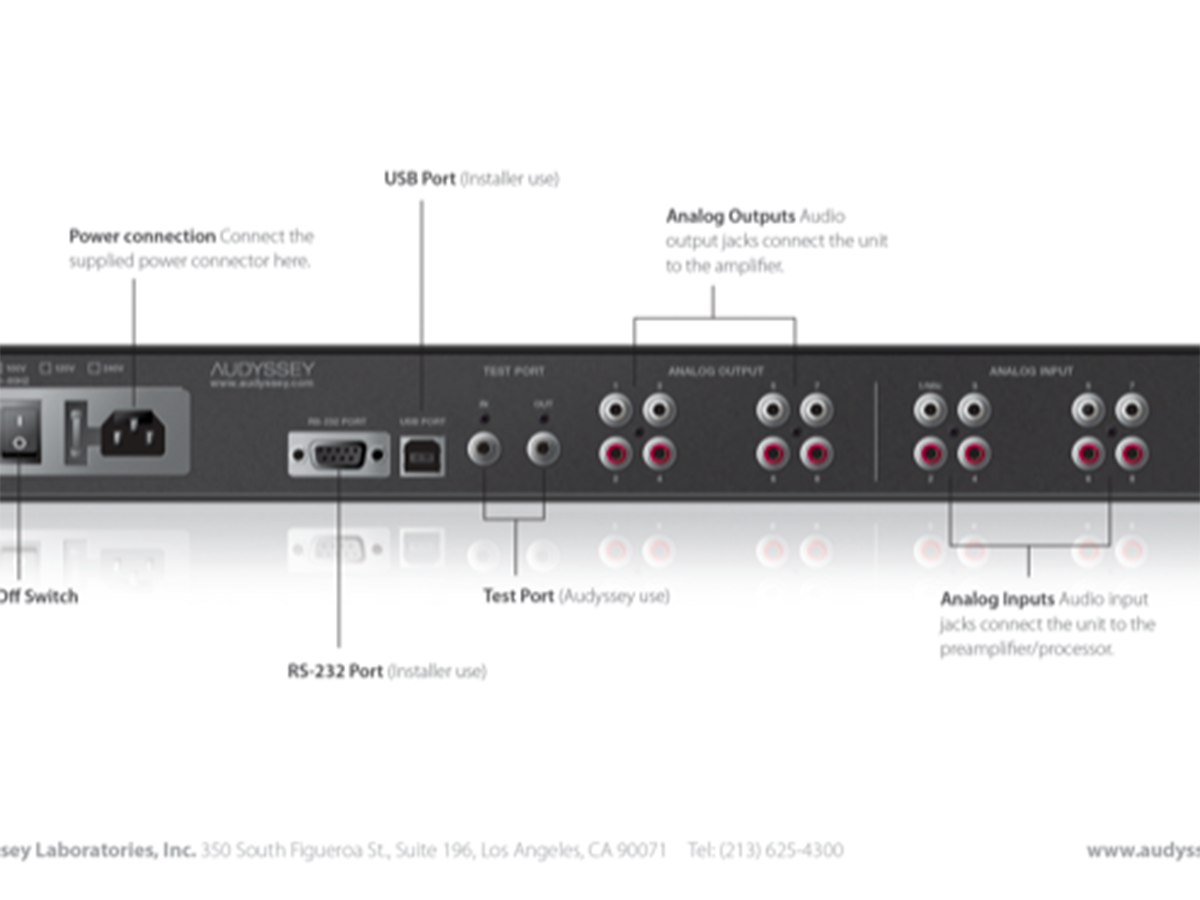
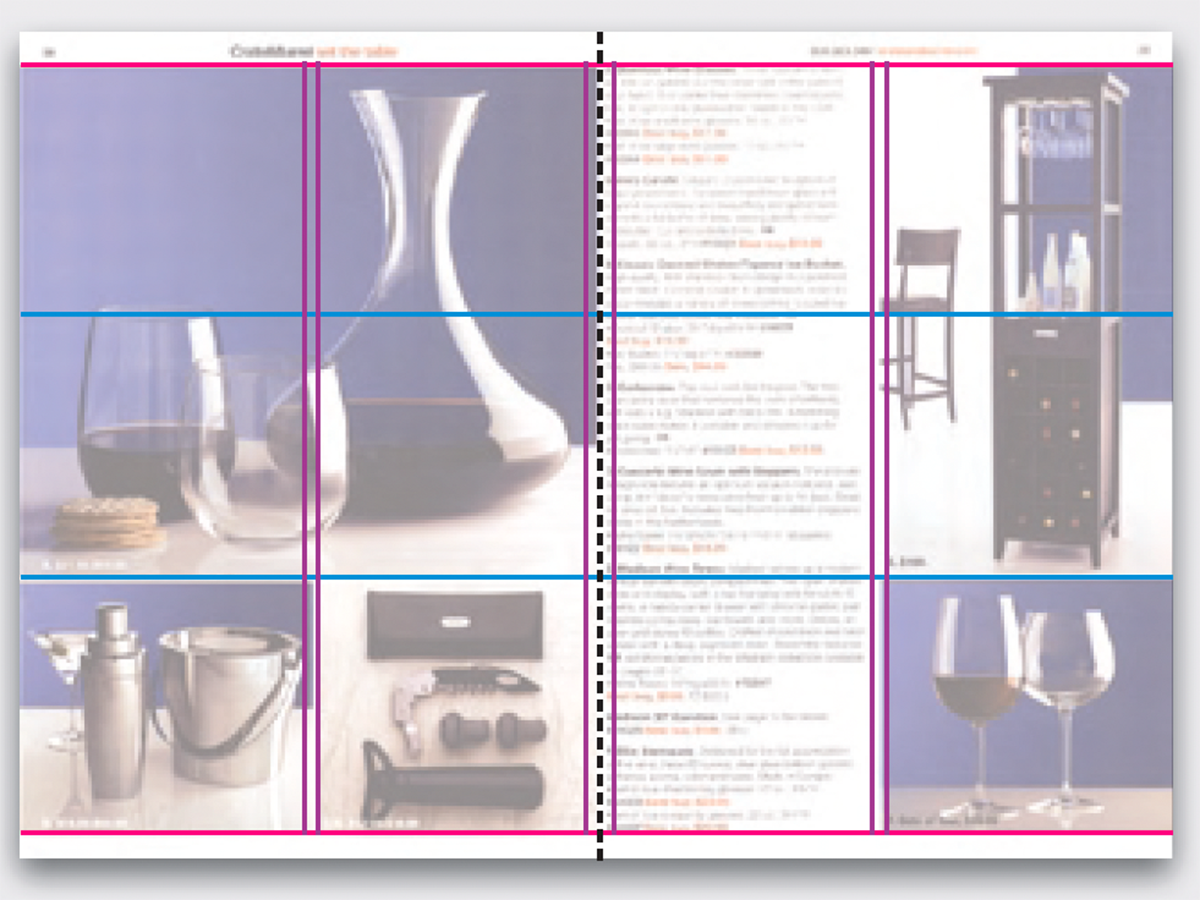
For the technical among us, descriptive graphics are fun to make. The key to clarity is to think of the words as part of the picture, not as an extra to be set off to the side. Before: Design complicates the message: The goal of this small product guide was simple—label the parts of the product for the customer. But the designer lost sight of that and arranged the card in a neat L shape, with product on one side, labels on the other.
The product is tiny, the important center of the page is empty, and the reader must refer back and forth needlessly.
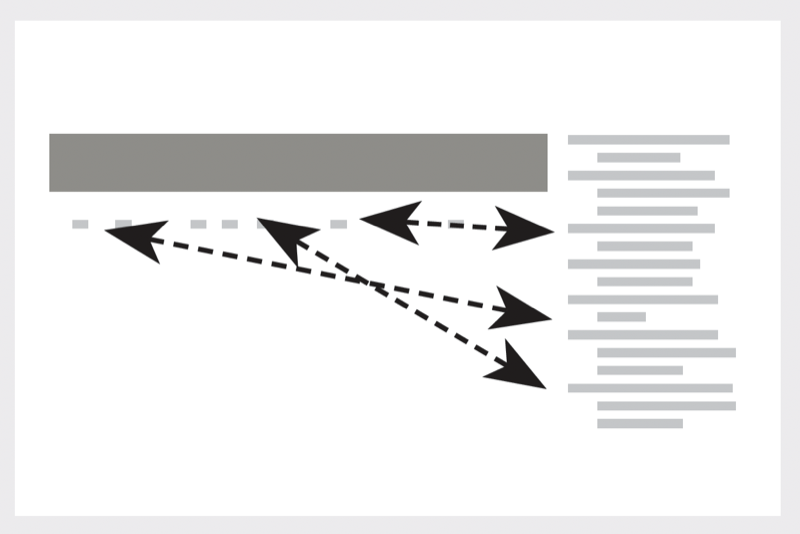
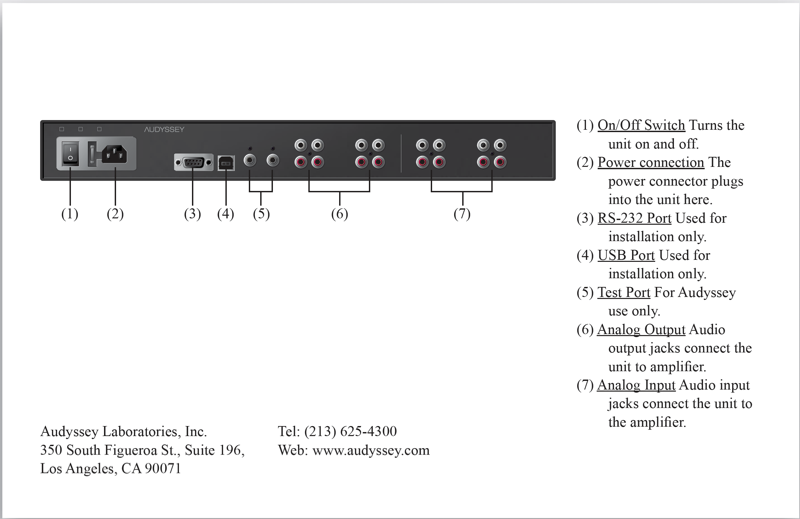
After: Center the product as big as possible, then put the labels in orbit around it with straight lines to their destinations. Sans-serif type reads easily; minimal contrasts are clean. No numbering or indents are necessary.
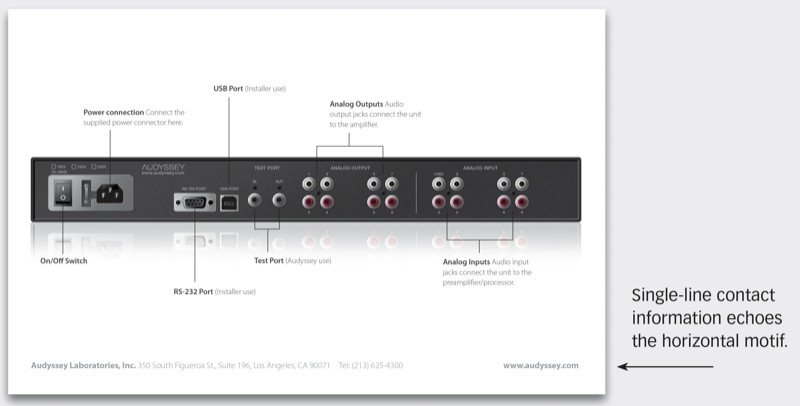
One font family and size provides similarity; contrasting weight and value provides difference.
CreativePro members can download original content from Before&After Magazine, a beloved resource that taught a generation of newly minted digital designers how to design and communicate effectively with the written word. See our archive here.
© John McWade/Before&After Magazine, courtesy of Gaye Anne McWade.
This article was last modified on January 4, 2026
This article was first published on November 15, 2024
Commenting is easier and faster when you're logged in!

Recommended for you

Before&After: Design a Letterhead, Envelope, and Business Card
How to turn letterhead, envelope, and business card into a single visual presenc...

Before&After: Design From a Creative Brief
To know if you’ve reached a design goal, you must first know what the goal is. T...
Before&After Design Tip: Modular Pages Go Together Fast
A modular design system can help you retain your sanity in the face of last-minu...