


Although InCopy is used heavily for products destined for print, more and more the content that we produce in InCopy ends up in one digital format or another. Very often a copy of a product is exported to a PDF file and posted on the web, but InCopy is being used for other digital formats as well such as DPS, EPUB, and even HTML. These digital formats have some different requirements and possibilities that don’t apply to print output. One of these is hyperlinks. Although hyperlinks display in print, they aren’t interactive, but in digital they are. Because of this, we should make sure that we define hyperlinks in documents intended for digital output and fortunately, we can do this in InCopy!
The Hyperlinks Panel
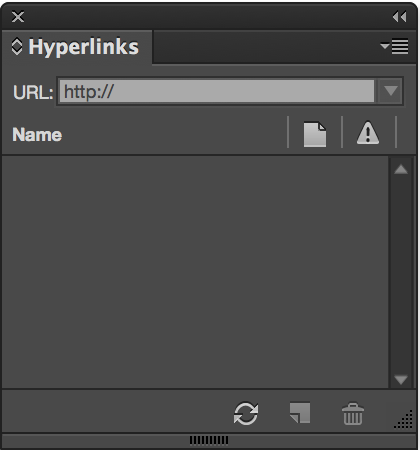
The Hyperlinks panel can be found in InCopy by choosing Window > Hyperlinks. It may not look like much, but it’s a powerful tool that makes it easy to add hyperlinks to web url’s, e-mail addresses, files, pages, text anchors, and shared destinations. Likely, more hyperlink options than you’ll ever possibly need.
Creating Hyperlinks
To create a hyperlink in InCopy, select the text in which you want to become a hyperlink with the Type tool and click the “Create New Hyperlink” button at the bottom of the Hyperlinks panel or right click on the selected text and choose Hyperlinks > New Hyperlink. This displays the New Hyperlink dialog box where you can define the properties of the new hyperlink.
In the Link To drop-down menu, you can choose the type of hyperlink you with to create. You have the following choices:
- URL – Links to a web URL.
- File – Links to a file of your choosing on your computer or on a server. Only works when the final file is exported to PDF or SWF.
- Email – Links to an e-mail address. When a user clicks on this link, it will launch their default e-mail application and compose a new message to the e-mail defined in the hyperlink. You can also define a default subject for the message of the e-mail.
- Page – Links to a page in the file. This only works when exporting to PDF or SWF.
- Text Anchor – Links to a specific text anchor previously defined in the document.
- Shared Destination – Links to a shared destination. A shared destination has to be created in advance and is useful if you have several links in a document that link to the same location (i.e. your company’s url).
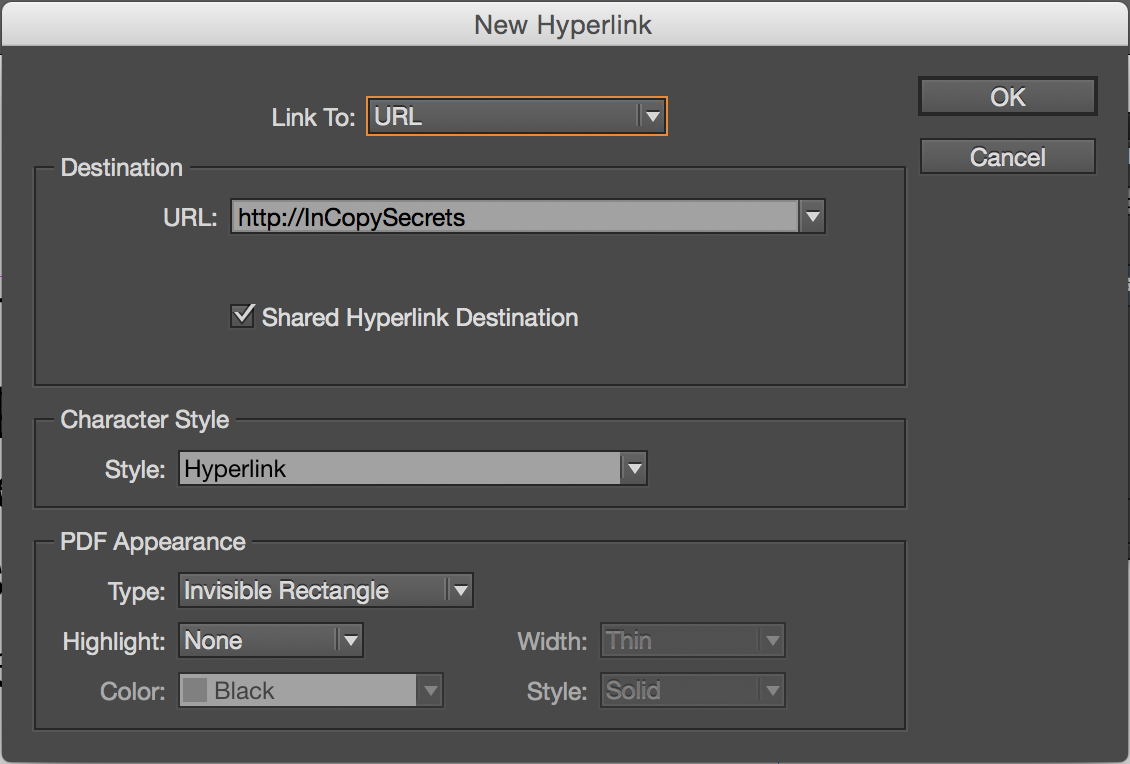
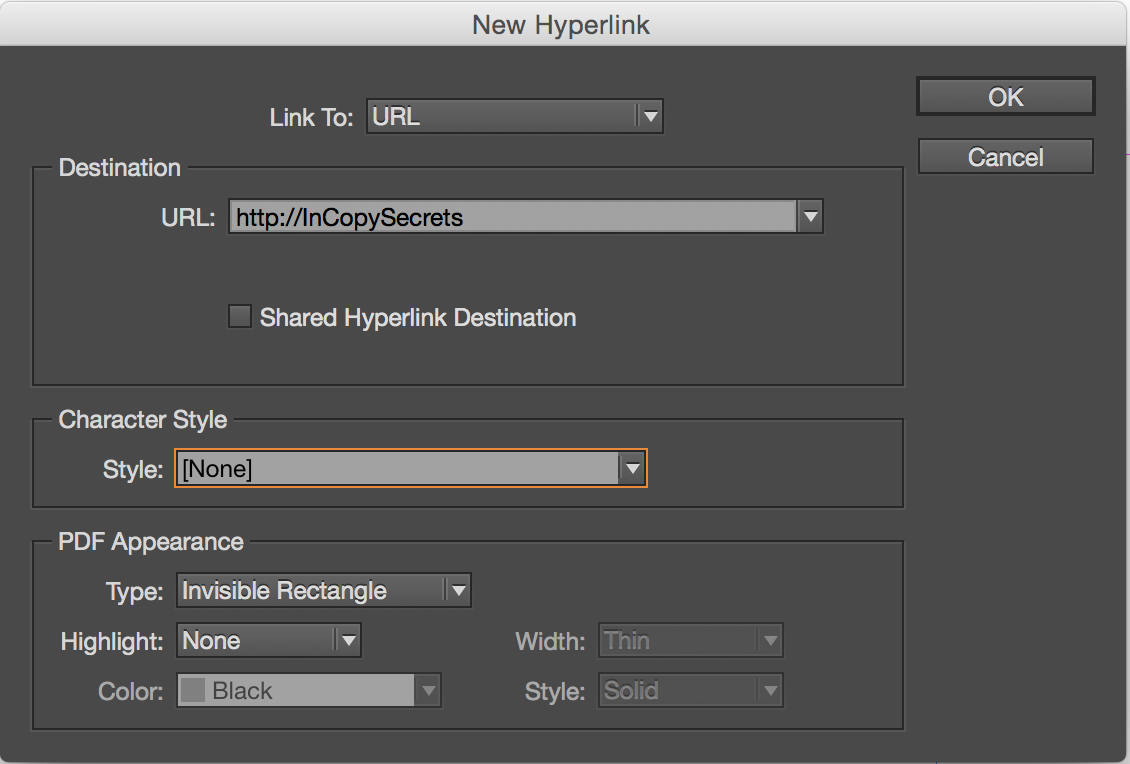
Most commonly, you’ll be using URL, E-mail, or shared destination. I’ve chosen URL for this example. By default, InCopy (and InDesign) inserts the selected text after the https:// in the URL field. Remove the text that is inserted and type the actual URL of the hyperlink you are creating. You can copy and paste from another location if you wish to save time.
As a default, InCopy wants to make every new URL a shared destination. Unless you intend to use this URL more than once, I recommend that you uncheck this option.
In the Character Style section, you’ll see Hyperlink listed in the drop-down menu. InCopy creates a hyperlink character style by default that colors the hyperlink text blue and underlines it. If you’re into the retro early-90’s blue hyperlink look, you can leave it, otherwise you can create your own or simply choose none from the drop-down menu.
Finally, in the PDF appearance section of the dialog box, you have limited control of how that hyperlink will appear when exported to a PDF file. I typically leave this set to invisible rectangle, but if you’d like the hyperlink to have a rectangle around it, you can choose that option and then define the properties of that rectangle in the other values found in this section.
Navigating the Hyperlinks panel
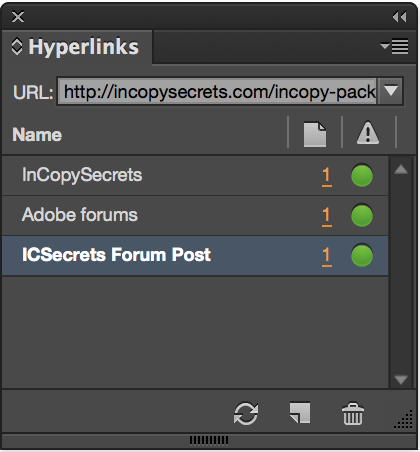
After adding hyperlinks, you’ll see them listed in the Hyperlinks panel. One of the great features of this panel is the “traffic lights” that appear to the right of the hyperlink indicating whether the hyperlink is valid or not. InCopy actually uses your internet connection to go out and verify that it can access the hyperlink. If it can it displays a green light, if it can’t it displays a red light. Brilliant! You can click on the Refresh URL status button at the bottom of the Hyperlinks panel at any time to force the updating of the URL status. Clicking on the traffic light will open the URL in your default web browser.
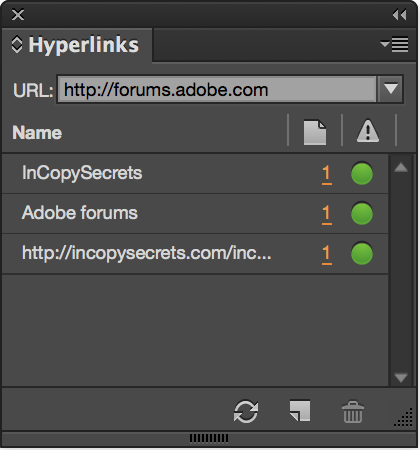
Also to the right of each hyperlink is a number indicating the page of the document that the hyperlink appears on. Clicking that number highlights the text that the hyperlink is applied to giving you quick visual confirmation of where the hyperlink is used.
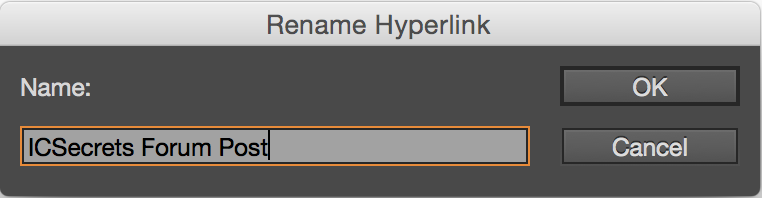
Implicit hyperlinks will automatically populate the URL field when you create a new hyperlink but they appear implicitly in the Hyperlinks panel as well and can make them difficult to identify. You can easily rename a hyperlink by selecting the hyperlink in the Hyperlinks panel and choosing Rename Hyperlink. In the Rename Hyperlink dialog box, give the hyperlink a more appropriate name, and click OK.
Your list of hyperlinks can grow lengthy depending on depending on the document you are working on so InCopy provides a way to sort the list of hyperlinks in a number of different ways. From the panel menu of the Hyperlinks panel, choose Sort and then one of three options which include:
- Manually – The default option which allows you to manually drag the hyperlinks up and down in the Hyperlinks panel in the order that you wish.
- By Name – Sorts the hyperlinks by name.
- By Type – Sorts the hyperlinks by type.
Adding hyperlinks in InCopy will make your interactive documents more user friendly and provide an enhanced user experience for your readers.
This article was last modified on July 10, 2020
This article was first published on September 11, 2015
Commenting is easier and faster when you're logged in!

Recommended for you

Splitting Up Threaded Stories into Separate Frames
Daniel wrote: I've linked boxes of text throughout a whole document. Is there a...

Free Photoshop and Lightroom Webinar
As part of their ongoing Create Now: Ask A Pro webinar series, Adobe is offering...

The Exquisite Stylings of deVicq Design
Roberto de Vicq is an award-winning designer who is known for his stylish, sophi...