


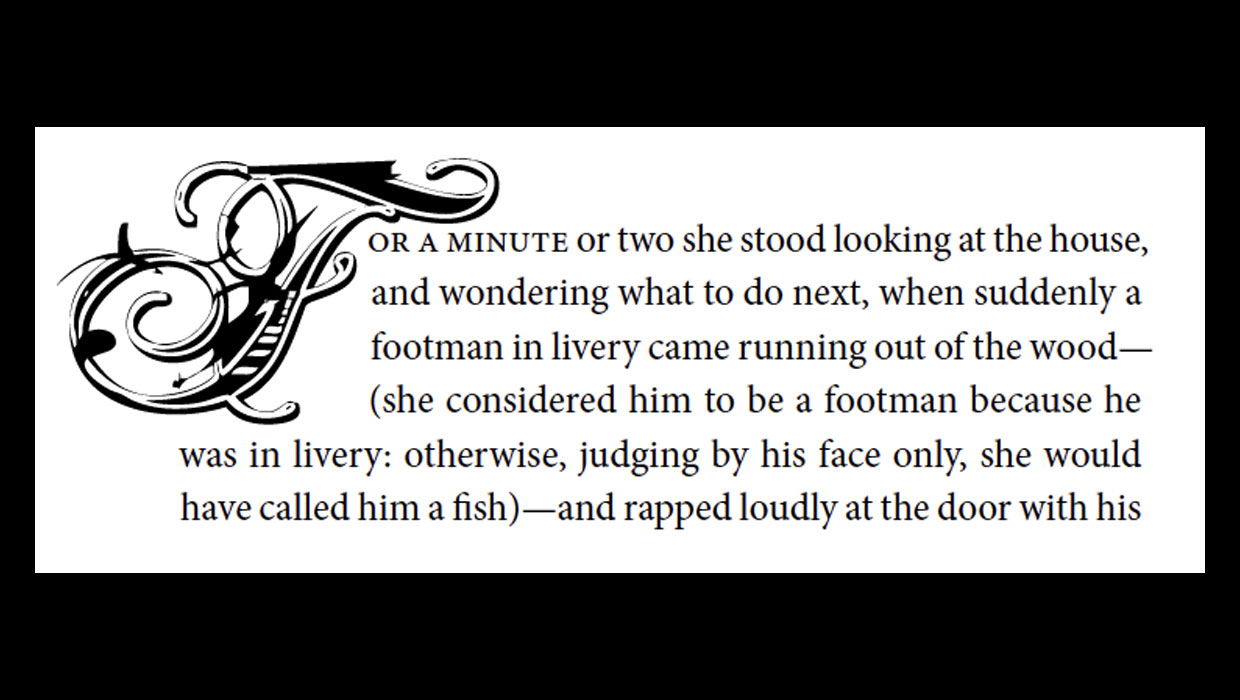
When you assign drop cap formatting to a paragraph (so that one or more letters at the beginning of the paragraph drop down more than one line), InDesign creates the drop cap in a rectangular area. That means the text to the right of the drop cap does not runaround or wrap to the contours of the character:

There are ways to cause a non-rectangular runaround (I wrote about it here, and Anne-Marie shows the technique in a short video here). But some people just want to bring the first line in a bit closer to the drop cap. For instance, in the image above, the first word (“Academic”) appears to be two words because there is too much space between the drop cap and the rest of the word. If only we could make that first line snug in closer to the drop cap!
You may already know the kerning trick: If you place the type cursor between the first two letters of the word, you can set the kerning to a negative number, which brings the letters closer together… but it also changes the spacing for all the subsequent lines:

(In the image above I set the color of the drop cap character to blue to make it easier to see. You can see the kerning value is -250 in the Control panel.)
This kerning trick is pretty cool, and in fact, you can push it to the extreme, making the drop cap appear entirely behind the text itself:

However, this is not what we’re trying to achieve… we just want the first line to be kerned in! Fortunately, one of our eagle-eyed readers named Janet pointed out a trick shared by Petteri Paananen on the Adobe forums: If you place a non-joiner character between the drop cap and the second letter, you can then kern the space between that non-joiner and the following letter (the “c” in the example above). That brings just the first line in!

See that little light blue symbol that looks like it’s after the “c”? That’s the invisible character (Type > Show Hidden Characters) indicating there’s a non-joiner there. It’s really before the “c” but it appears to be after it because of the –1000 kerning. By the way, here’s how I inserted the non-joiner character from the Type menu:

Unfortunately, InDesign has a maximum kerning limitation of –1000, which makes it tricky to bring the word even closer in to the drop cap. The solution: Add another non-joiner character with more negative kerning:

By the way, you don’t have to use the non-joiner; you could use the End Nested Style Here character. These special characters are both “zero-width” and don’t break the word into two. That means the word still spell-checks correctly!
Of course, zero-width characters (especially when they’re kerned like this) are difficult to select with the Type tool. For example, if you later decide to delete one, the only good way to do it is to click elsewhere in the paragraph and then use the arrow keys on your keyboard to move the cursor into position. Not a big deal, but takes a little attention.
Thank you to Petteri (our friend from eDocker) and Janet for pointing this out!
This article was last modified on December 30, 2021
This article was first published on April 7, 2014
Commenting is easier and faster when you're logged in!

Recommended for you

InDesign How-to Video: Reset Tracking and Kerning
In this week’s InDesignSecrets video, Mike Rankin explains how to reset any cust...
The Drama of Drop Caps
Initial caps add excitement to a design. Here’s how to make, format, and fine-tu...
InDesign Magazine Issue 75: The Ultimate Guide to Kerning
We’re happy to announce that InDesign Magazine Issue 75 (July, 2015) is now avai...