


Create a Carved-Wood Effect in InDesign
Mike Rankin proves that you don’t need Photoshop to create cool effects.


This article appears in Issue 36 of InDesign Magazine.
This excerpt from The InDesignSecrets Guide to Graphic Effects will make you an effects wiz without touching Photoshop.
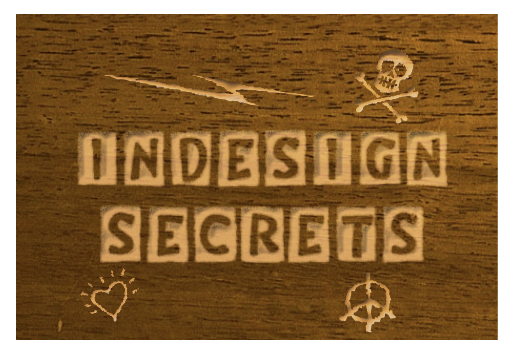
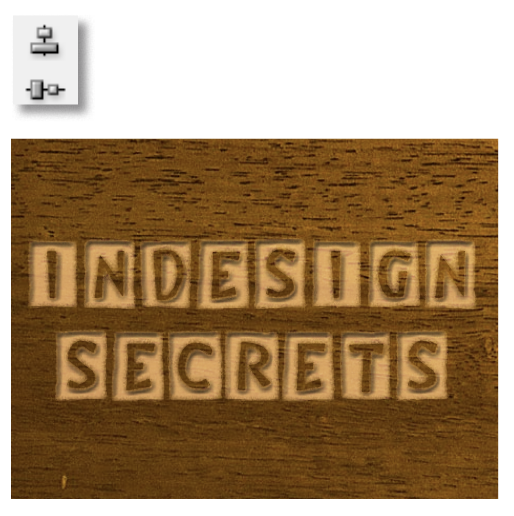
Making text or other objects look like they have been carved into wood is “two” easy. To create something similar to the example below, just use two effects (Bevel and Emboss, and Basic Feather), two blend modes (Multiply and Screen), and two copies of the “carved” object.
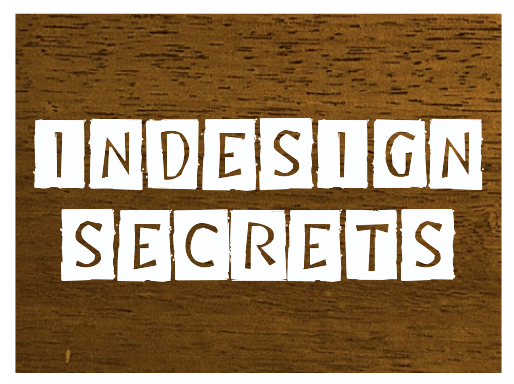
Start with a good photo of stained wood, placed into InDesign.
Add some text over the photo, ideally using a typeface with thick strokes or a blocky display face.
Fill the text with [Paper].
Select the text frame with the Selection tool and choose Type > Create Outlines.
Duplicate the text outlines.
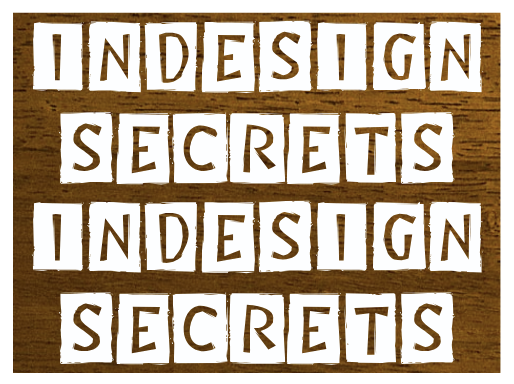
Select the top set of text outlines and in the Effects panel, change the blend mode from Normal to Multiply.
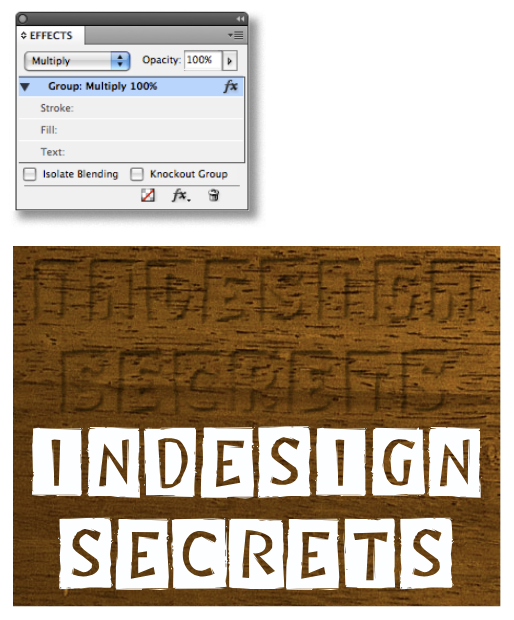
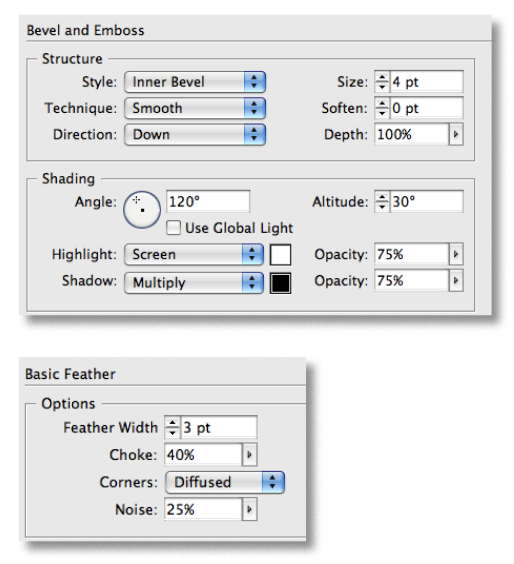
Then apply Bevel and Emboss, and Basic Feather effects with the settings similar to those shown.
Click OK to close the dialog boxes, and then choose Edit > Deselect All.
Select the Eyedropper tool and click on the wood grain photo to sample a color. Save it as a swatch.
Then use the new swatch to fill the bottom copy of the outlined text.
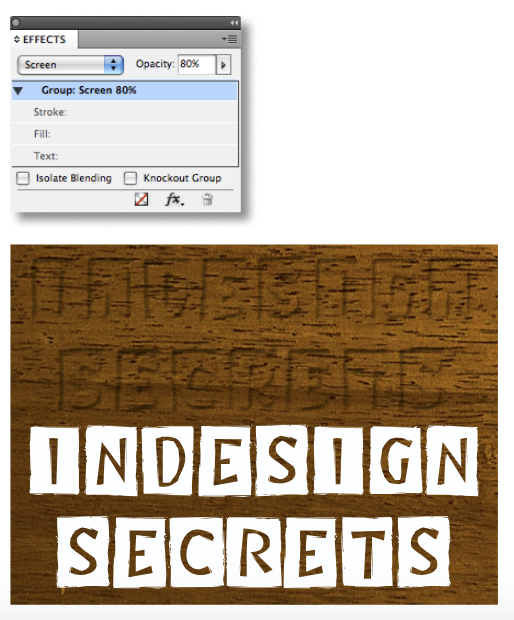
Set the blend mode of the outlined text to Screen.
Lower the tint to taste.
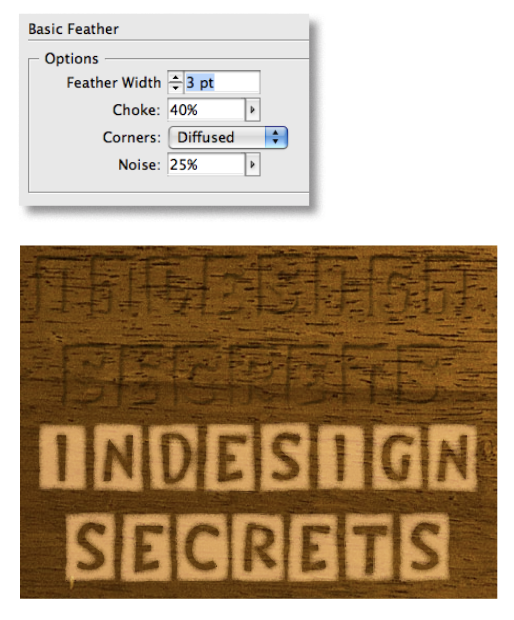
Then apply Basic Feather with noise to make more natural-looking edges.
Select both copies of the outlined text and align their horizontal and vertical centers by clicking on the icons in the Control panel.
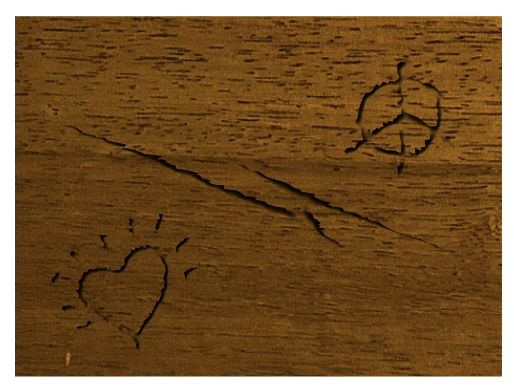
Variation
Omit the Screened copy of the object to simulate dents or scratches that don’t penetrate the surface of the wood.
Commenting is easier and faster when you're logged in!

Recommended for you
How to Create Extruded Text in Photoshop
Create extruded text in Photoshop with this tutorial from Steve Caplin.
Convert to Outlines in InDesign and Keep Your Editable Text
Khara Plicanic creates text outlines and keeps an editable copy with one click!
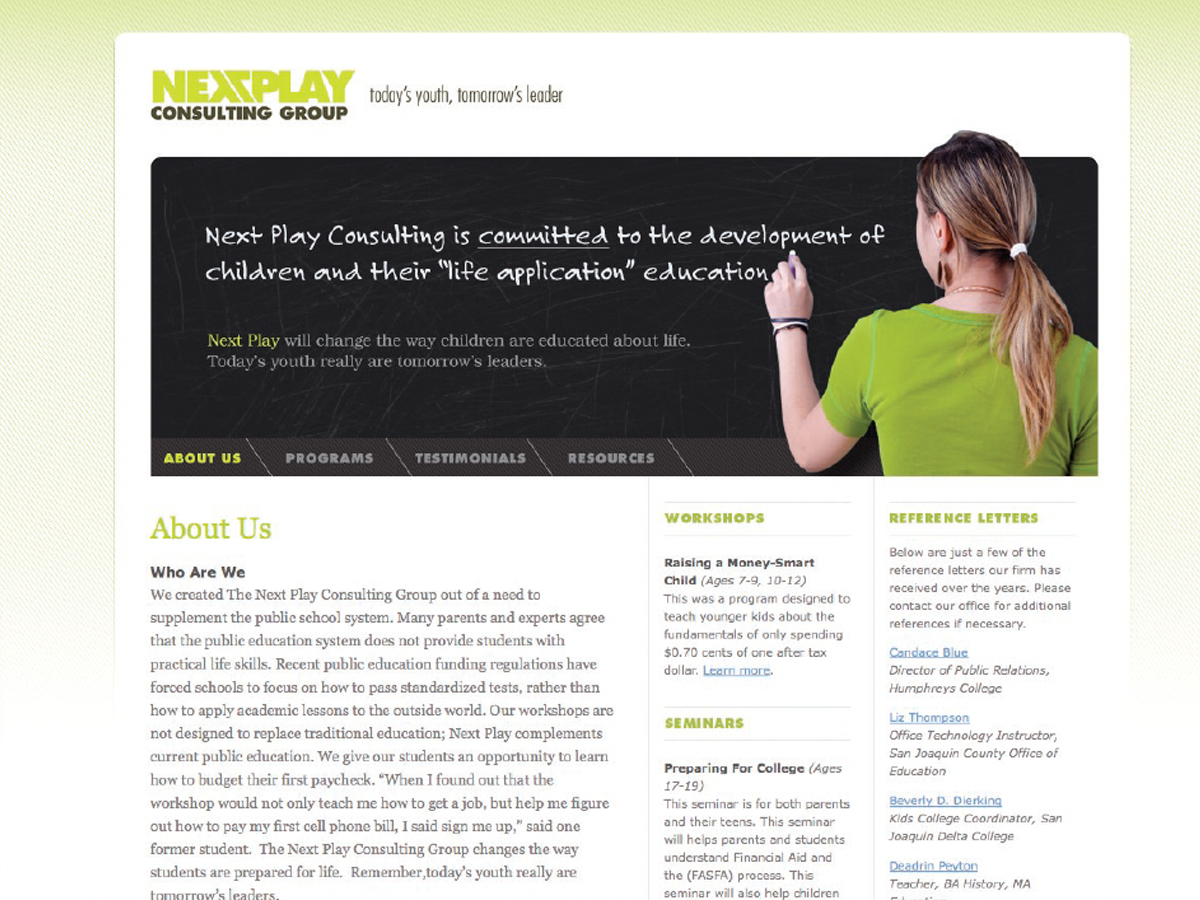
Before&After: Design a Chalkboard Web Banner
Handwriting on a strong design element makes a powerful, simple statement.