
How to Be a Better Graphic Designer: Do It Yourself
Doing it yourself pushes you to move beyond your usual tools and deepen your understanding of how different parts of the creative process fit together.

This article appears in Issue 46 of CreativePro Magazine.
Just like the adage states, if you want a job done well, do it yourself.
At first glance, that might sound cynical—like you can’t trust anyone else to meet your standards. And yes, taken too far, this mindset can lead to micromanaging, creative burnout, or an inability to delegate.
But there’s a flip side worth embracing: Doing it yourself is a powerful way to learn. It pushes you to move beyond your usual tools, experiment with new techniques, and deepen your understanding of how different parts of the creative process fit together.
Whether it’s picking up a camera, editing your own type, or mocking up an illustration instead of outsourcing it, the act of doing expands both your empathy for other disciplines and your ability to communicate with specialists more clearly. You’ll travel some bumpy road for sure—after all, being bad at something is uncomfortable—but “fake it till you make it” is a strategy that works. Eventually.
Stretch Yourself
One of my pet hates is being pigeonholed. Too often people assume that because you do one thing well, that’s all you do. As if being good at one thing precludes being good at another.
As graphic designers we should push back against such narrow thinking. Be naïve, and put your self-delusion to good use—we can do it all. Jump into projects convincing yourself they are good learning opportunities. Just as you realize you’re drowning, you’ll learn to swim.
Be flexible, multidisciplined, and open to new challenges. Take on work that stretches you: If you’re a book designer, design a website. If you’re a web designer, create a logo. You work in two dimensions? Stretch to three. Borrow ideas from other design disciplines like industrial design, architecture, cinematography, or music. When faced with an unfamiliar tool or technique, focus on the similarities rather than the differences.
We’re adaptable—as designers, we’re problem solvers at heart—and we live in an age when resources for learning are more available than ever.
Take your own photos
One practical way to embrace the DIY mindset is by taking your own photographs. Photography trains your eye. It hones your sense of composition, teaches you how to work with light and color, and encourages you to stay visually alert.
When asked why he photographed, street photographer Garry Winogrand would reply (I’m paraphrasing several quotes here): “I want to see what the world looks like photographed.” He understood that photography does not capture reality, it transforms it.
The act of framing, timing, and capturing an image changes the meaning of what we see. It’s not about documenting life as it is, but discovering how it appears through the lens—how reality shifts when turned into an image. The act of taking pictures changes the way you see.
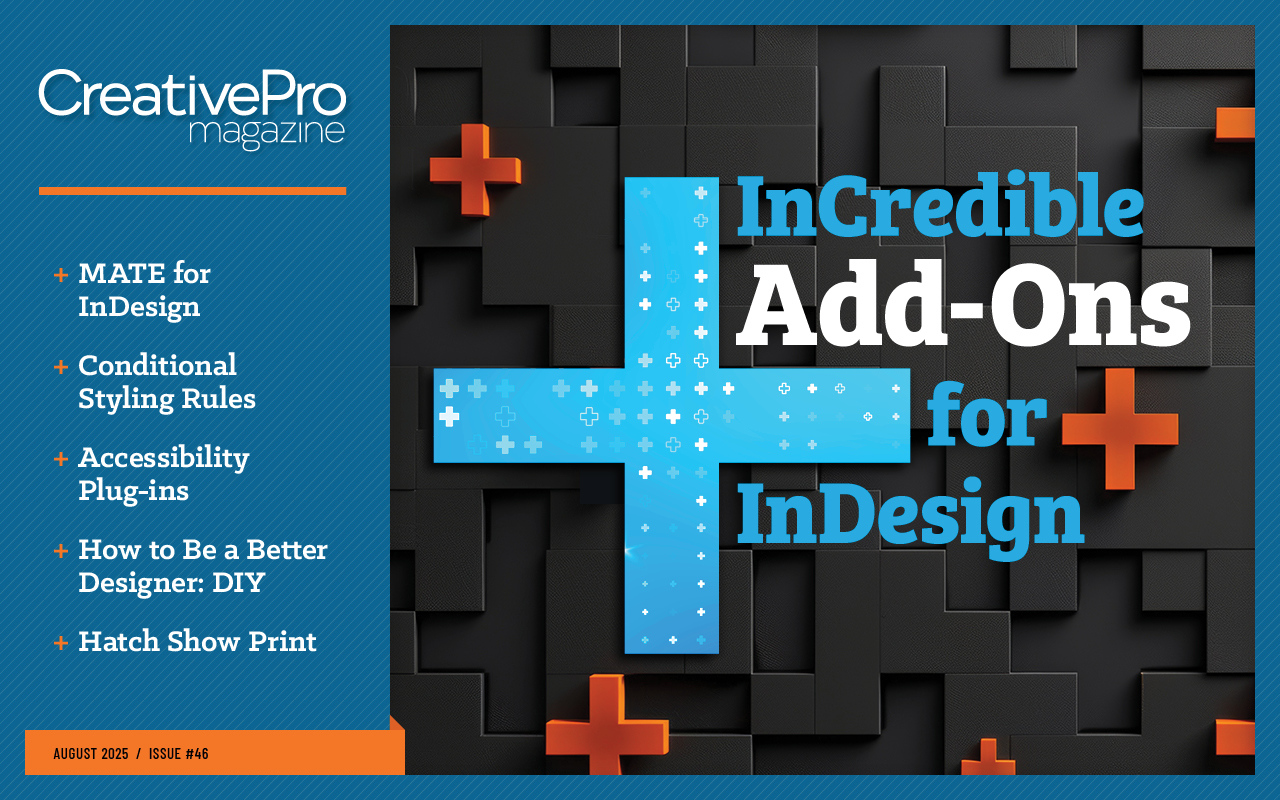
Photography (and design, by extension) is an interpretive, creative act. And beyond its creative benefits, it’s just plain useful. You can build your own library of textures, skies, patterns, and color palettes (Figure 1). The ease of digital photography means you can collect endlessly and curate as you go. Over time, themes evolve, some of which may be surprising.
Stock photography has its place, sure. But I’ve lost more hours than I care to admit scrolling on stock photo sites for the “perfect” image. Sometimes it’s easier and more satisfying to take your own. Besides, many stock photos still carry a distinct visual signature. Although stock photo libraries have made a concerted effort to embrace diversity in recent years, much of their content still looks generic, like you’re living in some idealized sitcom (Figure 2). Using your own images not only feels more authentic, it often is more appropriate.

Design your own fonts
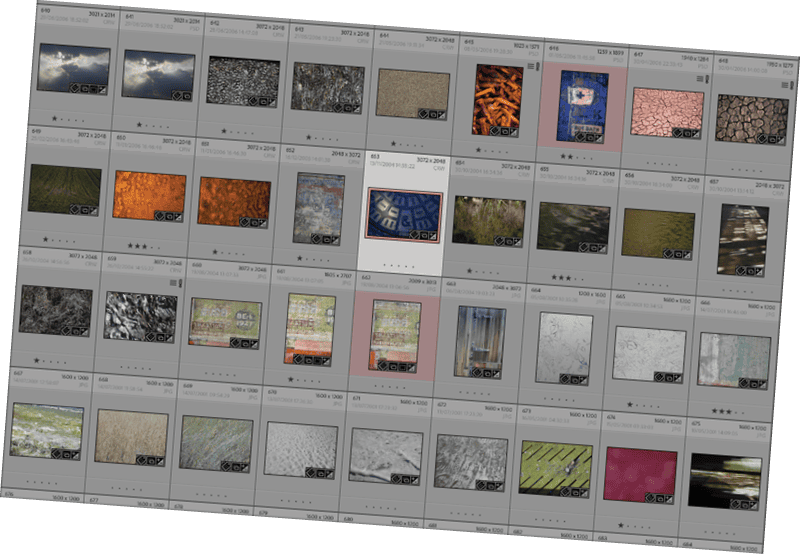
Yes, there are already a bajillion fonts out there. Maybe the world doesn’t need another one. But maybe you do.
Designing a typeface (Figure 3) is a slow process. It’s fussy, frustrating, and full of rabbit holes. But it’s also one of the best ways to deepen your appreciation for the subtleties of letterforms.

Even if you never release the font (I have several unfinished fonts on my hard drive), you’ll come away with a better understanding of kerning, spacing, and how letters behave in combination.
Create your own illustrations
If you’ve ever tried briefing an illustrator and struggled to get your ideas across, consider creating illustrations yourself.
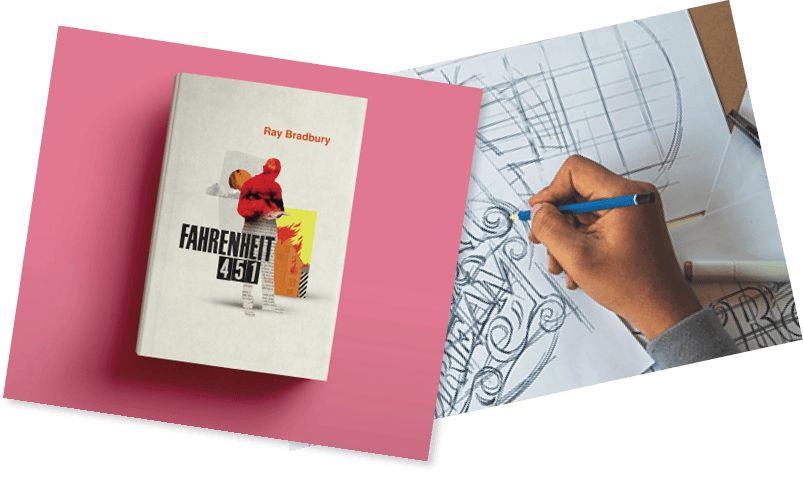
To start, you simply need a clear concept and the willingness to experiment. Tools like Illustrator and Photoshop can handle much of the heavy lifting, helping you shape and refine your vision. If you can’t draw, lean towards a style that doesn’t require drawing skills: collage with scanned material and found elements, geometric illustrations that evoke minimalist midcentury modern posters, photo manipulation combined with digital painting or effects. It’s more about composition and storytelling (Figure 4).
And of course, generative AI can assist too, especially in the early stages of visual exploration. But treat it as a creative collaborator or enthusiastic intern, not the creative director.
The AI-generated aesthetic is becoming increasingly bland and instantly recognizable, often lacking the personality or edge your project might need. Use it to spark ideas, test directions, or create loose visual references, and then adapt, edit, and humanize the results.
The goal isn’t to let the tool speak for you—it’s to help you say what you mean more clearly.
Write your own copy
Words and pictures aren’t separate disciplines. They’re two sides of the same coin. Visual or verbal? It’s a false dichotomy; you are both.
Don’t sell your work short by treating copy as an afterthought. If you have something to say, say it. And if you can’t say it well, learn how. Writing is like any other design skill: The more you do it, the better you get.
That said, you can’t be your own proofreader. You’re too close to the work. You’ll read what you think you wrote, not what is actually on the page. Always get a second pair of eyes.
Make your own paper
A slightly niche one, this, but if you ever get the chance to make your own paper, take it. It’s a tactile, grounding process that teaches you about the physical properties of the medium you work with (Figure 5).
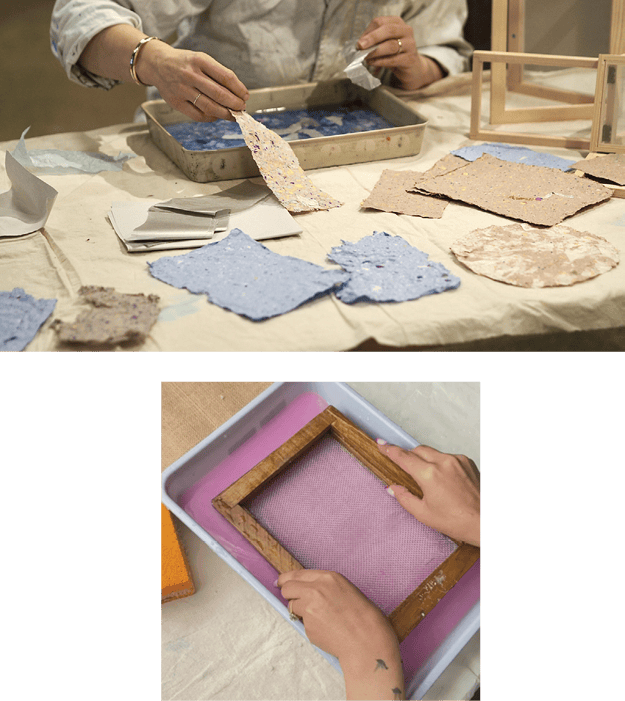
Designers too often leave paper selection to the last minute. But paper can make or break a print piece. Knowing your paper stocks is good. Knowing how paper behaves—what it absorbs, how it folds, how it tears—is even better.
Know Your Limits
There are only so many hours in a day, and there are limits to what you can or should do yourself. DIY doesn’t mean doing everything. It means knowing when to step in and when to step back. It means developing a broader understanding of every part of the process—so that when you do collaborate, you bring empathy and insight to the table. You can communicate more clearly. And you can tell when someone’s doing a good job—or not.
Collaborate—and ask for help
Most design jobs require collaboration: with a printer (befriend a good one if you can), a writer, an illustrator, a web developer, a proofreader, and more. If you’ve loosened your grip on the reins and given up on doing the whole thing yourself, any prior experience you have in these areas will come in handy. You will be in a more knowledgeable and empathetic place to communicate your needs to your collaborators.
Meetup, Creative Mornings, Facebook, and LinkedIn groups; Behance; the Adobe Community; and networks like CreativePro are just a few of the places where you can find encouragement and practical help. In this age of toxicity, these groups can restore your faith in the promise of social media and the internet in general to bring people together to share information.
I don’t like generalizing, but I will on this occasion: Graphic designers are a generous bunch. They are happy to share information and nurture colleagues. We’ve all been there: the frustration of wrestling with software intent on undermining you and the disillusionment of working hard on a project only to have it rejected by a client, look like crap in the cold light of morning, or return from the printer a shadow of its former self.
We’re happy to show our battle scars, keen to pass on knowledge so that others might avoid similar disappointments. The lone wolf isn’t always the hero. Sometimes asking for help is the smartest move you can make.
Give and receive criticism
If you’re a creative genius and visionary (or independently wealthy), you won’t need to waste time worrying what others think about your work. For the remaining 99.9% of us, getting feedback is essential—and that feedback shouldn’t be limited to other designers and creatives.
Conduct a focus group about your work in progress. It doesn’t have to be formal—just a group of friends and colleagues whose opinions you respect.
Accept that not everyone will love your work. Some of the most useful insights come wrapped in criticism. The trick is to listen to it all, then decide which parts ring true. You will inevitably get some feedback that is useless or wacky. Not everyone will get what you’re trying to achieve. Listen politely to these suggestions, then ignore them. The feedback you ignore is still valuable; it helps clarify your intentions.
And don’t forget to give feedback, too. To do that well, you need vocabulary. Learn how to talk about design: what’s working, what isn’t, and why.
Critique is a skill like any other. It takes time to develop, but it makes you a better designer—and a better collaborator. While it’s easier to articulate what you don’t like when giving critiques, a glass-half-full approach will yield better responses.
Focus on the goal of the piece rather than its flaws, and use observational language to describe what you see without making value judgments. Ask questions to understand the designer’s intent, and suggest alternatives as possibilities, not prescriptions. Frame your critique in terms of the design’s impact rather than your personal preference.
Declaring “Papyrus sucks” isn’t helpful, but saying “Using Papyrus for the headers gives the piece a vaguely mystical, 2003 yoga studio vibe” at least acknowledges the impression it creates. Keep the tone collaborative, critique the work—not the person—and invite dialogue, not defensiveness.
Lone Wolf or Team Player?
You don’t have to pick a side. One of the most productive tensions in design lies between going solo and working collaboratively. Growth comes from knowing when to take full control and when to step back and lean on others.
There’s value in the DIY mindset—it sharpens your skills and deepens your understanding—but there’s equal value in letting go, trusting the team, and allowing other perspectives to shape the outcome.
The key is learning when to take the wheel and when to hand it over.
Commenting is easier and faster when you're logged in!

Recommended for you

How to Be a Better Graphic Designer: Sweat the Details
Nigel French reminds us how much the little things matter in design.

How to Be a Better Designer: Learn About Type
Not everyone who knows about type is a good designer, but all good designers kno...
How to Be a Better Designer: Learn About Space
Learn how to be a better designer by arranging elements in ways that are both vi...