

As some pixelated poet once said, “to affect it, you must select it.” The phrase reminds us that no matter what cool techniques we know for manipulating images, we won’t get the right results without first making the proper selection. So here’s a batch of classic tips for making good selections in Photoshop. Got your own essential selection tips? Please add ’em in the comments below.
1. To move a selection while you are drawing it with either the rectangular or elliptical marquee tools, hold the spacebar and drag.
2. To draw a selection from its center, hold down Option/Alt after you begin dragging with either the rectangular or elliptical marquee tools.
3. Shift-drag with either the rectangular or elliptical marquee to add to a selection. Option/Alt-drag to subtract from a selection. Shift-Option-drag to create a new selection that intersects with the current selection.
4. Hold Command/Ctrl while you drag a selection to move selected pixels on the current layer. Hold Command+Option/Ctrl+Alt while you drag to copy selected pixels.
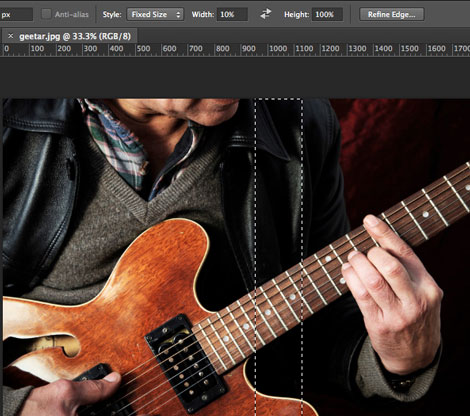
5. When creating a selection of fixed size, you can specific the size in pixels (px), inches (in), or centimeters (cm), or percentage (%). So to make a selection that’s one-tenth as wide as the image, enter Width 10%.
6. With the Quick Selection tool (press W), press the right bracket ] to increase the brush tip size; press the left bracket [ to decrease the brush tip size. Add Shift to increase or decrease the hardness of the brush tip.
7. To toggle between the Image and Selection previews in the Color Range dialog box (Select > Color Range), press Ctrl (Windows) or Command (Mac).
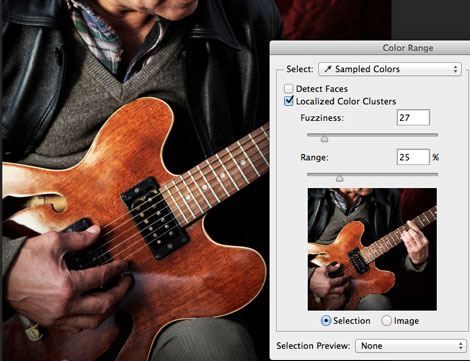
8. When using Color Range, Shift-drag to add to the selection, Option/Alt-drag to subtract from it.
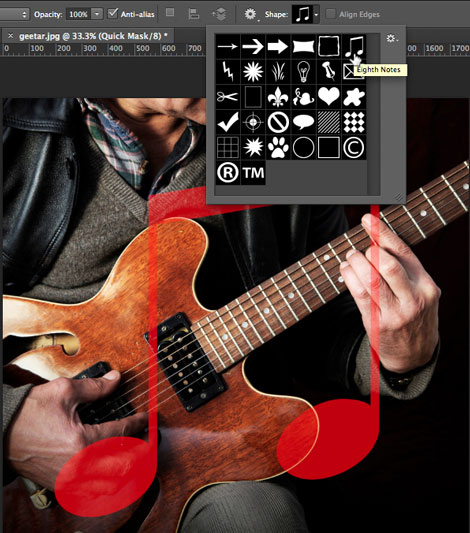
9. In Quick Mask mode (press Q) you can use any of the painting or shape tools to make and adjust selections.
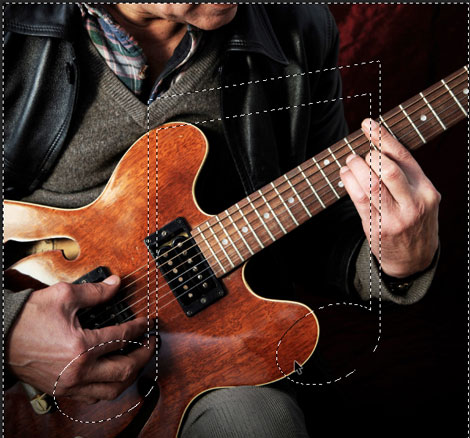
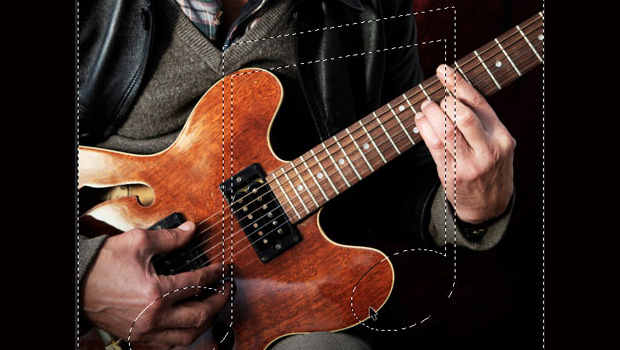
10. You can paste copied pixels to a specific spot, by first making a small selection. The pasted pixels will be centered on the selection area.
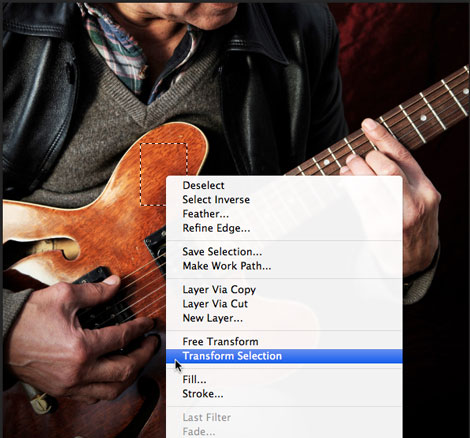
Bonus: Right-click on a selection to access a contextual menu with commands to adjust the selection, save it as an Alpha channel, and more.
This article was last modified on February 22, 2023
This article was first published on April 16, 2013
Commenting is easier and faster when you're logged in!

Recommended for you

Using InDesign, Illustrator, and Photoshop Together: Getting the Most From the Interface
When Adobe first created the concept of a “Creative Suite,” they wanted to make...

Mastering Photoshop Smart Objects: Blending Layers Without Masking
When it comes to mastering the art of blending layers (or any of Photoshop...

Simultaneous Contrast: How Your Environment Affects Color Perception
This article originally appeared on chromaqueen.com. Republished with permission...